Introduction
Tools
Parts
-
-
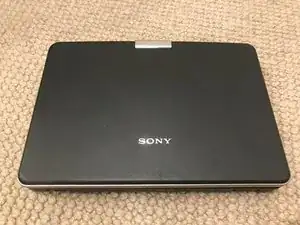
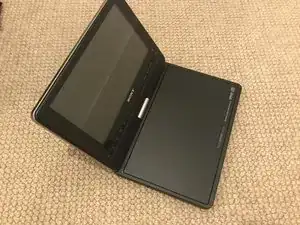
Taking a look at the device, we can see a basic portable DVD player.
-
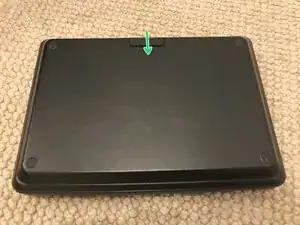
The next logical step is to remove the battery
-
-
-
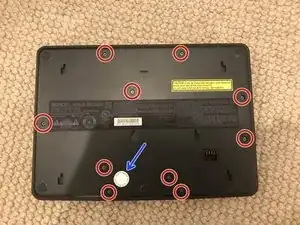
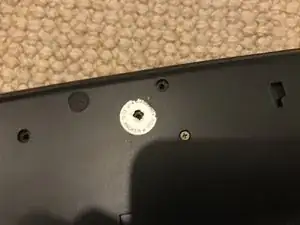
I am able to remove these phillips head screw with a PH0 bit.
-
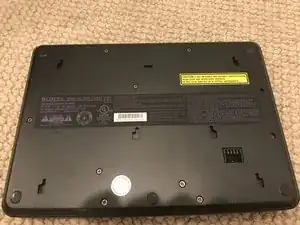
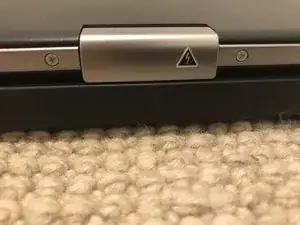
I spot an illegal sticker! These aren't legally binding, but what warranty from 2006 is even valid today anyways?
-
-
-
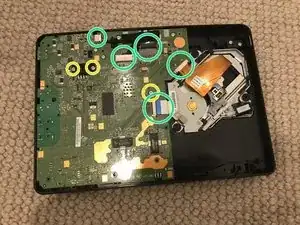
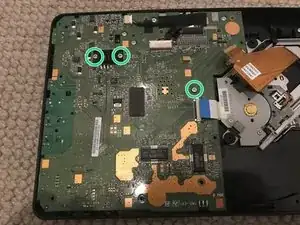
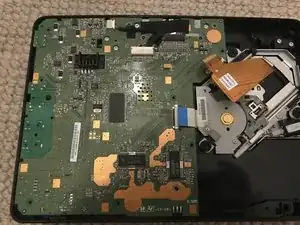
A quick glance over the motherboard reveals some fantastic user-friendly design.
-
I can also spot the 3 screws holding the board down. Also Phillips PH0!
-
-
-
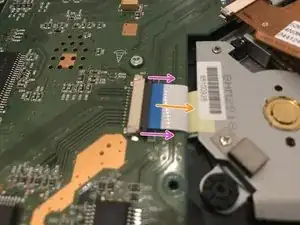
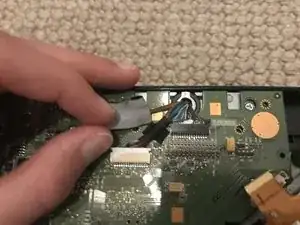
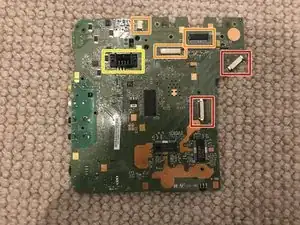
I remove these 2 ribbon cables by pulling back on the black plastic piece gently, and then pulling out the cable.
-
First, pull on both sides
-
Then pull out.
-
-
-
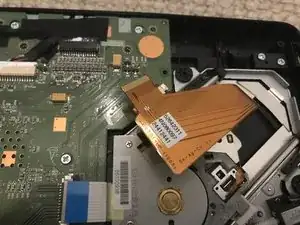
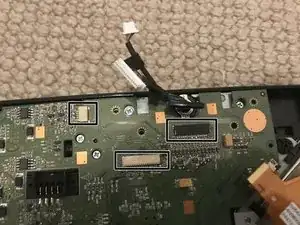
Before we remove the motherboard, we have to peel back the tape, and unplug these 3 connectors.
-
-
-
Now, we can remove the motherboard.
-
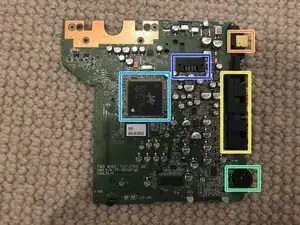
Top of motherboard
-
Power
-
I/O
-
Volume
-
CPU
-
Battery Connector
-
-
-
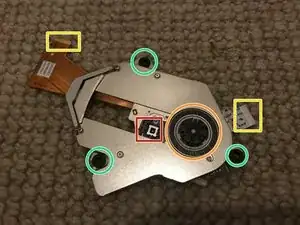
The optical drive assembly can just be lifted right off, no screws required!
-
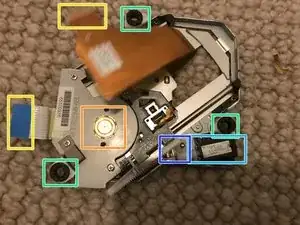
Laser
-
Wheel
-
Connectors
-
Shock absorbers
-
Laser motor
-
Laser motor gears
-
-
-
That's all I was able to get to today, though I did notice 2 tiny screws on the bottom of the screen. It may be possible to replace the screen, though that's a question for another time.
-
The modular system allowed for a fantastic, easy, replacement of the motherboard and optical drive. Screen replacement theoretically possible.
-


To reassemble your device, follow these instructions in reverse order.

One comment
Did you ever get around to seeing if you could get to the LCD? Currently trying to open it to get the model number so I can connect it to a raspberry pi
Dylan -