Introduction

Prerequisite-only guide for Smart Soldering Iron cap disassembly.

  1. EfXTlLNNeKUJtwyn
    EfXTlLNNeKUJtwyn
    FReuNWlTSC2rVmZu
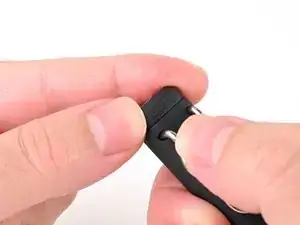
    • Use a Phillips screwdriver to remove the 8.0 mm‑long screw at the bottom of the opening of the soldering iron cap that secures the cap tip and clip spring to the cap.

    • You will need a long-shaft screwdriver to be able to reach the screw inside of the soldering iron cap.

  2. KuPS43NaBug2XwWR
    KuPS43NaBug2XwWR
    BDMhVxULht5HZJ2R
    tlCl6lCEZFfstYsF
    • Pull upward on the cap tip to remove it from the cap.

    • During reassembly, fit the iron prongs at the top of the cap into the holes at the bottom interior of the cap tip.

  3. BmBKmd3ISh61fAFs
    BmBKmd3ISh61fAFs
    EmtoXTNCcDAw5KQB
    exF5fax6T4DLH3OH
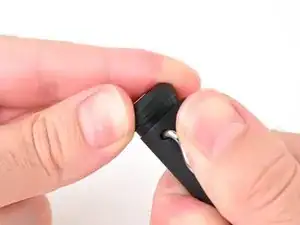
    • Pull up from the bottom of the cap spring clip.

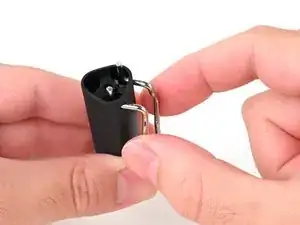
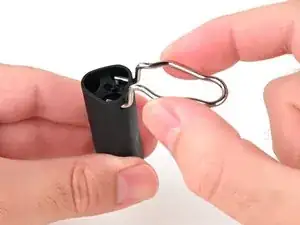
    • Pull the ends of the spring clip straight out through the holes in the cap to remove it.

Conclusion

To reassemble your device, follow these instructions in reverse order.

Carsten Frauenheim

Member since: 10/03/20

130781 Reputation

0 comments