Introduction
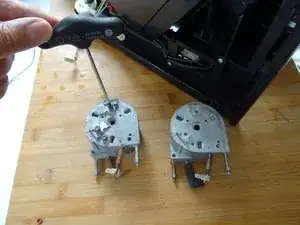
If the boiler is clogged (from lime) or the heater stops working, then it must be replaced. This is shown here.
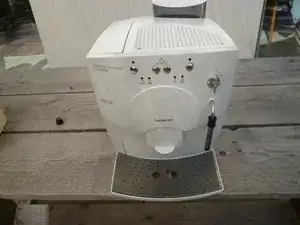
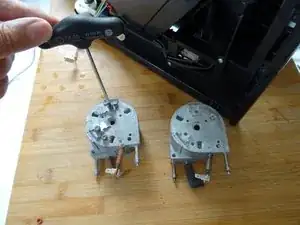
Note: the pictures are from the almost identical Melitta Caffeo. The only major difference is that the thermoblock is installed rotated by 90 °.
These instructions may also help with other Siemens/Bosch models and with coffee makers from Nivona, Melitta, and Miele—they have a very similar design.
Tools
Parts
-
-
Remove the water container, the brew group and the drip tray with pomace container.
-
Using a spoon, remove as much of the coffee beans as possible from the coffee bean container.
-
-
-
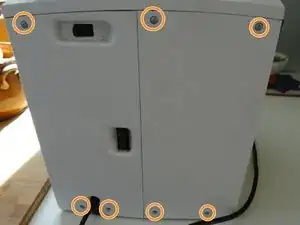
Remove seven T10 Torx screws on the back.
-
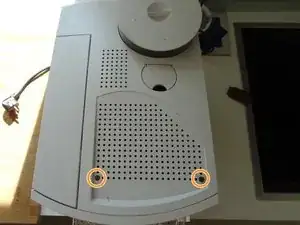
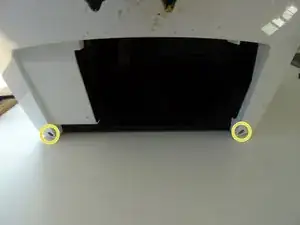
The two screws at the bottom of the front can remain.
-
-
-
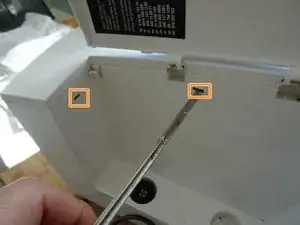
Press with a flat-head screwdriver into the openings on the side with the water tank. This releases the latches on the top.
-
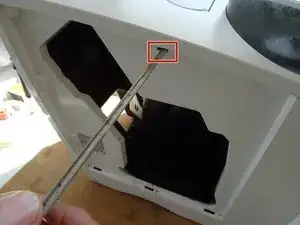
Press the flat-head screwdriver into the opening on the side with the brew group. This will release the last notch on the top.
-
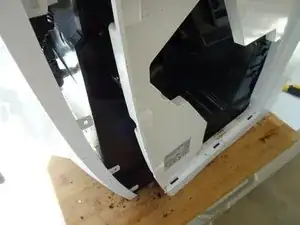
Lift the top off.
-
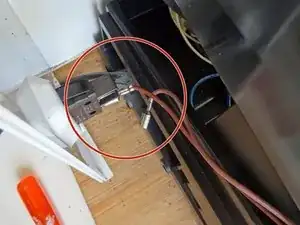
On some models, a cable leads to the sensor on the powder tray. Unplug the connector on this cable first.
-
-
-
Slide the side section of the brewing unit about 2 cm to the rear. This sometimes gets stuck and may require some force to remove.
-
Remove the two tabs from the power switch.
-
Take off the side panel with the brew group.
-
-
-
Do the same with the panel on the other side.
-
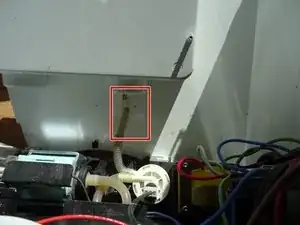
To remove the water tank hose simply pull it of the pump.
-
Remove the side panel.
-
-
-
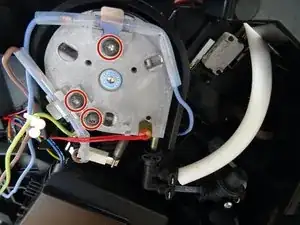
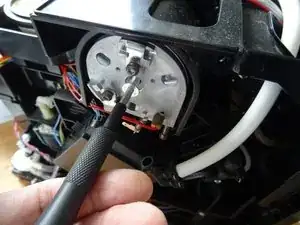
Unscrew three Torx T20 screws.
-
Remove the clamping plates of the thermal fuses and the grounding lug on the green/yellow cable.
-
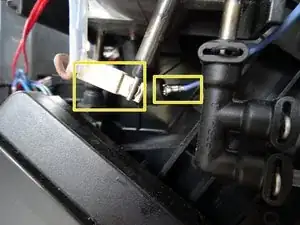
Carefully pull off the two flat plugs at the heater connection.
-
-
-
Loosen the retaining screw of the instantaneous water heater with a 4 mm Allen key.
-
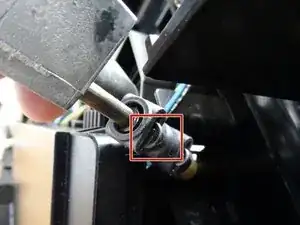
Carefully pull the thermoblock out to the front. Do not remove it completely yet, it is still connected to the thermosensor and the pressure hoses.
-
-
-
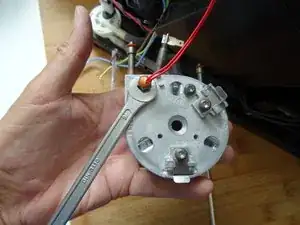
Now the thermoblock is only attached to the thermosensor. Unscrew it with an open-end wrench SW8. Make sure that the fragile cables are not twisted and torn off.
-
Follow the steps in reverse order to reassemble your device
