-
-
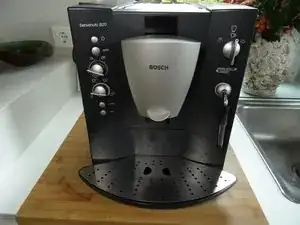
Remove all attachments such as water reservoir, coffee compartment lid, trester drawer.
-
Remove all coffee beans from the bean hopper.
-
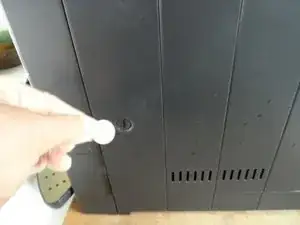
Open the side flap.
-
-
-
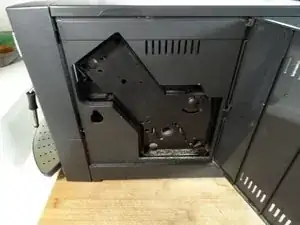
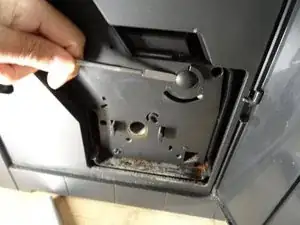
Loosen the three rubber caps on the brew group.
-
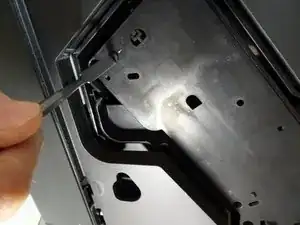
Using a strong flat-blade screwdriver, adjust the three plastic slots underneath so that the "unlocked" position is indicated.
-
Pull out the brew group. If it is stuck, pull firmly and evenly, but with feeling, preferably at the bottom right.
-
-
-
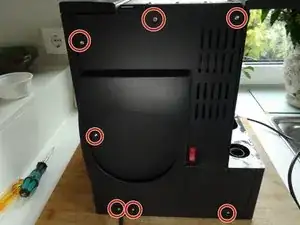
Remove the seven Torx T10 screws on the rear panel.
-
Lift the back panel away.
-
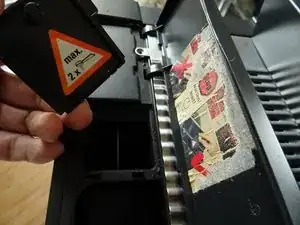
Remove the two flat plugs from the inside of the power switch.
-
-
-
Grasp the powder compartment cover firmly and pull it upwards out of its hinges. Otherwise it will be in the way of the top cover.
-
Pull the top cover back about 1 cm. If it sticks in front, you can help a little with plastic levers.
-
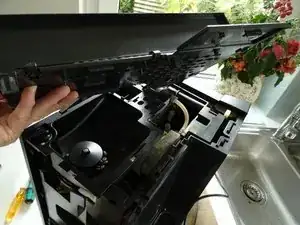
Lift the top cover away from the top.
-
-
-
Grasp the side panel firmly at the rear edge and pull it backward and upward at the same time. It should come off quite easily.
-
-
-
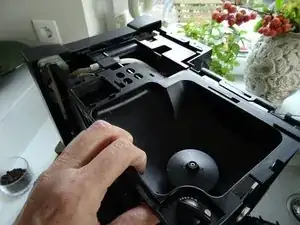
Pull the bean hopper back about 1 cm, then lift it off at an angle towards the back. Make sure that the axle of the grinder adjuster comes off. The container is still connected to the powder compartment lid cable. You don't need to detach it, just put the whole thing on top of the machine.
-
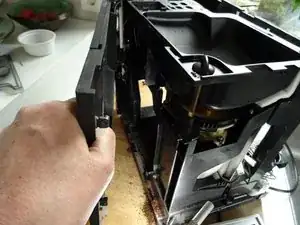
Picture two shows the opened grinder. When you reassemble it later, make sure that the axle of the grinder adjuster is in the right position. Also make sure that the groove on the bean hopper fits exactly over the marked lug and locks into place.
-


Follow these steps in reverse order to reassemble your device