-
-
Remove all attachments such as water reservoir, coffee compartment lid, trester drawer.
-
Remove all coffee beans from the bean hopper.
-
Open the side flap.
-
-
-
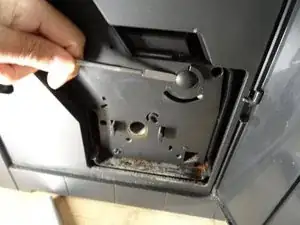
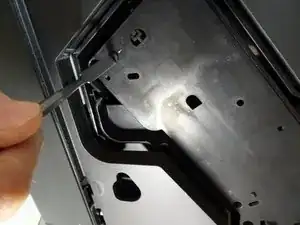
Loosen the three rubber caps on the brew group.
-
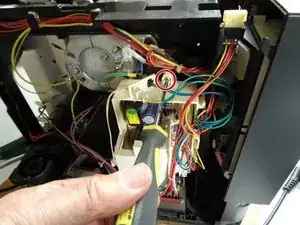
Using a strong flat-blade screwdriver, adjust the three plastic slots underneath so that the "unlocked" position is indicated.
-
Pull out the brew group. If it is stuck, pull firmly and evenly, but with feeling, preferably at the bottom right.
-
-
-
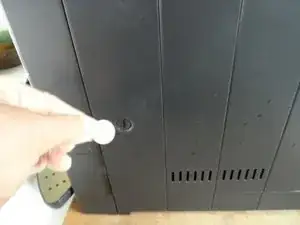
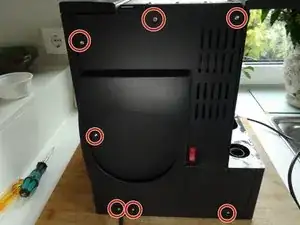
Remove the seven Torx T10 screws on the rear panel.
-
Lift the back panel away.
-
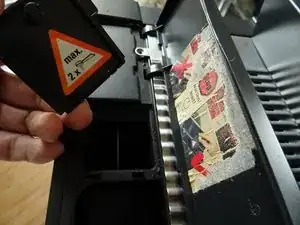
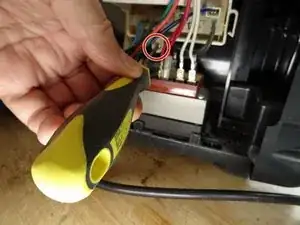
Remove the two flat plugs from the inside of the power switch.
-
-
-
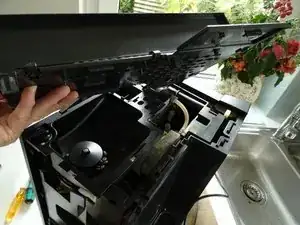
Grasp the powder compartment cover firmly and pull it upwards out of its hinges. Otherwise it will be in the way of the top cover.
-
Pull the top cover back about 1 cm. If it sticks in front, you can help a little with plastic levers.
-
Lift the top cover away from the top.
-
-
-
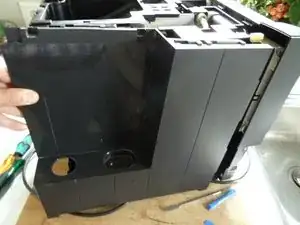
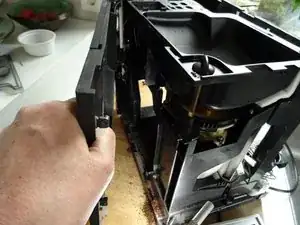
Grasp the side panel firmly at the rear edge and pull it backward and upward at the same time. It should come off quite easily.
-
-
-
Grasp the side panel firmly at the rear edge and pull it backward and upward at the same time. It should come off quite easily.
-
-
-
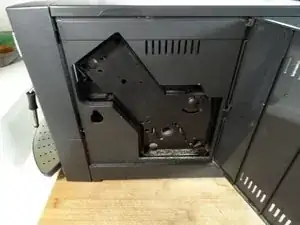
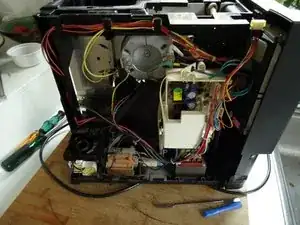
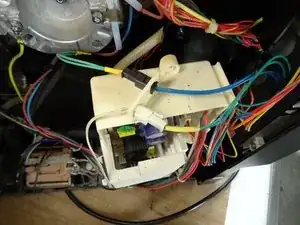
Remove the two Torx T10 screws at the top and bottom of the electronics box.
-
Pull the box out a little.
-
-
-
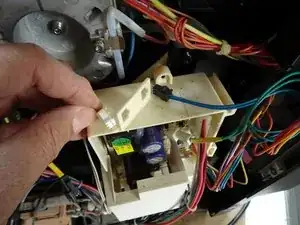
Two connectors are attached to the top. First press in the release on both connectors and pull the connectors out.
-
Press in the catches on the side of the two sockets and pull the sockets out of the electronics box.
-
No other cables need to be disconnected, lay the box on its side.
-
Insert translation here
-
-
-
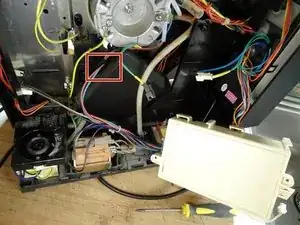
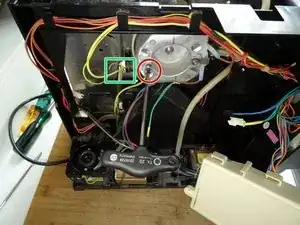
Remove the Torx T20 screw of the green/yellow grounding cable on the flow heater.
-
Push the green/yellow grounding cable to the side.
-
Pull off the two flat connectors with the yellow cables on the microswitch of the gearbox.
-
-
-
Turn the machine around.
-
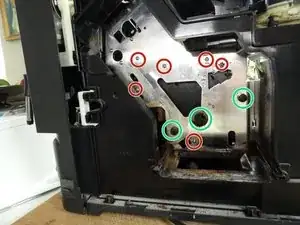
Remove the six Torx T10 screws that secure the gearbox to the metal partition.
-
Push the gearbox away from you by the black plastic pins and drive so that it comes off.
-
Reach into the machine from the front and find the triangular expansion tank. Turn it counterclockwise about 60° and pull it off downward
-
-
-
Turn the machine around again.
-
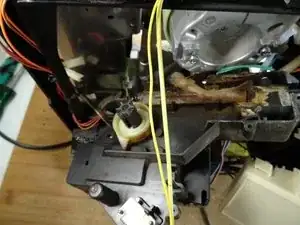
Now you can pull out the gearbox as far as possible. It is a bit tricky and you have to be very careful. Turn it so that you can already see the drain valve.
-
The drain valve is still connected to the water hose. Pull out the clamp on the water hose with a small screwdriver. This is really tedious and of course when reassembling. But with patience it works.
-
Then pull out the pressure hose. At its end is an O-ring it gets stuck either on the end or in the connector. Replace it - if possible - during reassembly.
-
-
-
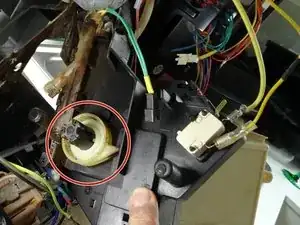
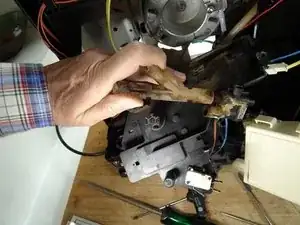
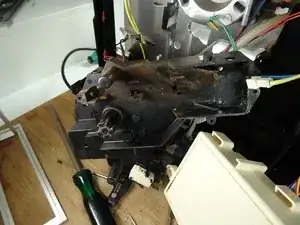
Now the gearbox can be carefully lifted out and the drain valve becomes visible.
-
Lift out the white driver. Pay attention to the correct orientation when reassembling.
-
-
-
First lift away the spring at the bottom of the drain valve, you can use a small screwdriver for this.
-
Pull the light part of the valve down so that the four notches on the edge fit into the corresponding openings.
-
Lift the complete drainage valve upwards. You can use a small screwdriver to pry the upper gray part free.
-
-
-
The drain valve is free.
-
The third picture shows the older version in disassembled condition. You can now replace the seals or the whole valve....
-


Follow the steps in reverse order to reassemble your device