Introduction
This guide is assist you in the replacement of the LVDS Board by removing the back cover to reveal the LVDS Board.
-
-
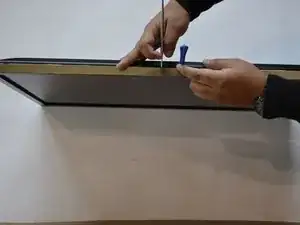
Start by removing the screen bezel.
-
Use a pair of spudgers to pry between the bezel and the rest of the monitor.
-
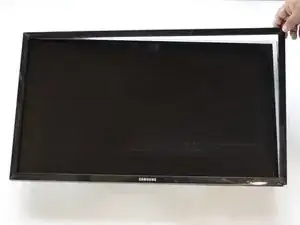
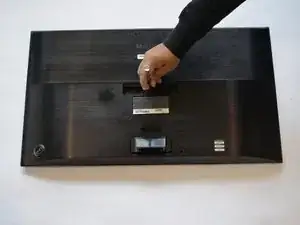
lay monitor on its back and pull off screen cover.
-
-
-
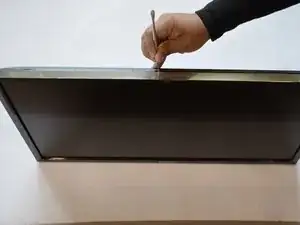
Flip the monitor over so that it is face down.
-
Remove the single screw in the middle using a #2 Phillips screwdriver.
-
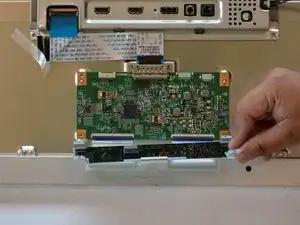
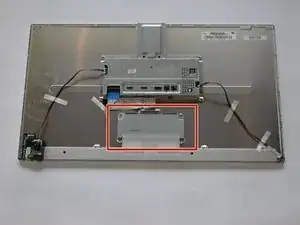
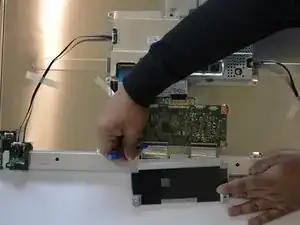
Remove the backing to reveal the Low Voltage Display Signal Board.
-
-
-
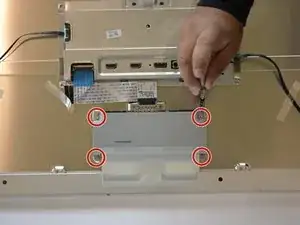
Disconnect the input signal ribbon cable from the top of the board.
-
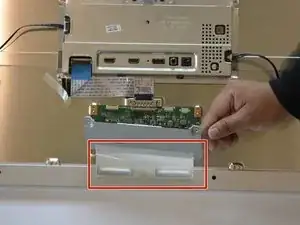
Disconnect the output signal ribbon cables by using a plastic sprudger to lift the connection lock.
-
Remove and replace the LVDS Board.
-

To reassemble your device, follow these instructions in reverse order. Ensure the bezel completely snaps in place all around the monitor.