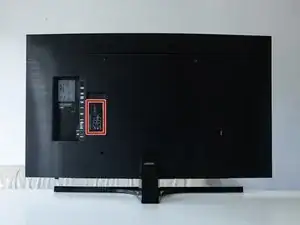
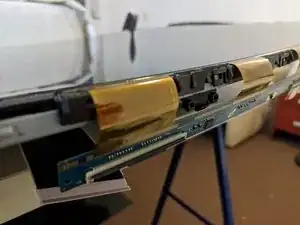
Introduction
-
-
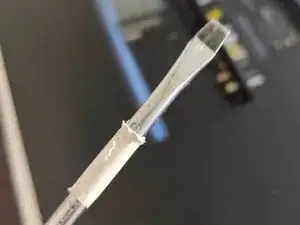
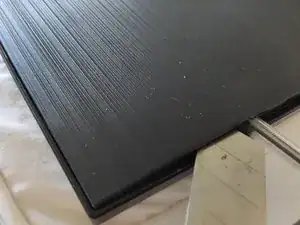
Mark a flathead screwdriver with a piece of tape at 35mm from the head.
-
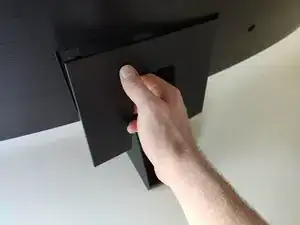
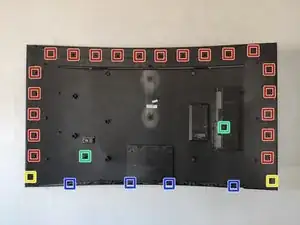
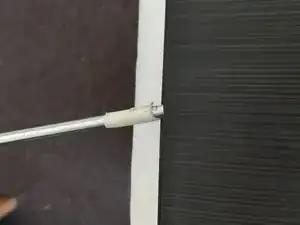
Stick the flathead screwdriver in the side (paralel to the tv panel). When the screwdriver is turned it should unclip the backpanel.
-
Work around the tv to loosen all clips.
-
-
-
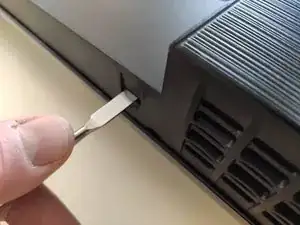
Insert the screwdriver flat into the side of the TV (parallel to the TV panel). When the screwdriver is turned, the clips of the cover come loose. Repeat all the red clips like this.
-
The top of this TV is completely or partially fixed with double-sided tape. use the screwdriver to make room to cut the tape
-
Place something between the back and the frame to prevent the panel from getting stuck again.
-
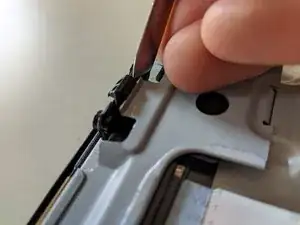
Finally, release the yellow clips. Work towards this from the top and do not insert the screwdriver further than 25mm. Do not insert the screwdriver below the yellow marked clips
-
-
-
Release the four blue clips on the bottom by inserting a screwdriver and popping up the rear panel.
-
The back panel should now be loose except for the two green clips. When you are sure that all clips are loose along the edge, you can carefully force the back loose.
-
-
-
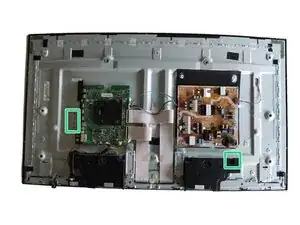
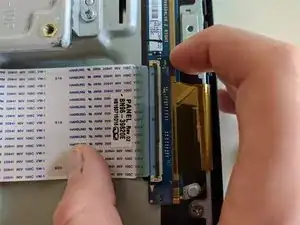
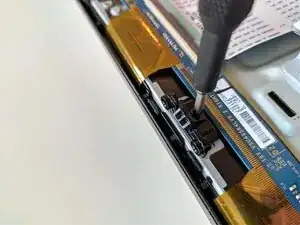
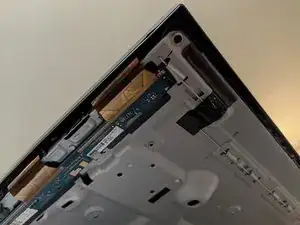
Disconnect the two flat cables from the LCD panel.
-
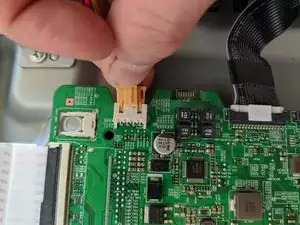
Disconnect the cables from the speaker
-
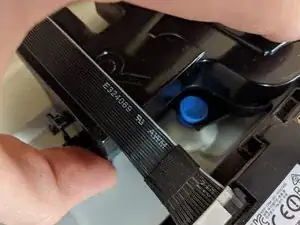
Carefully pull the speaker off, it is secured with blue rubber plugs.
-
-
-
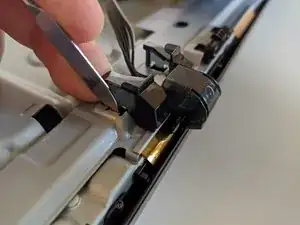
Disconnect the cable from the infrared module.
-
Release the clips from the infrared module and remove the infrared module.
-
-
-
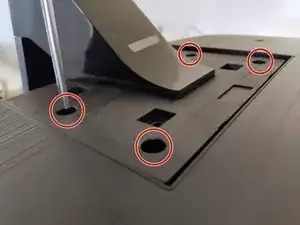
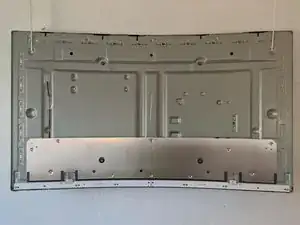
Release the four clips at the bottom of the protective metal plate.
-
Remove the metal panel by tilting it and pulling it away.
-
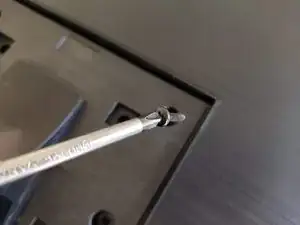
Unscrew the four clips.
-
Tilt the circuit and release the circuit from under the metal clips.
-
-
-
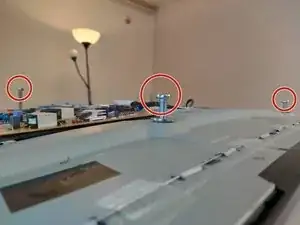
Screw four bolts into the back. These will support the TV and prevent the TV from leaning on any crucial components.
-
Now turn the TV over so that it is facing up.
-
-
-
Place the TV towards the edge of the table so that the bottom edge of the TV can be reached.
-
The bottom edge is secured with plastic clips. Loosen it carefully all around. Take extra care with the gold-colored cables of the LCD.
-
When the clips are loose all around, the edge can be removed.
-
-
-
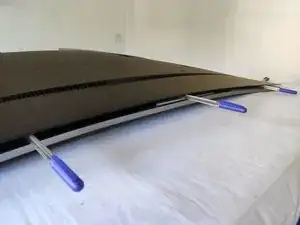
Tape the LCD panel securely to the back with masking tape. Do not stick the tape over the golden connectors, but stick it between the connectors.
-
Prepare a mattress topped with a blanket folded to follow the curve of the TV.
-
Now that the LCD is properly secured, the TV can be turned over on the mattress with blanket.
-
Now loosen the tape and move the LCD circuit away from the frame.
-
Use the previously installed bolts to lift the frame away from the TV.
-
-
-
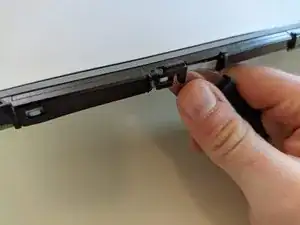
Detach the plastic sides from the backlight. These must be pulled up.
-
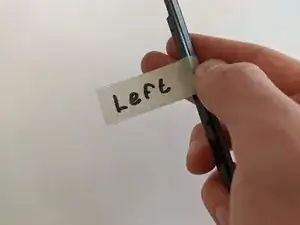
Mark the sides to make reinstallation easier.
-
When all sides are removed, the plates of the backlight can be taped together.
-
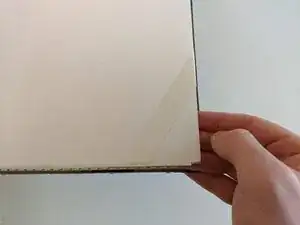
Lift the plates off the TV.
-
-
-
Unclip the connector by squeezing on both sides.
-
Loosen the screws from the backlight.
-
The backlight now can be removed.
-


To reassemble the device, follow these instructions in reverse order.
5 comments
Hey I have a similar issue with mines. One of the backlights suddenly stopped working then the right side of my tv started overheating causing pixels to be burnt. Can you tell me what replacement parts i need? Cause it's not showing up
Twin -
If you have a problem on your tv and you want repair or fix the solution, we offer short and long term lease of digital display screens that you can afford just visit our website in https://futechinnovations.com/.
Thank you worked on 49UK6400 bought the LED strips from chinese site and all worked perfectly.
Remove the cover at the base at the back
Matthew Newton -