Introduction

This guide will show you how to replace the camera in your Samsung SGH-E317 phone.  This guide will fix the issue if the lens is blurry, has a broken sensor, or cannot capture photos.

Before we start, it is important to know about some problems and how to avoid them. Make sure you have the right tools and a clean, bright workspace to keep your phone safe. It is all about taking your time and not rushing.

Be careful about static electricity, which can hurt your phone's insides. In step 6, when you work with the wires, pay attention to where you align the wedge so you don't break them.

With easy-to-follow instructions and lots of pictures, even if you're new to fixing stuff, you can do it. Pretty soon, your Samsung SGH-E317 camera will be back to normal.

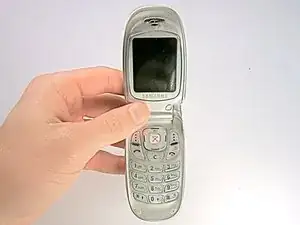
Before you begin, turn off your phone, and unplug it from the charger.

  1. K2l2bG1uaTsTqmeG
    • Remove the back panel by pressing up on switch, located at the top on the back of the phone.

    • You may want to use a plastic opening tool to help pry the back panel off.

  2. H3KEHEBQrihtbE6R
    • Unscrew the four 4.5mm screws located on the back plate.

  3. mDdJPX4JMYLgU2Zg
    • Remove the rubber screw cover using your fingernail.

  4. 2jumFQ21aaCVLVHT
    • Unscrew the 4.5mm screw located underneath the rubber cover.

  5. MaO1aRZmKp4XTq3r
    • Wedge the end of a plastic opening tool into the crack between the back panel and the phone.

    • The panel should come off without much effort.

  6. bsaWrAeFjne6C3bE
    • With the back panel removed, the motherboard should be fully exposed.

  7. gduDH2GvQs3tGwh1
    gduDH2GvQs3tGwh1
    voH3Lt2mWsBsFntV
    • Remove the camera and volume buttons and place them in a safe spot until reassembly.

  8. s2oqYkNI1yusmCYd
    s2oqYkNI1yusmCYd
    tUO1ZNkbANsWIFoD
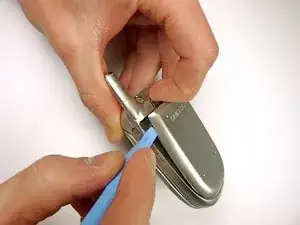
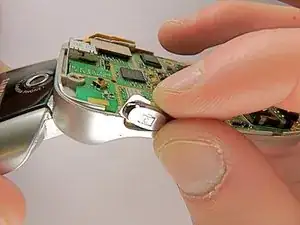
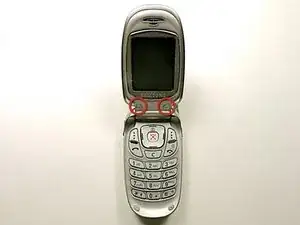
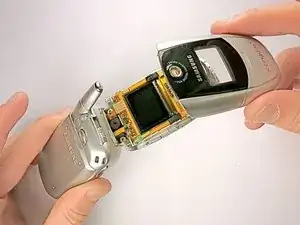
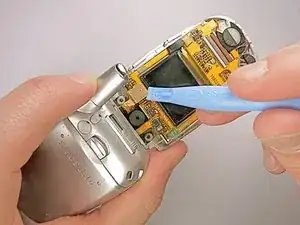
    • Using a plastic opening tool, unplug the ribbon cable connecting the front LCDs to the motherboard.

  9. 2hGqZGvgZtdRDhUi
    2hGqZGvgZtdRDhUi
    1yXHmpx5K34mchZx
    • Detach the motherboard by grabbing the edges of it and lifting it straight out of the phone.

  10. vaxOJoknRSbwykCs
    vaxOJoknRSbwykCs
    I1UfXgpaJoZU5Pq6
    • Use a spudger to remove the plastic screw coverings at the base of the LCD screen.

  11. oQ3uNiNKp4VK3TBX
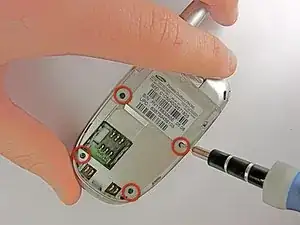
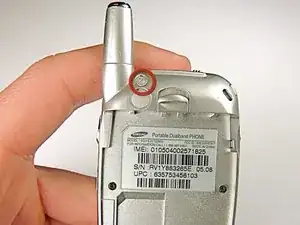
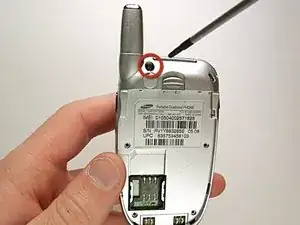
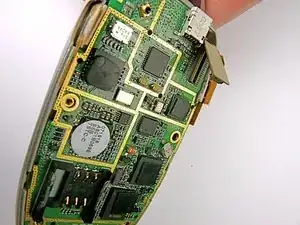
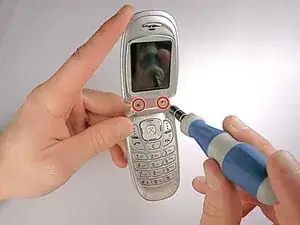
    • Use the screwdriver to remove the two 4.5mm screws located underneath the plastic coverings.

    • You may want to use tweezers to remove the loosened screws.

  12. hjxgBPRXFHCggRcF
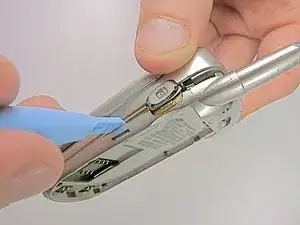
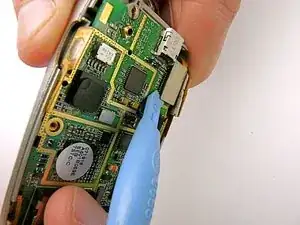
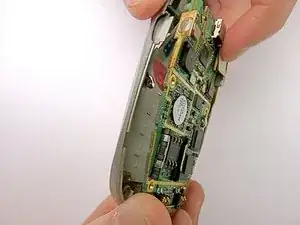
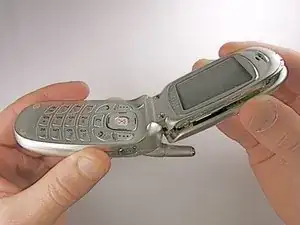
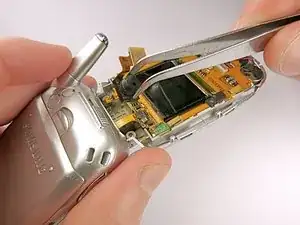
    • Wedge the plastic opening tool under the crevice on the inner surface of the phone screen.

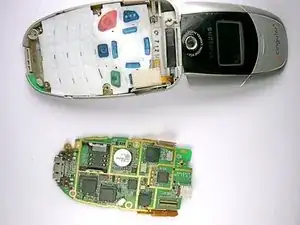
    • Gently pry the top panel off around the entire frame.

  13. uF6xrXQRLUwKQ6K5
    uF6xrXQRLUwKQ6K5
    XdjLMlVCnf22JNfo
    • Make sure that the top panel is completely separated from the LCD display around the entire perimeter.

  14. IBgtuQippajhyOrx
    • Take the top panel off of the phone.

  15. xrHWG3cWbK3pGCLI
    xrHWG3cWbK3pGCLI
    hKVQnrZLIkbljuIT
    • Use the wedge to detach the connecting wire panel from the LCD display system.

    • Be gentle when detatching this wire to prevent damaging surrounding components.

  16. oK6Q1CpJHpVhZmgN
    oK6Q1CpJHpVhZmgN
    qEROAoXWCCSkQvSs
    • Use the tweezers to remove the camera from the cellphone casing.

Conclusion

To reassemble your device, follow these instructions in reverse order.Take your e-waste to an R2 or e-Stewards certified recycler.

Michael Strange

Member since: 30/01/11

101 Reputation

0 comments