Introduction
We will be showing you how to properly replace a screen on the Samsung Galaxy Z Flip 3. Keep in mind this is our first guide. iHub Repair was given consent to use this device for the purpose of this breakdown/ repair. Thank you and enjoy!
This guide is written for the screen and frame assembly. The assembly consists of the screen and frame together in one part. Be sure you have the right part before you begin the repair.
Before disassembling your device, completely discharge the battery. This reduces the risk of a fire if the battery is accidentally damaged during the repair. If your battery is swollen, take appropriate precautions.
Note: Retaining water resistance after the repair will depend on how well you reapply the back cover adhesive, but your device will lose its IP (Ingress Protection) rating.
-
-
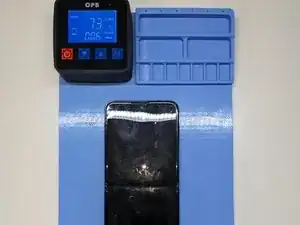
Unplug all cables and completely power off your phone.
-
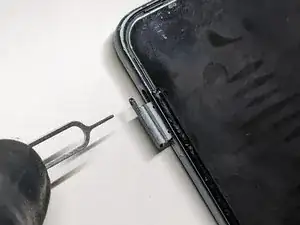
Insert a SIM eject tool, bit, or straightened paper clip into the SIM card tray hole on the top left edge of the phone.
-
Press the tool into the SIM card tray hole to eject and remove it.
-
-
-
Go ahead and warm up the back side with the tools you have. CPB Heating Pad, Heat Gun, or the iOpener work best.
-
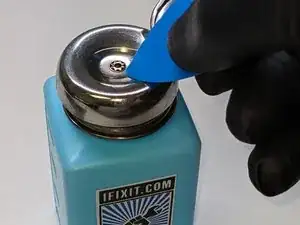
Don’t forget that 90%+ Isopropyl alcohol is nonconductive. It helps make light work of the majority of steps in this repair.
-
If the adhesive is warm and has enough give you may start the opening porting with the iFixit Opening Pick(s). If not there is a different way to get the pick to penetrate the adhesive in the next step.
-
-
-
I prefer to get it started with my thinnest tool. There are many out there. The Jimmy and iSesamo Opening Tool will work essentially the same. Continue to use Isopropyl alcohol to help.
-
I like to use a pack of thin guitar picks. The Halberd Spudger will work essentially the same. I only prefer guitar picks because I can use many to slightly keep open the corners as I go so the back doesn’t reseal.
-
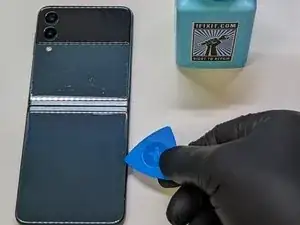
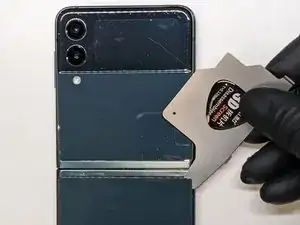
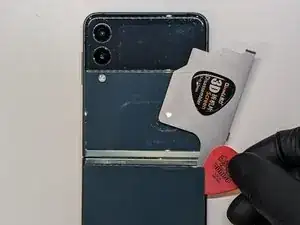
Last would be the Triangle Shaped Opening Picks. Use this pick with ISO to open the back plate. Do not go deep when doing this. Look at future steps to see how thick the frame is in picture. No more than 1/8”.
-
* It is ESSENTIAL to not do any scraping motion with the metal tool. You can get the opening started with a metal tool but that is it. All the scraping & opening needs to be done with a plastic tool to avoid scratching the paint off of the back plate.
-
-
-
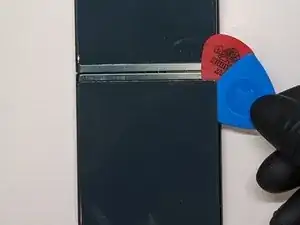
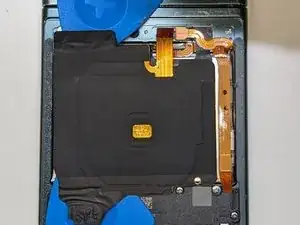
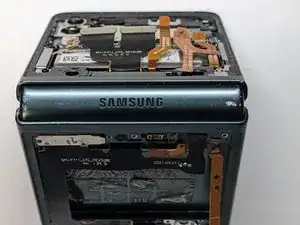
Go ahead and do the same steps on the top portion as we did the bottom.
-
Be careful around the camera.
-
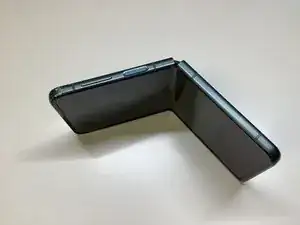
Open it like a book
-
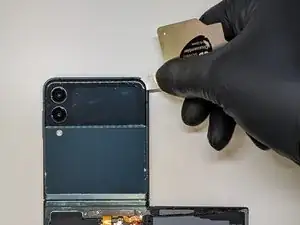
*Be very careful with the ribbon cable. DO NOT RIP THE CABLE WHILE OPENING THE BACK!
-
-
-
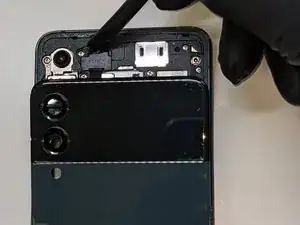
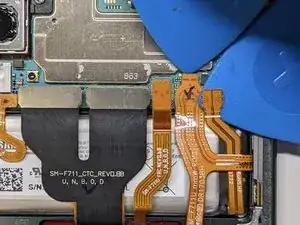
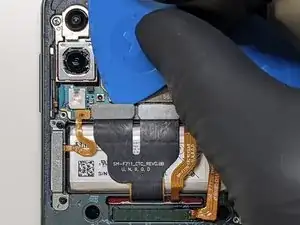
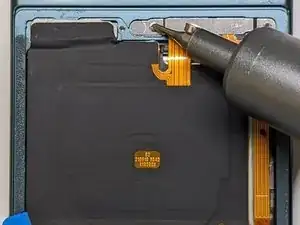
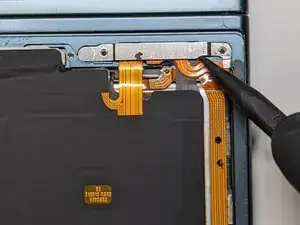
Use the Spudger to get the plastic connector cover off.
-
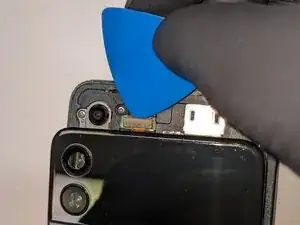
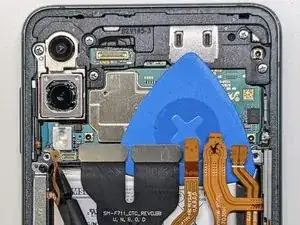
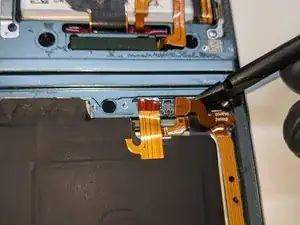
Use the Triangle Pick again to lightly pop the connector free and now you can set aside the top back plate.
-
-
-
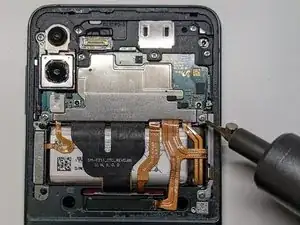
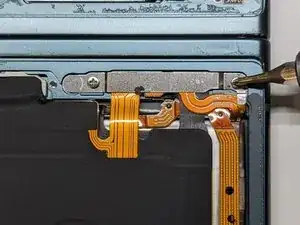
Use your manual or automated screwdriver with a PH000 head (Phillips) to get these two screws out.
-
Pull the Connector(s) Cover off.
-
-
-
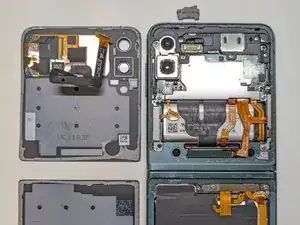
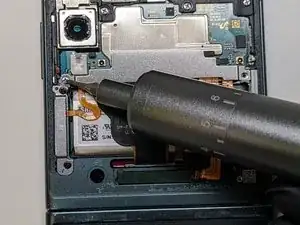
POP UP THE POWER CONNECTOR ON THE FAR RIGHT FIRST!
-
Then pop the five other connectors to the left of the power connection.
-
-
-
Move to the bottom portion of the phone.
-
Take out these two screws.
-
Pull off the cover plate using your spudger.
-
-
-
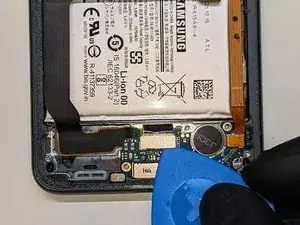
Next, Pull the power (Connector on the Right) to the lower battery. Yup, there are two!
-
Use the Isopropyl alcohol again on the Triangle Picks to help undo the adhesive holding down the wireless charging pad.
-
Pop the connector for the wireless charging pad and set it aside.
-
-
-
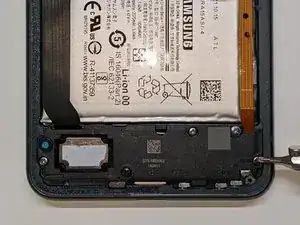
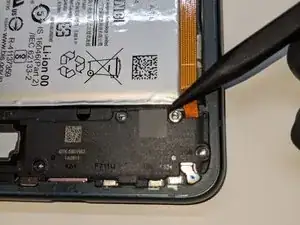
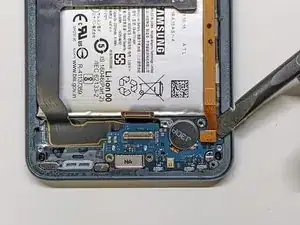
Remove the 5 Screws (4 Silver 1 Black)
-
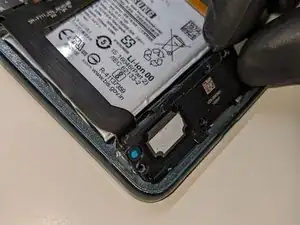
This is where I found space to fit my spudger to pop up the lower speaker assembly
-
Lift up to at least 45 degrees then you can pull out the assembly and set it aside
-
-
-
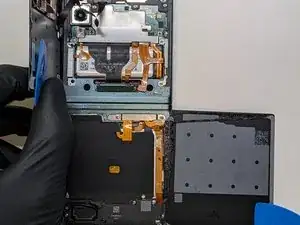
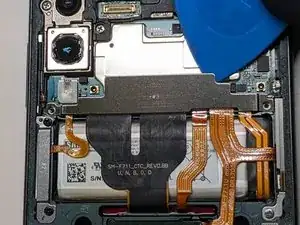
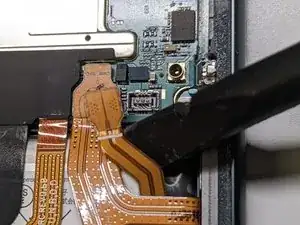
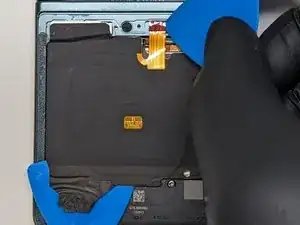
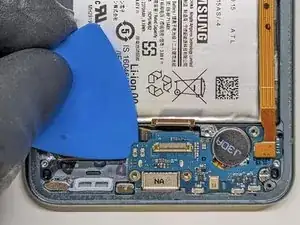
Use the iFixit Pick or Spudger to pop these two main connections
-
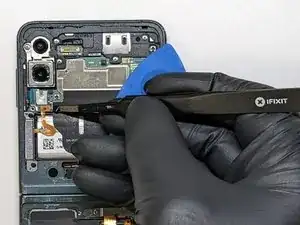
After disconnecting the two main connections on the sister board I used this opening to lift it up
-
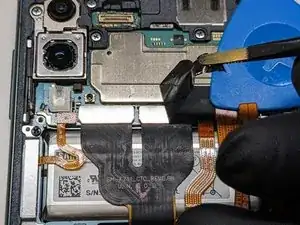
* It is ESSENTIAL when lifting the sister board to be mindful that there is still a connection on back. Do your best to lift then flip the sister board to access that last connection. SEE NEXT STEP.
-
-
-
Now its time to bring the phone back to the heat mat. If you have the iOpener you can lay it on the batteries. It does not need to be heated on the screen side.
-
Be sure to use the isopropyl alcohol on both batteries while it is on the heater.
-
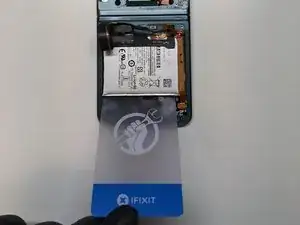
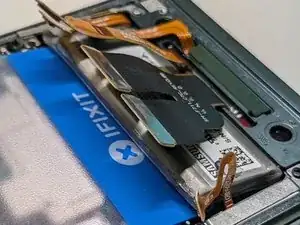
Use your iFixit plastic prying card to find a space it fits under the battery and pry up after a few minutes in the Heat/ISO bath.
-
While pulling out the battery be mindful not to catch on any cables and that the adhesive comes off a lot easier while it is still wet with the isopropyl alcohol.
-
-
-
At this time we are going to fold and flip over the phone.
-
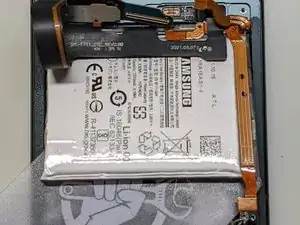
We are going to take advantage of the ISO/Heat bath it was just in and pry it out the same way as the lower battery. This time it seemed easier pulling it from the top.
-
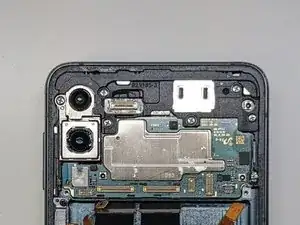
Now that the battery is out we can focus on pulling the 1 screw on the bottom right corner of the third picture. This part is connected to another area so be careful.
-
-
-
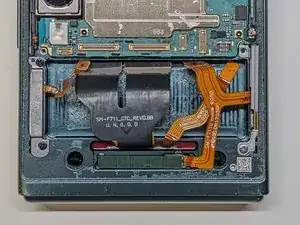
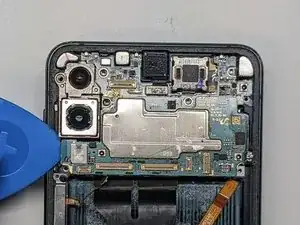
Pry with the pointed part of the spudger on the left side of the part. This part may have adhesive under it also and may need a light ISO bath also.
-
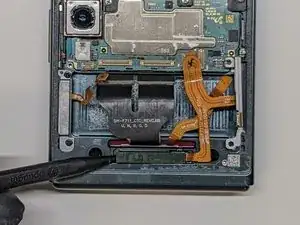
Next is these 6 silver screws holding in the motherboard and plastic cover.
-
Last is to Pull the Mother board. This is where I chose to lift up the board. Go slow and make sure there is no resistance.
-
-
-
This Last Step Is For AFTER You Have Done The 15 Steps In Reverse Order.
-
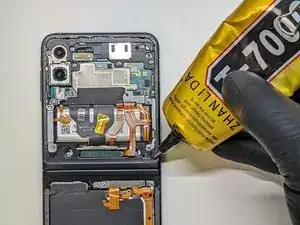
Before you attach the External Screen Connector do this step.
-
Add T-7000 on all your corners.
-
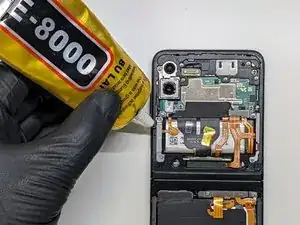
Add E-8000 on all the straights.
-
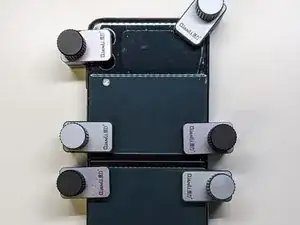
Individual Clamps work best. Only tight it down like 1/4 maybe 1/2 a turn once you feel resistance. Wait 15-20Min. Clean up any spill over around the edges with Isopropyl and then congratulations you're done!
-


To reassemble your device, follow these instructions in reverse order.
We have included suggestions on how to seal the phone with T-7000 and E-8000. The Last step in this guide is after 98% of the reassemble that will be done by you before the last step. Quality individual clamps go a long way vs a back glass clamp that presses flat from both sides. This is due to a majority of phones in the 2020s having a raised camera. The back glass clamp will not distribute the pressure evenly and will leave gaps in the seal.

16 comments
the tittle said "Screen Replacement" but i do not see that part, or did i miss something here ?
The part used is a screen AND frame. So the process of putting it together is the steps above done in reverse. By the time you are done pulling out all the inside parts you will have one old body and screen and one new body and screen. All the inside parts are transferred over. I imagine it would be impossible to do this repair with the screen only. Unless you have the machinery for it.
The bezel/border on mine is raising a tiny bit how can i fix that? By sticking it back in place ?
Clamps and Adhesive is what I do