Introduction

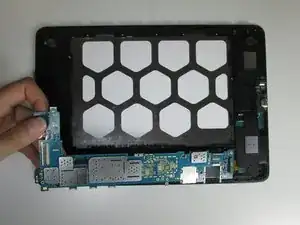
The motherboard is the central component for your device and if it is damaged it will cause your device to most likely not function the way it should. This guide will help you replace the motherboard so that your device will have a completely new central system and be as good as new.

  1. jvTcykEuecNJs1Wd
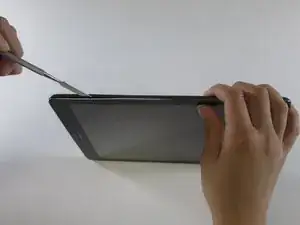
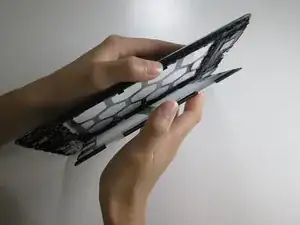
    • Insert a metal spudger between the back case and the screen of the device.

    • The back cover is attached to the device by a series of snaps. The snaps are positioned about an inch from each other.

    • Move the spudger along the perimeter of the device while it is in between the back case and the screen to open each snap.

    • There will be an audible click every time a snap releases.

  2. B6OxQiemeccKCQ3Q
    B6OxQiemeccKCQ3Q
    OiTdcHdZNRMLmSEn
    • Remove the eleven #000 Phillips 2.8mm screws that hold the battery in place.

  3. bF4tMMEeFDCNHBkU
    bF4tMMEeFDCNHBkU
    oXbXLuvakOQau1fa
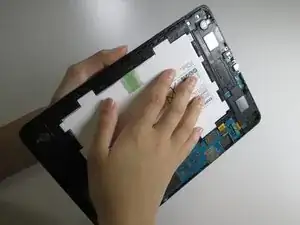
    • Place one hand on the battery and grasp the outer edge of the device with the other hand.

    • Flip the device over so that the battery falls over and onto your hand.

  4. uytyN33V6LmVrerQ
    uytyN33V6LmVrerQ
    2FkUrGqBDKUfqPUV
    • Pull the battery out until it is only connected to the device by the black, yellow, and red connectors.

  5. WhljhUsCIDM6p2FN
    WhljhUsCIDM6p2FN
    1rMg4UchnI5LGsLe
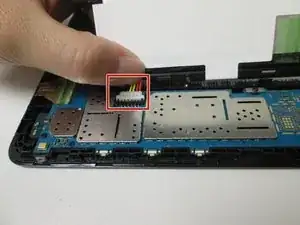
    • Hold the battery and grip the wires with your thumb and finger.

    • Pull the wires away from the device to remove the white connector from the black socket.

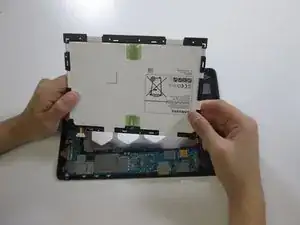
    • Lift the battery away from the device.

  6. avLXCDPYYD1NBBp5
    avLXCDPYYD1NBBp5
    WIvhcfSwdVGXmkfj
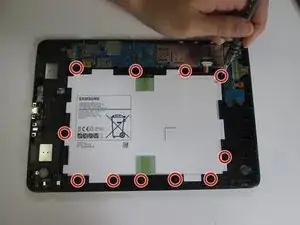
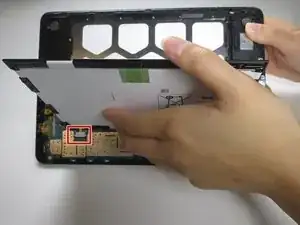
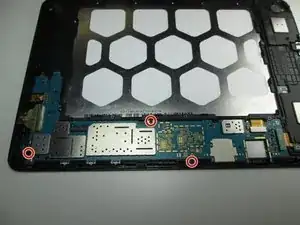
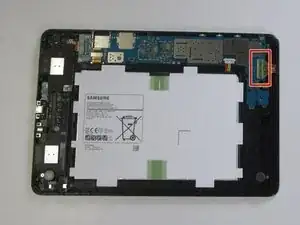
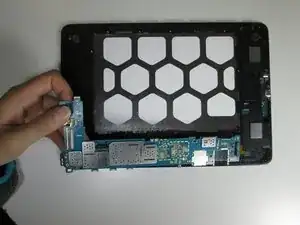
    • Use a #000 Philips screwdriver to remove the three 2.8mm screws attaching the motherboard to the device.

  7. mitWY1ExZKLUTdKX
    mitWY1ExZKLUTdKX
    VjgBCMIXdLGBcoV1
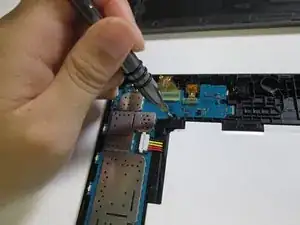
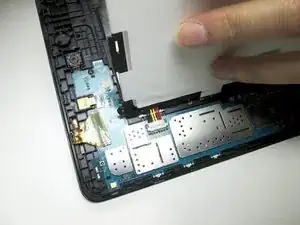
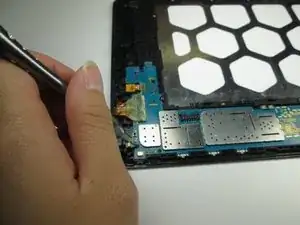
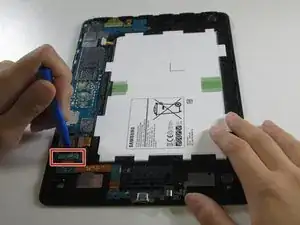
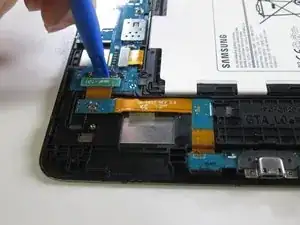
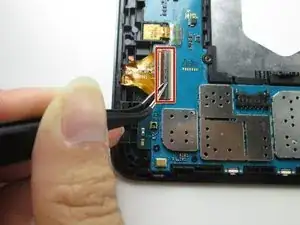
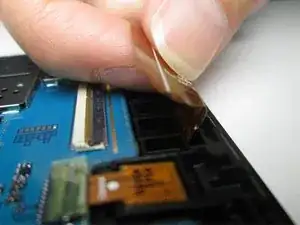
    • Use a plastic opening tool to pry the two connectors near the charging port from the motherboard.

  8. ZF4vShwICFACZn1A
    ZF4vShwICFACZn1A
    CMTLtYPgvSS3Gs3F
    kfmwXLuPF2NAsel5
    • The digitizer is connected to the motherboard near the top of the device. It must be disconnected to remove the motherboard.

    • With your fingers, peel back the plastic sticker placed over the connector.

    • Using metal tweezers, gently flip the now-exposed black portion of the connector up.

    • Gently pull the copper-covered portion of the connector away from the motherboard.

  9. PsFtNojOAnjKAQn1
    PsFtNojOAnjKAQn1
    a2KDSFFRSjBX3Z3P
    l6OcSFwYoZYpDvfv
    • Using your fingers or a spudger, gently remove the motherboard from the device.

    • Keep in mind that both the front and back facing cameras are connected to the motherboard, so be careful when removing them.

Conclusion

To reassemble your device, follow these instructions in reverse order.

Paulina Nguyen

Member since: 26/04/17

982 Reputation

0 comments