Introduction
If your tablet is not charging and you have made sure your charger works, you may need to replace your charging port.
-
-
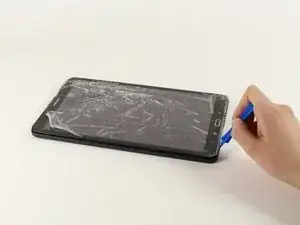
Have the front of the device facing you.
-
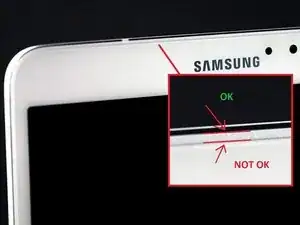
Begin near one of the curved edges of the device (see photo two for visual example).
-
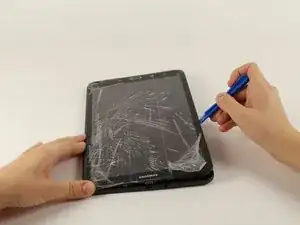
Place a plastic opening tool between the front and back panels.
-
-
-
Once the plastic opening tool is fully inserted, wedge it around the device’s edges to separate the panels.
-
Lift the back panel off of the device.
-
-
-
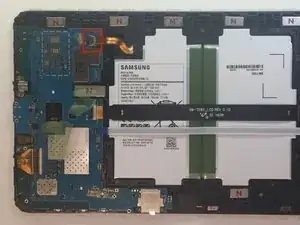
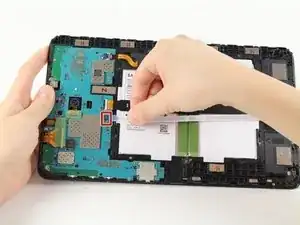
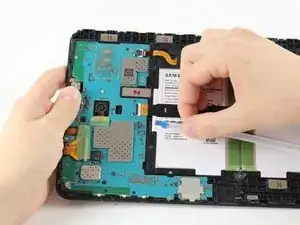
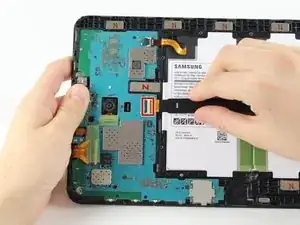
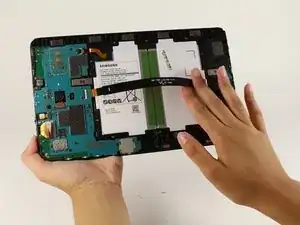
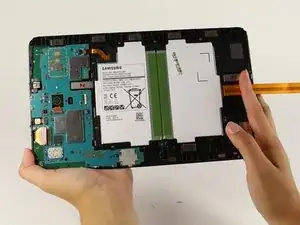
Remove the adhesive film and flip up the retaining flap on the ZIF battery connector.
-
Slide the orange battery ribbon cable out of the ZIF connector.
-
-
-
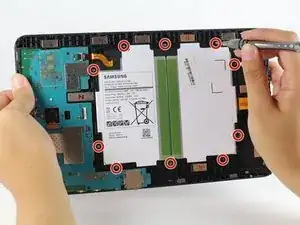
Using a Phillips #000 screwdriver, remove the ten 4 mm screws around the battery.
-
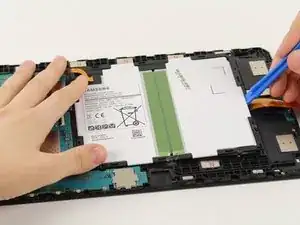
Slide a plastic opening tool under the bottom of the battery close to the speakers and lift up.
-
-
-
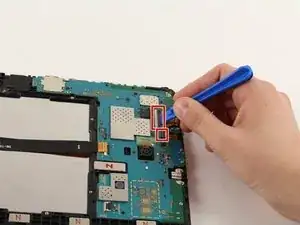
Flip up the two ZIF connectors on the motherboard using the plastic opening tool.
-
Slide the orange ribbon cables out of the ZIF connectors.
-
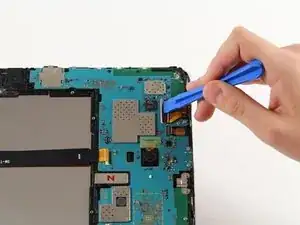
Remove the front-facing camera.
-
-
-
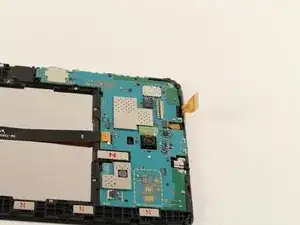
Disconnect the headphone jack from the motherboard.
-
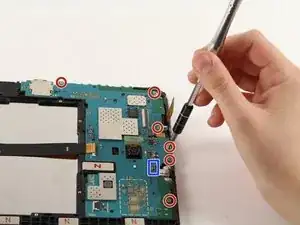
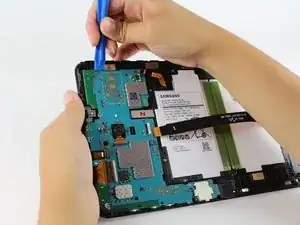
Use a Phillips # 000 to remove six 4mm screws.
-
-
-
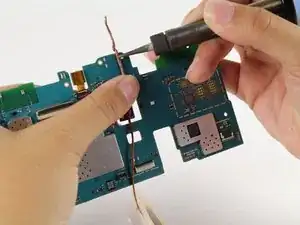
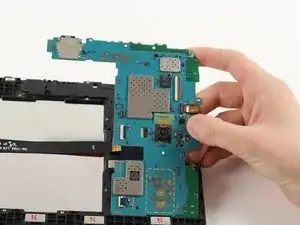
Lodge the plastic opening tool under and lift the motherboard out of the tablet.
-
Remove the metal bracket that was underneath the charging port and set aside.
-


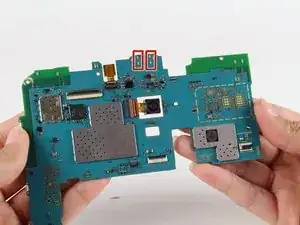
To reassemble your device, place a new metal piece where old one was and solder it to the motherboard in the four holes on the opposite side of the motherboard.
13 comments
It is impossible to unmount the old damaged USB-Interface this way. Beside the four solder-points ist is also soldered to 5 extremely small points on the motherboards opposite side. These are SMD-mounted contacts and in my case trying to unsolder them damaged the motherbords layout.
I was able to desolder it with a hot air rework station + soldering iron without damaging the pcb then using a wick cut at an angle + the heat gun to clean the mounting holes you must clean then fully so the new part will mount flush.
Also take care with resoldering the new connector not to bridge the pins on the usb port.
cusbrar2 -
what is the model of USB connector here? I would like to buy in advance before opening
AWESOME!! I was trying to open it from the “NOT OK” place and you saved me to broken the screen… thanks!!
David Leiva -
No problem, enjoy.
Roger L. Ortiz -
Felt it was easier for me to do it from the middles out.
Tanin Garcia -
@rogerlortiz You two seem to be miscommunicating. The author points out the location between the digitizer and frame in which to place a tool. While @Tanin Garcia, whom no longer seems to be member, was pointing out where along the edge from corner to corner it was best to start the separating process.
B. A. Computer Services -
Important: the display is sourrounded with a plastic frame. You need to get beween this frame an the backcover (not directly at glass edge as I tried it first and almost broke the glass). Get a closeup picture of it to clarify.
Oliver Dawid -
wer lesen kann, ist klar im Vorteil - ich hab die SD-Karte drin gelassen. Hat aber funktioniert…
Thomas Wolter -
Don’t use a very small flathead screwdriver as a spudger. Just shattered the screen :(
nikvoss -
Yes, shattered the screen. To the garbage, it goes. A little knowledge is a dangerous thing. This a repair better suited for a professional repair! Thanks for helping me make the decision to get another one!
vancega -