Introduction

  1. NJTXKkeXC6WewVR3
    NJTXKkeXC6WewVR3
    mlBXlcBUhwMR1QIw
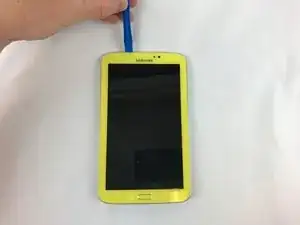
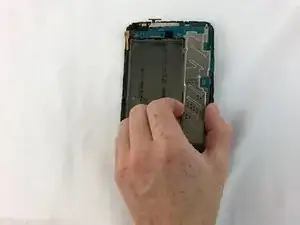
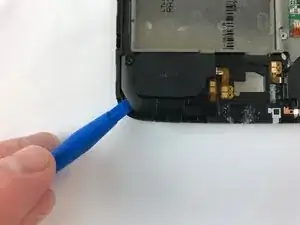
    • Using the plastic opening tool to open up the device, wedge in the seam between the screen and the back cover.

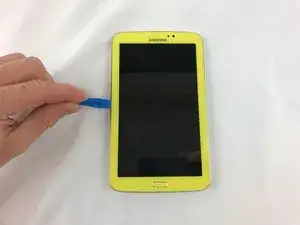
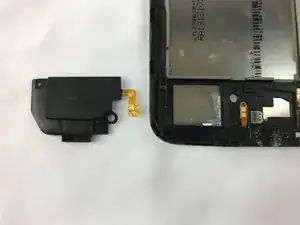
    • Slide the tool around all the edges and remove the screen from the back cover.
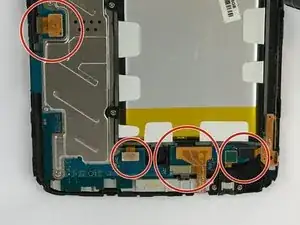
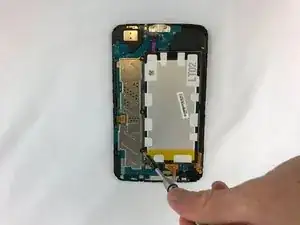
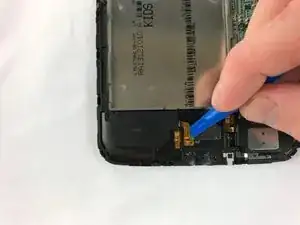
  2. BOyKNXZFRB4lUr2u
    • Unplug the battery connection carefully using the plastic opening tool.

  3. IKAABjGXeTIm4EeC
    IKAABjGXeTIm4EeC
    dOMdsctLIgM2lhPp
    25ZpxSYDrirbSsFZ
  4. eOSmeqVUGluAlCE1
    eOSmeqVUGluAlCE1
    4IJeNEPKhlNHsIFy
    • Unscrew the ten 4mm PH000 bolts holding the motherboard to the device.

  5. sskqyxdlmXX3GUXg
    sskqyxdlmXX3GUXg
    RYTFNABvYlDRnR6Z
    gPqsagHRvcr3wjdV
    • Remove the mother board from the device by carefully lifting it out.

  6. IHZH5PcZCoISOipQ
    • Remove the last screw holding down the speaker.

  7. LY1waN5dvDFBmh1y
    LY1waN5dvDFBmh1y
    VpDMpWfTjMKRia1G
    XxLBDdDkYuDqYNPT
    • Remove the speaker using the blue opening tool.

Conclusion

To reassemble your device, follow these instructions in reverse order.

ajhoffman

Member since: 05/01/14

182 Reputation

0 comments