
Introduction
Use this guide to access and replace the power button of your phone.
-
-
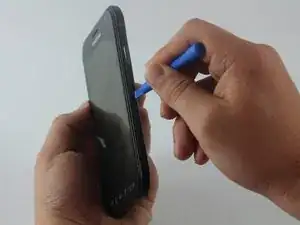
Insert your fingernail or a plastic opening tool into the pivot on the side of the SIM tray.
-
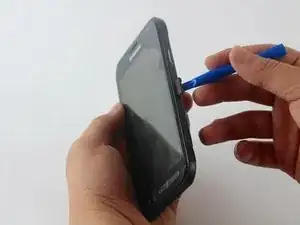
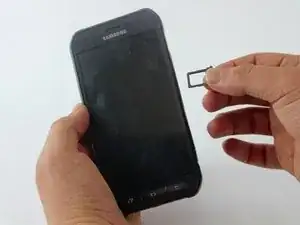
Pry open the tray to get it out of the socket.
-
-
-
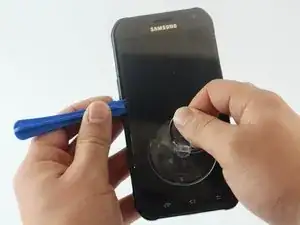
Heat the front face (sides, top, bottom) of the phone with the iOpener, a hair dryer, or a heat gun for 60 seconds to loosen the adhesive around the edge of the glass.
-
-
-
Once you’ve opened a large enough gap, insert a plastic tool at the bottom, between the glass and the rest of frame of the phone.
-
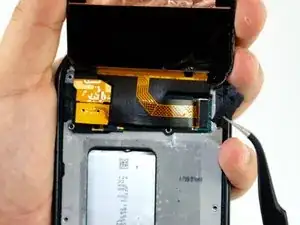
Slide the plastic opening tool around the screen, prying the display gently away from the body
-
-
-
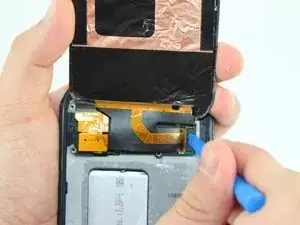
Pull the lower half of the screen screen with the suction cup while holding down the frame of the phone to separate both components.
-
-
-
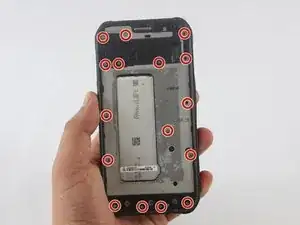
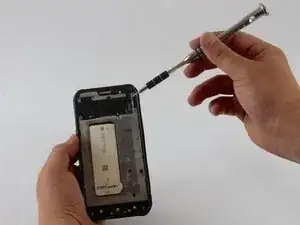
Use the Phillips Head Screwdriver sized PH000 to remove the sixteen 4mm screws from the frame.
-
-
-
Put a little pressure on the top, on the bottom, and on the sides of the phone to separate the rear case.
-
-
-
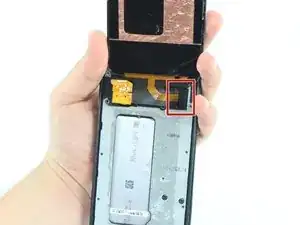
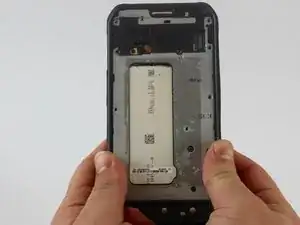
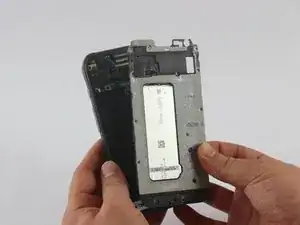
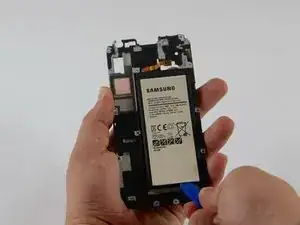
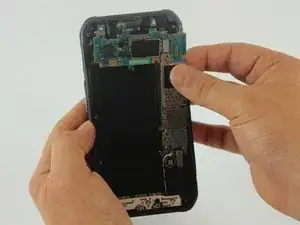
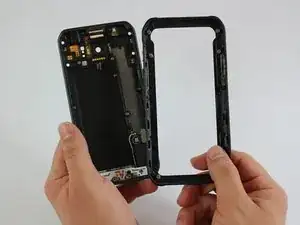
Once all the clips have popped, pull out the rear case to separate it from the frame with the battery.
-
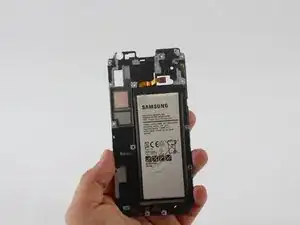
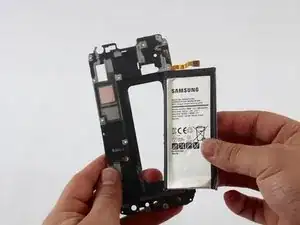
The battery will be on the back side of this frame.
-
-
-
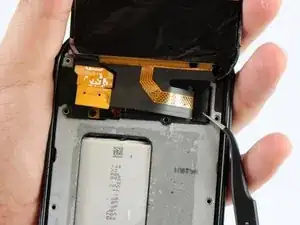
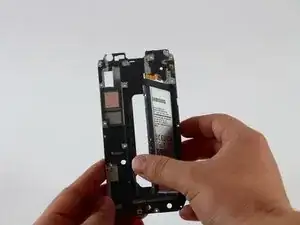
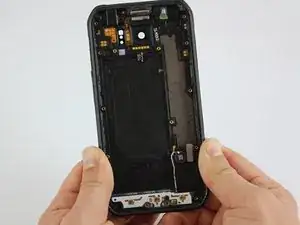
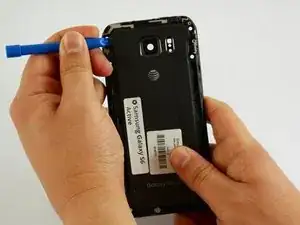
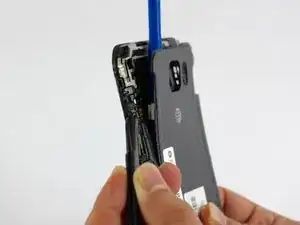
Put a little pressure on the top, on the bottom, and on the sides of the phone to separate it from the plastic cover.
-
-
-
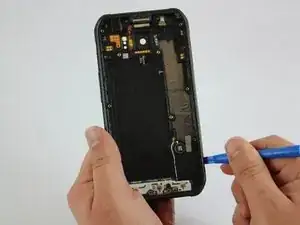
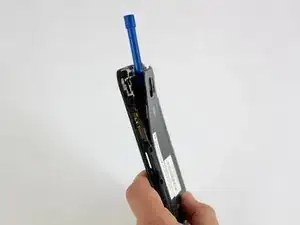
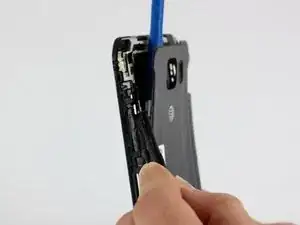
Once you see a large enough gap, insert a plastic tool between the frame and the plastic cover and slide it around the phone to separate both components.
-
-
-
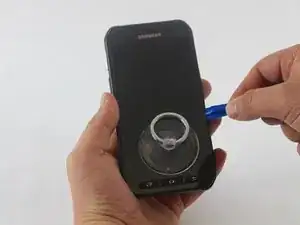
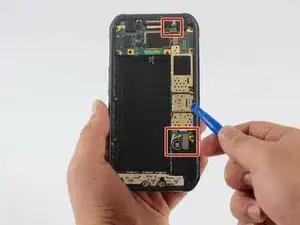
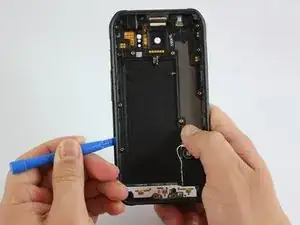
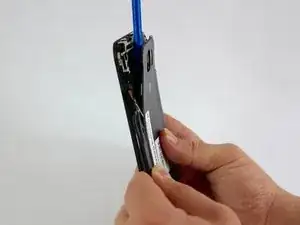
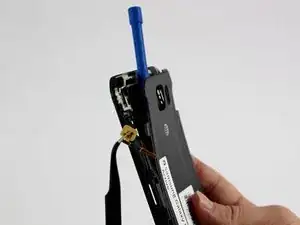
Insert a plastic tool between the frame of the phone and the back cover at the top left corner.
-
-
-
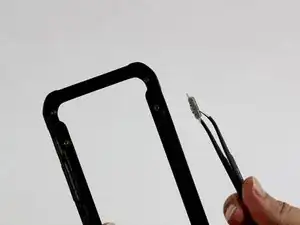
The power button is located on the plastic cover.
-
Use the tweezers to push the power button out of the frame.
-


To reassemble your device, follow these instructions in reverse order.