Introduction

Changing a full LCD module is expensive, here I explain step by step how to replace only the glass. That way you can savage the LCD and remove only the broken glass and separate it from the LCD

enjoy

  1. 62hlFGmmrvIAFx2M
    62hlFGmmrvIAFx2M
    PT4fcBUHBm1Z4ZdE
    mgnkcIWZAYBXIwyF
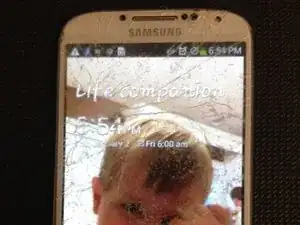
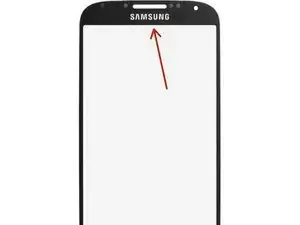
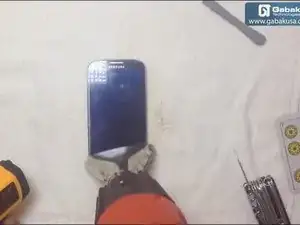
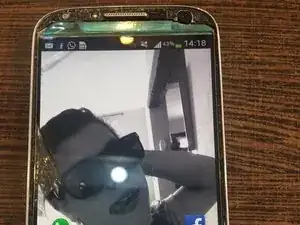
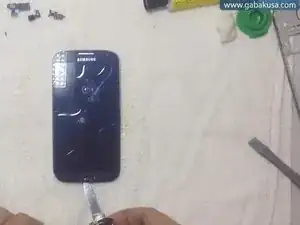
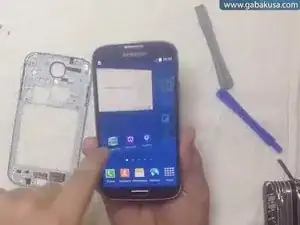
    • If your LCD and everything else works fine and your phone look like this picture, you can change the glass

  2. svI2XsMQWyxAfT2P
    • not all the heatgun are the same, get on with variable temperature

  3. oLZfYKEjWMtILFfV
    • in ebay you can get one for 10$

  4. EyesyRIO5uZrIlvB
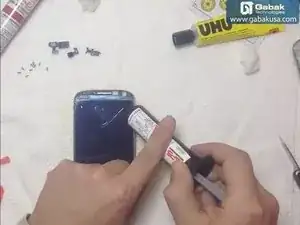
    • not all the glues are the same. Get XFACTOR or Octopus brand are good.

    • if you get something like you see in the picture make sure the caps are green and not blue, Those chinese brands sometimes can be crappy, the red tube with blue caps is the crappiest

  5. 5s3MiQpwbZmM2wIx
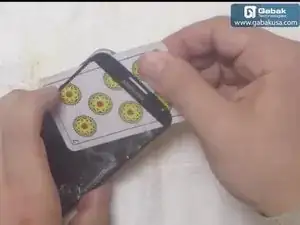
    • most of the replacement on ebay are fine, make sure it has the brand on it. There are some they are blank.

  6. OEmKtFj5hAXCJWgO
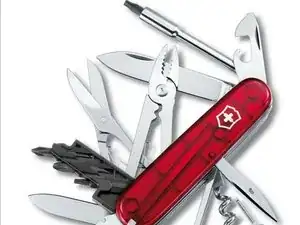
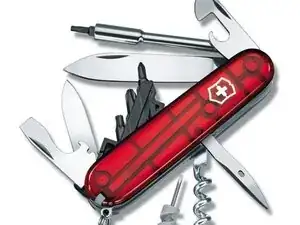
    • get a great game cards in order to be able to separate the LCD from the broken glass.

    • dont be cheap ;-) buy the best quality you can get

  7. agES2ccSCrYtjRuC
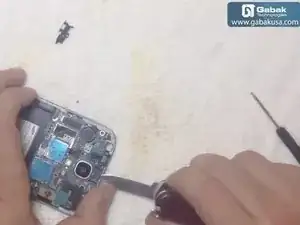
    • it has nice blades to help you to separate the lcd from the broken glass. It has all the tips needed in order to remove all the screws and other parts

  8. yfQEQV64rRsg3DG5
    • you can follow the video i made here.

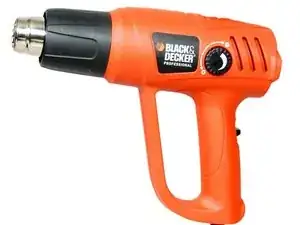
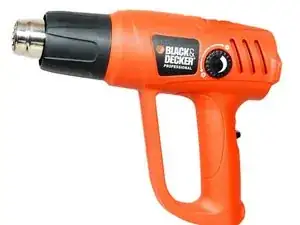
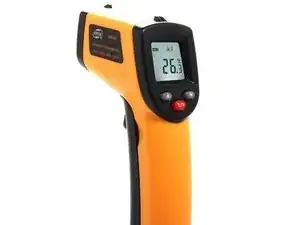
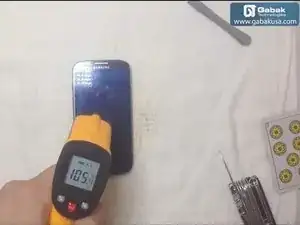
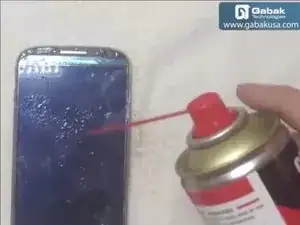
    • just start moving the heatgun shooting heat all over the glass quickly and dont let it be over 100 degrees celsius or you will damage the LCD and it will turn gold, if that happen you will have to change the whole LCD module

  9. AKMfCcbpM5iPL5RR
    • a peak of 105 degrees is fine but keep it moving fast the gun so the heat will spread even in the whole LCD
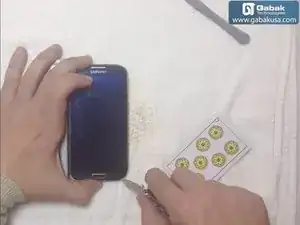
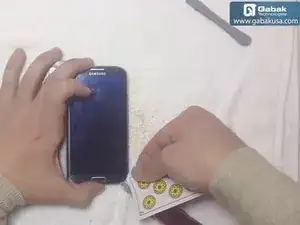
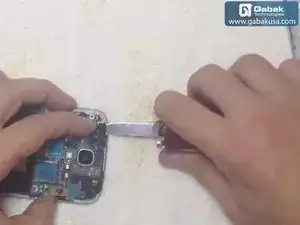
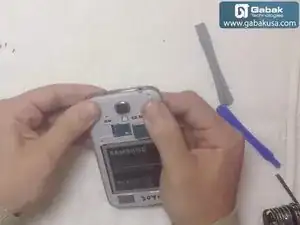
  10. 5C4aLssLNkrhOPaU
  11. dUO21KevBPINOyfE
    • lift the glass with the blade and put the card

  12. NfMHVSHbRxDBwGfP
    • do it slowing and keep applying heat

  13. 2EOJQkLkDqv5Rmuk
    2EOJQkLkDqv5Rmuk
    FRM2SpKaJHELLA4E
    • keep heat and lift it up very slowly

    • flex is on the top be careful

  14. pqfMMhT2uITQnpEM
    pqfMMhT2uITQnpEM
    DvuG2Q11eFHB4ibC
    p6SYnhHZ5enRNjYR
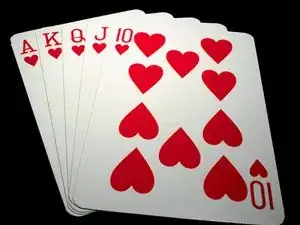
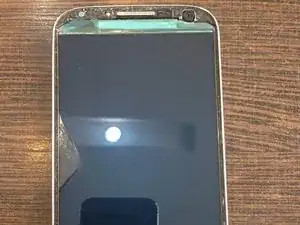
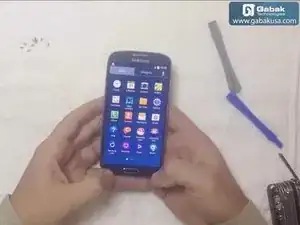
    • it has to be like a mirror. Here as the picture shows

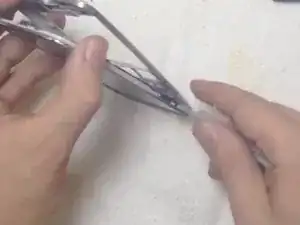
    • use a cotton to clean and the plastic tool

  15. 6JdhhLHUfZ3wScnD
    6JdhhLHUfZ3wScnD
    KvveG1FcRWqLLPiS
    Yprm13nnvpPWRXCV
    • remove all screws

    • remove bezel

    • remove front face camera

  16. ynCgruIRxKhna1cV
    ynCgruIRxKhna1cV
    TiAxnMwOFPZ22mga
    2xTGHQJQZJKbNOw5
    • remove screws from the logic board

    • unplug everything

    • leave lcd module alone

  17. pNdMEVhtgtNseoS3
    pNdMEVhtgtNseoS3
    XJFYnU1YPTkVZtIu
    YFaFSbSI4KGMlPIa
    • do it slowly and dont make bubbles

    • when you put the new glass slowly too. use your knife to put it down

  18. TU2YG1fLiWWDJmNJ
    TU2YG1fLiWWDJmNJ
    EY15dTkHYvqJjVdy
    • i like this uv light instead of the sun

    • you can use sun as well but i dont recommend it

  19. SyJrGLYEHUqOsVPK
    SyJrGLYEHUqOsVPK
    1NVXIlIlA1v4Xtc3
    iwtfQugAEutVXlJm
    • put logic board + frontal face camera

    • bezel back

    • put all the screws.

    • turn it on

    • enjoy!!

Conclusion

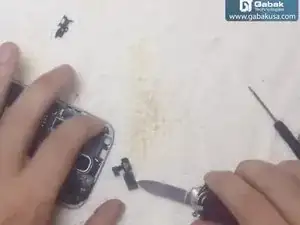
To reassemble your device, follow these instructions in reverse order.

Gabriel barradenguy

Member since: 05/05/15

590 Reputation

0 comments