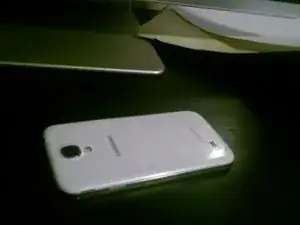
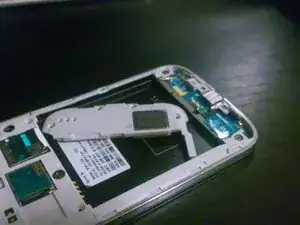
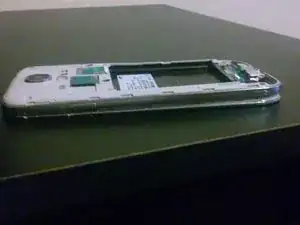
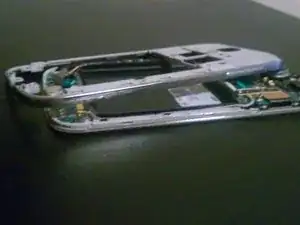
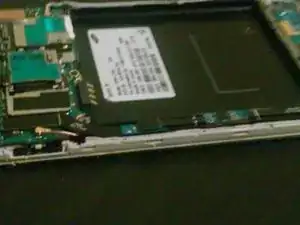
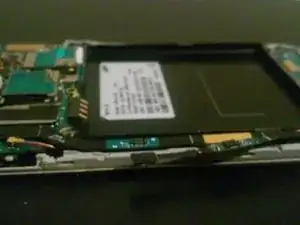
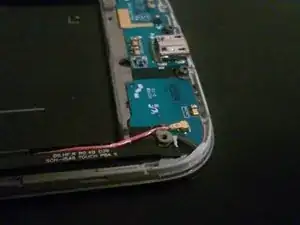
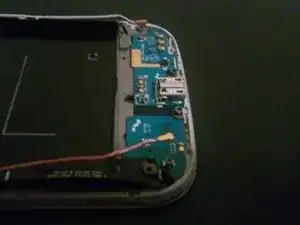
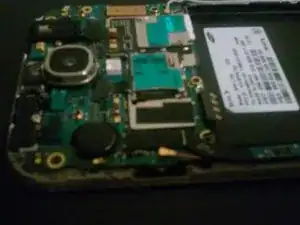
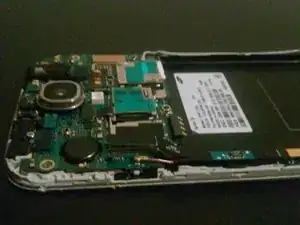
Introduction

Click here for the official iFixit guide to disassemble the Galaxy S4 down to the motherboard. The guide you are currently viewing is archived here for historical purposes only.

  1. TNr2Kt3slqECBWdD
    TNr2Kt3slqECBWdD
    DSpnJ6EGeZumx3f1
    nTA3SNPOymFsfMjq
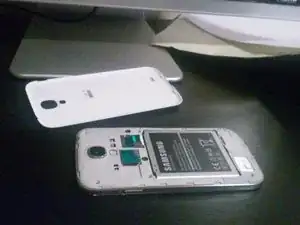
    • Peel off back of phone

  2. QdWvWJbkckDsFg11
    QdWvWJbkckDsFg11
    NMCWreZ2VCeJnCiJ
    SeGqI5ZF6OuhMlP4
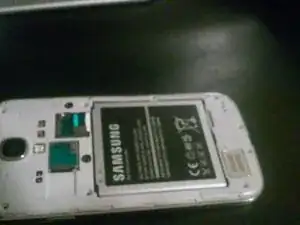
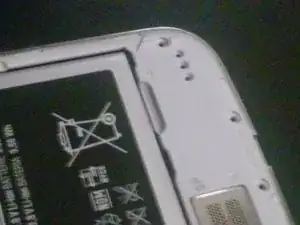
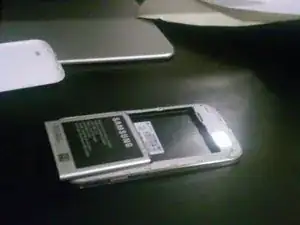
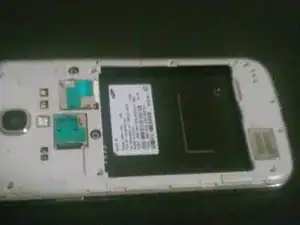
    • Remove battery.

  3. eVcF6J55COmwbMPs
    • Remove all 8 screws

  4. br4WO23t4OayxPdi
    br4WO23t4OayxPdi
    d6IIKMLWMgX36WyC
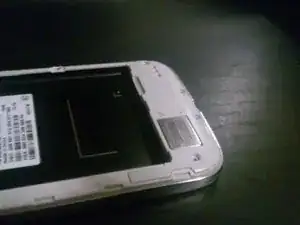
    • Remove Speaker using a thin rigid plastic thing, starting from where the battery nail-hold is located.

  5. i2xCGDnx21CWDhab
    i2xCGDnx21CWDhab
    6QMQmGbH1i4fxjZ2
    TVvTGun5ph1T4WlL
    • Release clips on the outer rim

  6. XIZlP6Y16yPxbpfq
    XIZlP6Y16yPxbpfq
    qHDLd1SQSEmenP2X
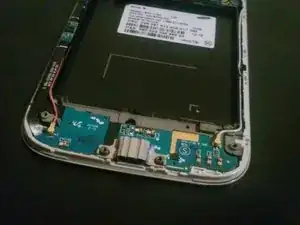
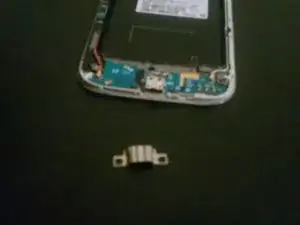
    • Remove clip off of USB port with a flathead screwdriver.

  7. jlmCptY3StJpEJms
    jlmCptY3StJpEJms
    nxAuMIPFgTyMCYWm
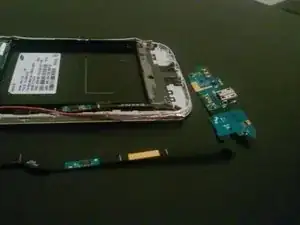
    • Use a platic knife or flathead srewdriver to gently unplug the cable.

  8. blHCZbdHBYZFXsZE
    blHCZbdHBYZFXsZE
    RVvxRZLVHcrnHPLJ
    • Use your flathead screwdrive to carefully detatch the Touch and Homescreen Flex cable

  9. jXlM2KOCHAqMBpbo
    jXlM2KOCHAqMBpbo
    YEyZXIPr5VDQ5hrc
    • Remove the cable

  10. NteSeISFGIPEJkEe
    NteSeISFGIPEJkEe
    AQN1xUTUXBIKAHSb
    • Detach the flex cable

  11. 4uchdkEH3PnmT4VB
    4uchdkEH3PnmT4VB
    TPAXREqI2TyFdBvQ
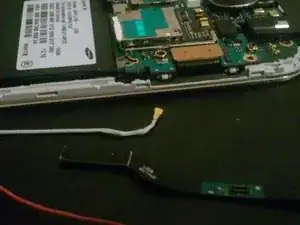
    • Completely remove the flex cable

  12. wowwwJYFp3YhNKDp
    • Remove the usb complete port

  13. jsVYWxc6KAlQCI1u
    jsVYWxc6KAlQCI1u
    2BRlTSJQ5tpEqbl4
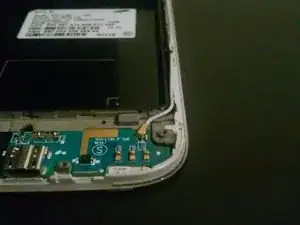
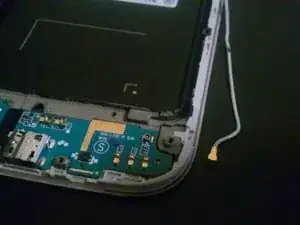
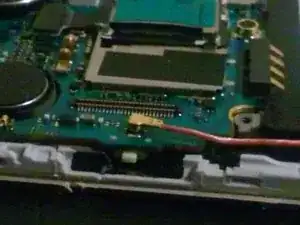
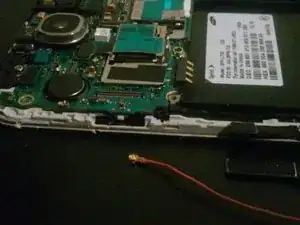
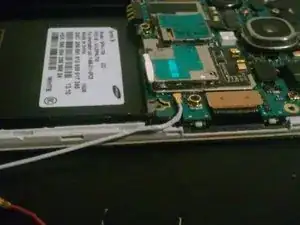
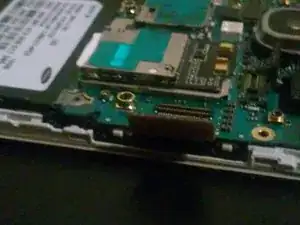
    • Remove the 3G and GSM antenna cable from the motherboard.

  14. ffstcxtWjVO2DIeR
    ffstcxtWjVO2DIeR
    IBORZL31QT5HucBw
    • Lift ports from motherboard

  15. DPObIcclXFDcV3Jv
    DPObIcclXFDcV3Jv
    vf5HATIbGxFuhlyx
    • Detach this port from the motherboard

  16. Pt43GcLORyivLU6U
    Pt43GcLORyivLU6U
    LTbBGiVUNPSrlkJr
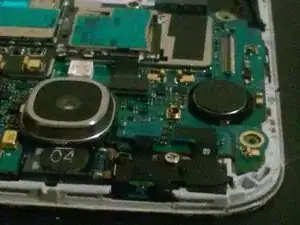
    • Disconnect main screen cable

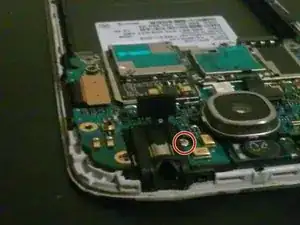
    • Don't forget to remove this screw.

  17. DseGyTYYa1JiAnYt
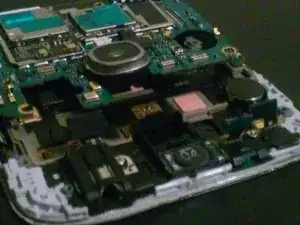
    • Now you can take off the motherboard

Conclusion

To reassemble your device, follow these instructions in reverse order.

AhsAlexFerguson

Member since: 01/11/16

423 Reputation

2 comments

This sucked so baaaaaaad.

AhsAlexFerguson -

I found it helpful, though you're right that it could use a lot of work.

You neglected to mention a screw that holds the motherboard to the display assembly. It can be found to the lower right of the headphone jack and should be removed immediately prior to step 17.

To others who may come along, the USB/daughterboard assembly is affixed to the display chassis with mild adhesive. The daughterboard is VERY flexible and should be removed with caution. I used the flat end of a spudger to gently pry the board up from the chassis by going underneath the cabling on the lefthand side.

Thanks!

E West -