Introduction

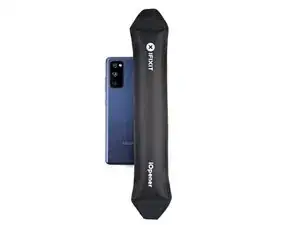
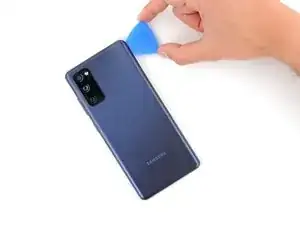
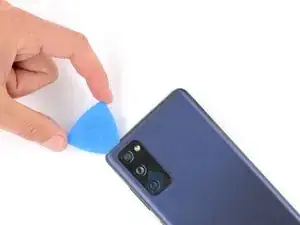
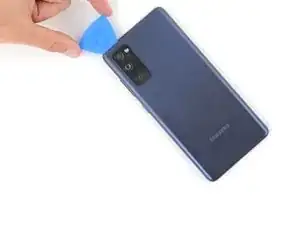
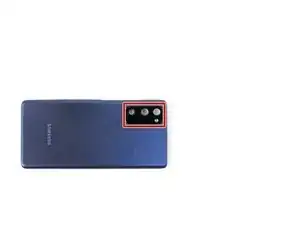
Use this guide to replace a cracked rear camera lens cover on your Samsung Galaxy S20 FE 5G.

A damaged rear camera lens cover may be causing poor quality photos.

Before starting this repair, make sure the issue is with the lens cover and not one of the cameras.

You’ll need replacement adhesive for the back cover and camera lens cover to reassemble your device.

  1. RvNBJlCUjk1O5oNJ
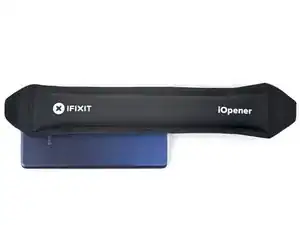
    • Heat an iOpener and apply it to the bottom edge of the back cover for two minutes.

    • You can also use a hair dryer—but be careful, as extreme heat will warp the back cover.

  2. kVu4cFJWJFQAQfcT
    kVu4cFJWJFQAQfcT
    NIJESDgeOM2hFQxD
    2HF31o4evqhNWljd
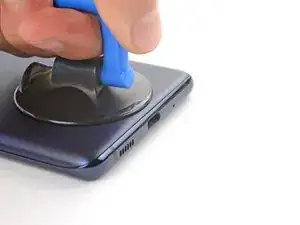
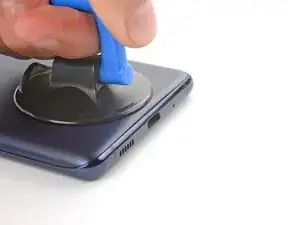
    • Apply a suction cup to the center of the back cover's bottom edge, as close to the edge as possible.

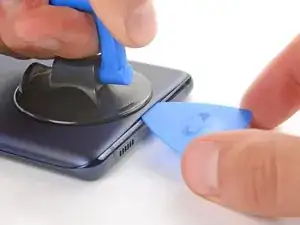
    • Pull up on the suction handle with strong, steady force to create a gap between the cover and frame.

    • This will require significant force. If you're having trouble, apply more heat and try again.

    • Insert an opening pick in the gap.

  3. G6Fd4TCWFQoaOrQF
    G6Fd4TCWFQoaOrQF
    kp1NkUDJSfcjZDKg
    oHdQnfUDXUXC4mPa
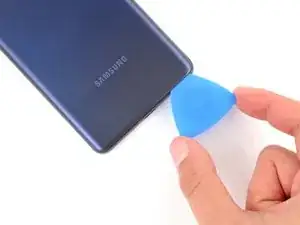
    • Slide the opening pick along the bottom edge to slice the adhesive securing the back cover.

    • Leave the opening pick inserted in the bottom right corner to prevent the adhesive from resealing.

  4. 5fiCUF6qPgykHEep
    • Apply a heated iOpener to the right edge of the back cover for two minutes.

    • You can also use a hair dryer—but be careful, as extreme heat will warp the back cover.

  5. 4KYxP5vKutacDXZJ
    4KYxP5vKutacDXZJ
    U4rNJPkypfTM1N1J
    2YuTPJTd6RjPDQvF
    • Slide the opening pick around the bottom right corner and all the way up the right edge to slice the adhesive.

    • Leave the opening pick inserted in the top right corner.

  6. YYndAO5lBNvZ5gXe
    • Apply a heated iOpener to the top edge of the back cover for two minutes.

    • You can also use a hair dryer—but be careful, as extreme heat will warp the back cover.

  7. 4yNKFd3JWewqTSjm
    4yNKFd3JWewqTSjm
    6h5UBZifAs22tg2N
    • Slide the opening pick around the top right corner and along the top edge to slice the adhesive.

    • Leave the pick inserted in the top left corner.

  8. ILFik3pN1HP3yvUr
    • Apply a heated iOpener to the left edge of the back cover for two minutes.

    • You can also use a hair dryer—but be careful, as extreme heat will warp the back cover.

  9. 3CiEpml6TSqIMCZk
    3CiEpml6TSqIMCZk
    CAJcsIAbQCpCHWh5
    iJkLjx3mywfKX3IW
    • Slide the opening pick around the top left corner and all the way down the left edge to slice the remaining adhesive.

  10. GGYFahESSVO2AqMX
    GGYFahESSVO2AqMX
    RIhO1AGkj6GDpNvL
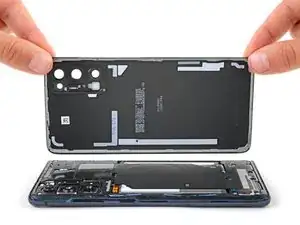
    • Remove the back cover.

    • If the back cover is still stuck to the frame, slide an opening pick around the perimeter to separate any remaining adhesive.

  11. nbIjnxMZVxxOAWap
    nbIjnxMZVxxOAWap
    pIUqujkFExC5yWXc
    BcRCXLN1oM6UvXQB
    • During reassembly, this is a good point to power on your device and test all functions before sealing it up. Be sure to power it back down completely before you continue working.

    • If you're reinstalling your old back cover:

    • Use tweezers or your fingers to peel off the old adhesive from the back cover and frame.

    • Use highly-concentrated isopropyl alcohol (over 90%) and a microfiber cloth to remove any remaining adhesive residue.

    • Follow this guide to apply new custom-cut adhesive.

    • If you're installing a new back cover, peel off the liners and press firmly around the perimeter to secure the back cover to the frame.

  12. IdVuAfBXYDQvua2X
    IdVuAfBXYDQvua2X
    rcjO4CpiEdrI3u3S
    • Apply a heated iOpener to the rear camera lens cover for two minutes.

    • You can also use a hair dryer—but be careful, as extreme heat will warp the back cover.

  13. 3UcAfUp3sJvwYPdV
    3UcAfUp3sJvwYPdV
    YfWEKLQKYeWlfT6n
    2SkOYdXKUmUtUkvP
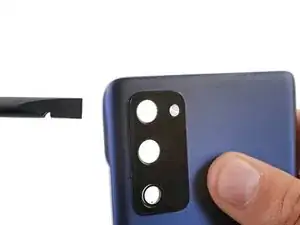
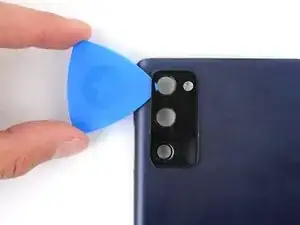
    • Strong adhesive secures the rear camera lens cover.

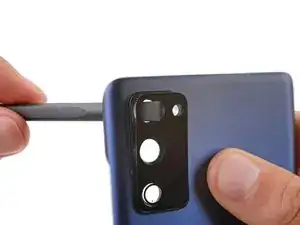
    • Insert the flat end of a spudger through the top camera cutout from the underside of the back cover.

    • Push the lens cover until it begins to separate from the back cover.

    • Insert an opening pick between the lens cover and back cover.

  14. uvSa3kaTOKcnP1vt
    uvSa3kaTOKcnP1vt
    dge2FHJKSeR3hASw
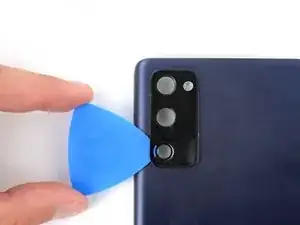
    • Slide the opening pick back and forth under the rear camera lens cover to slice its adhesive.

  15. jDSF1KIHkBJVmUJu
    jDSF1KIHkBJVmUJu
    cjbmvkNh2PnZ4qXj
    EUQqCpIbZ5DElGBA
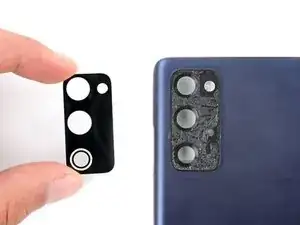
    • Remove the rear camera lens cover.

    • To install your new lens cover:

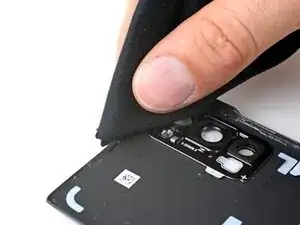
    • Use tweezers to slowly peel off the old adhesive—it won't leave any residue.

    • Use the camera cutouts to find the proper orientation of the lens cover.

    • Remove the plastic liner from the back of the new lens cover.

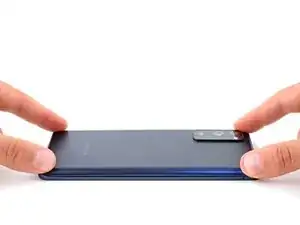
    • Lay the lens cover in its recess and press down firmly on the entire surface of the cover to secure it.

Conclusion

To reassemble your device, follow these instructions in reverse order.
Spencer Day

Member since: 14/09/22

88286 Reputation

0 comments