Introduction
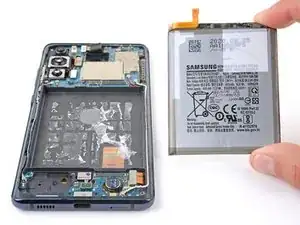
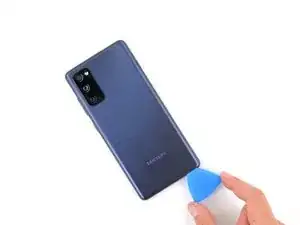
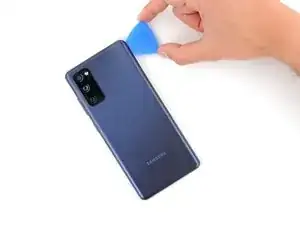
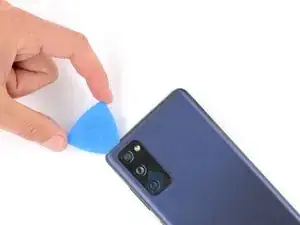
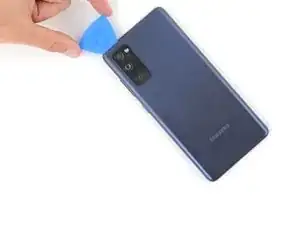
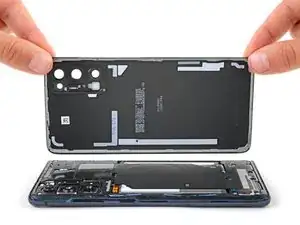
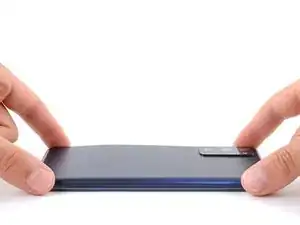
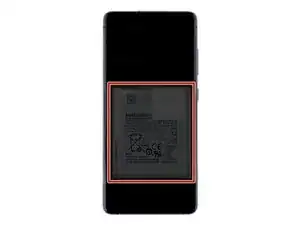
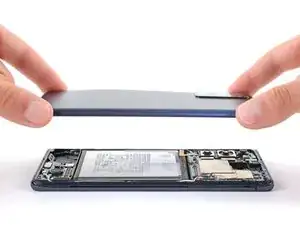
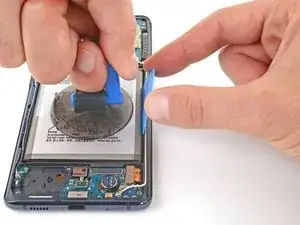
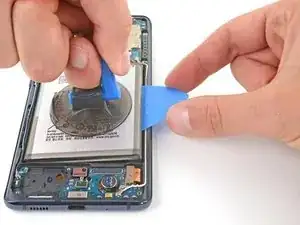
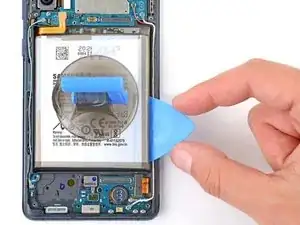
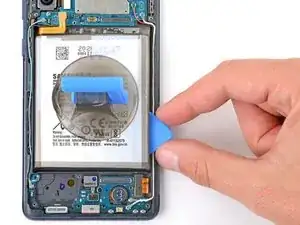
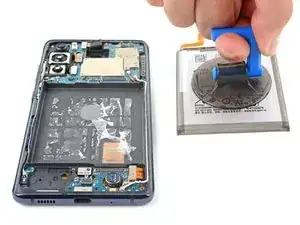
Use this guide to replace the battery in your Samsung Galaxy S20 FE 5G.
The battery may need to be replaced if it isn't holding a charge, charges slowly, or shows poor health.
If your battery is swollen, take appropriate precautions.
You’ll need replacement adhesive for the back cover and battery to reassemble your device.
Tools
Parts
-
-
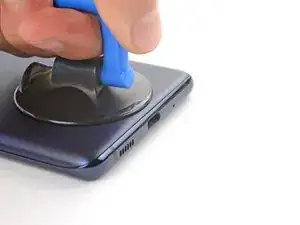
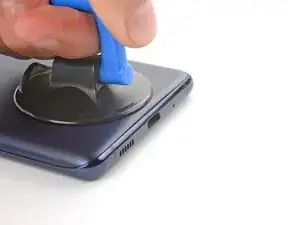
Apply a suction cup to the center of the back cover's bottom edge, as close to the edge as possible.
-
Pull up on the suction handle with strong, steady force to create a gap between the cover and frame.
-
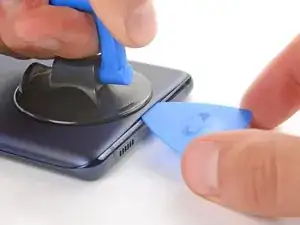
Insert an opening pick in the gap.
-
-
-
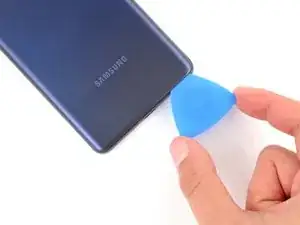
Slide the opening pick along the bottom edge to slice the adhesive securing the back cover.
-
Leave the opening pick inserted in the bottom right corner to prevent the adhesive from resealing.
-
-
-
Slide the opening pick around the bottom right corner and all the way up the right edge to slice the adhesive.
-
Leave the opening pick inserted in the top right corner.
-
-
-
Slide the opening pick around the top right corner and along the top edge to slice the adhesive.
-
Leave the pick inserted in the top left corner.
-
-
-
Slide the opening pick around the top left corner and all the way down the left edge to slice the remaining adhesive.
-
-
-
Use tweezers or your fingers to peel off the old adhesive from the back cover and frame.
-
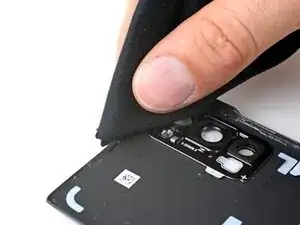
Use highly-concentrated isopropyl alcohol (over 90%) and a microfiber cloth to remove any remaining adhesive residue.
-
Follow this guide to apply new custom-cut adhesive.
-
-
-
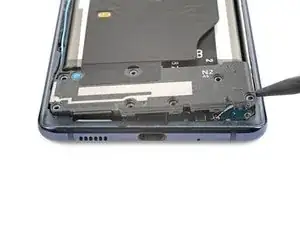
Use a Phillips screwdriver to remove the 16 screws securing the wireless charging assembly:
-
Nine 4 mm-long screws securing the motherboard cover
-
Seven 4.5 mm-long screws securing the loudspeaker
-
-
-
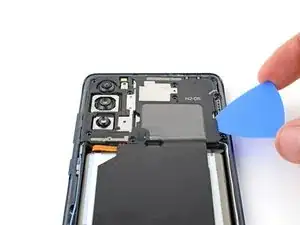
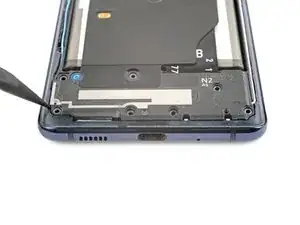
Insert a pick under the bottom right edge of the motherboard cover.
-
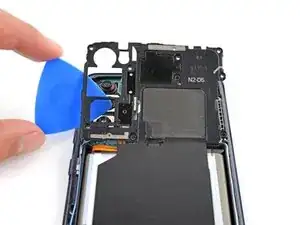
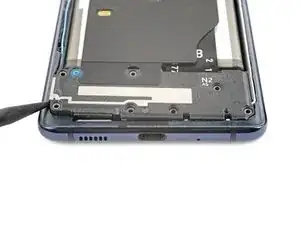
Twist the pick to release the clips securing the cover.
-
Insert and twist the opening pick on the bottom left edge of the cover to release the remaining clips.
-
-
-
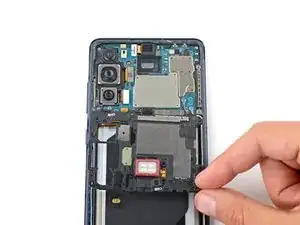
Reposition the motherboard cover so you can access the battery and wireless charging press connectors on the bottom edge of the motherboard.
-
-
-
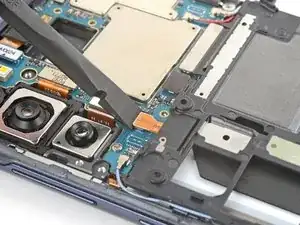
Use the flat end of a spudger to pry up and disconnect the battery and wireless charging press connectors from the motherboard.
-
-
-
Insert the point of a spudger between the bottom left corner of the loudspeaker and the frame.
-
Pry up to release the clips securing the left edge of the loudspeaker.
-
Pry up the bottom right corner of the loudspeaker to release the remaining clips.
-
-
-
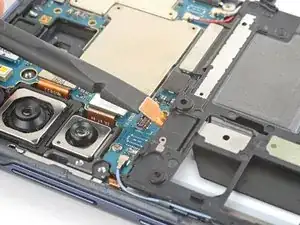
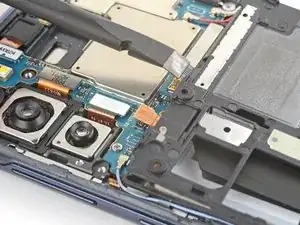
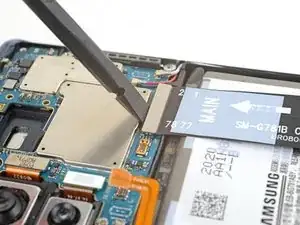
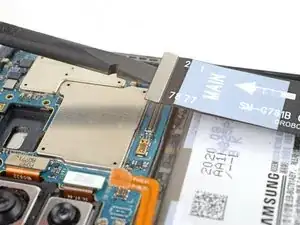
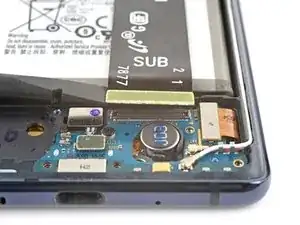
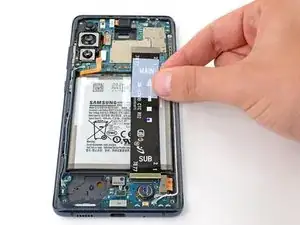
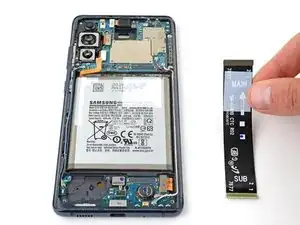
Use the flat end of a spudger to pry up and disconnect the interconnect cable press connector from the motherboard.
-
-
-
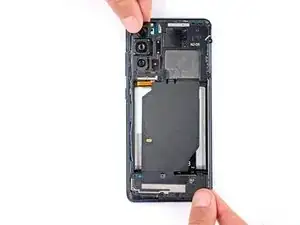
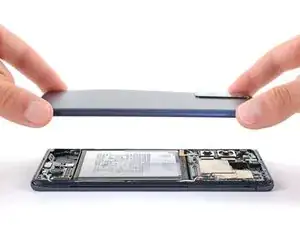
Place the back cover on the frame to protect your phone's internal components during the next step.
-
-
-
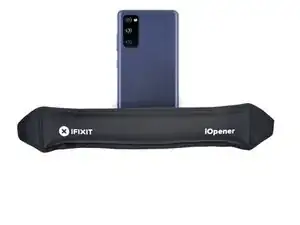
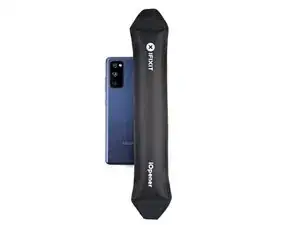
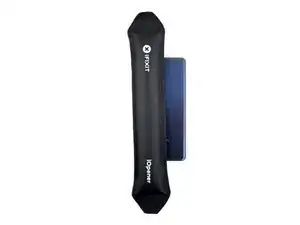
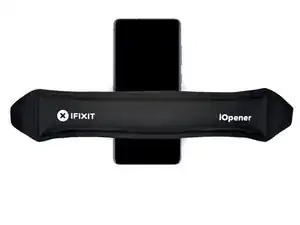
Flip your phone over and apply a heated iOpener to the middle of the screen for two minutes to soften the battery adhesive.
-
-
-
Apply a suction cup to the center of the battery.
-
Insert the flat side of an opening pick between the right edge of the battery and frame.
-
Pull up on the suction cup with strong, steady force and simultaneously pry up with the pick until the right edge of the battery lifts from the frame.
-
-
-
Remove the battery.
-
If you used isopropyl alcohol, wait ten minutes before installing the new battery to allow the alcohol to completely evaporate.
-
-
-
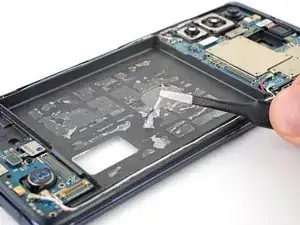
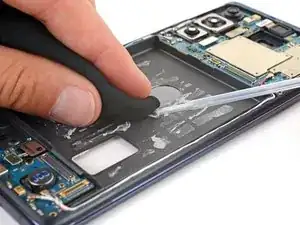
Use tweezers or your fingers to remove the old adhesive from the frame.
-
Use highly-concentrated isopropyl alcohol (over 90%) and a microfiber cloth to remove any remaining adhesive residue.
-
Temporarily connect the replacement battery's cable to the motherboard and lay the battery in its recess to ensure proper fit and orientation.
-
If you're using custom-cut battery adhesive, follow this guide to apply it. Otherwise, apply double-sided tape such as Tesa Tape directly to the battery recess where the old adhesive was.
-
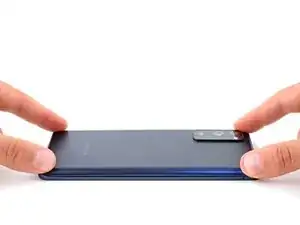
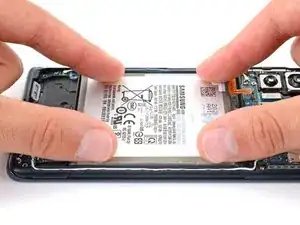
Lay the replacement battery in its recess and press down firmly on the entire surface of the battery to secure it.
-
To reassemble your device, follow these instructions in reverse order.
For optimal performance, calibrate your newly installed battery after completing this guide.
Take your e-waste to an R2 or e-Stewards certified recycler.
Repair didn’t go as planned? Try some basic troubleshooting, or ask our Answers community for help.
