Introduction
-
-
Locate the Tab: Find the tab at the top left corner of the back cover. (highlighted by red square)
-
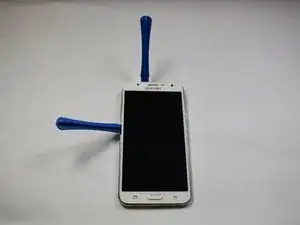
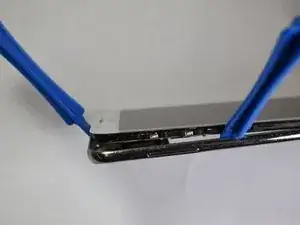
Insert the tool: Use a fingernail or a plastic opening tool to lift the tab gently
-
Pry open the cover: Carefully work around the edges to remove the back cover completely
-
-
-
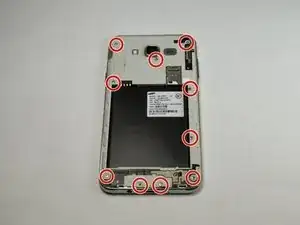
Using the Phillips #000 screwdriver, remove the ten 4.2 mm screws around the edge of the midframe.
-
-
-
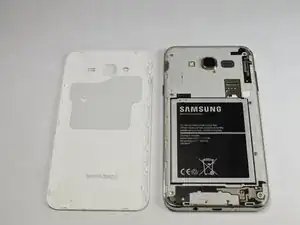
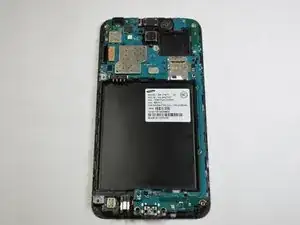
Lift up the back of the device with the iFixit opening tool and disconnect it from the front.
-
-
-
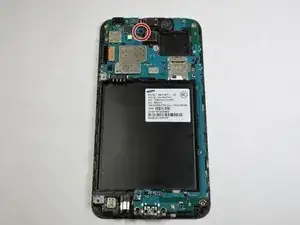
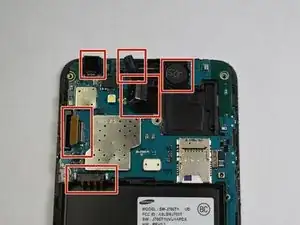
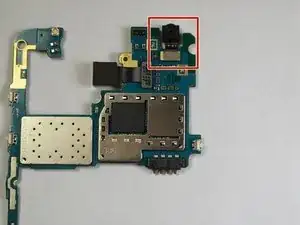
Remove single screw from back of device. This is the only screw that must be removed to take off this piece.
-
-
-
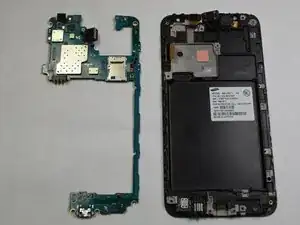
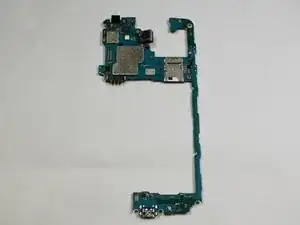
Pull the blue/green piece away from the black piece. They should not need any force to be removed. The next step will deal with using the green/blue piece from the second picture.
-
-
-
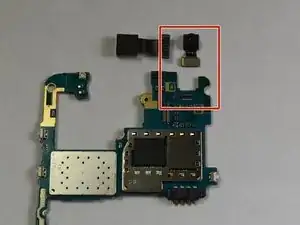
Flip over the piece (180 degrees). Remove the boxed out piece. This is the front facing camera.
-

To reassemble your device, follow these instructions in reverse order.