Introduction
-
-
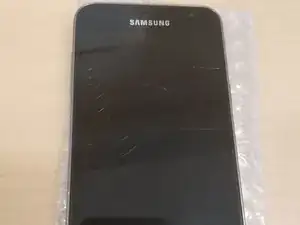
It's always good practice to prepare the device before any repairs
-
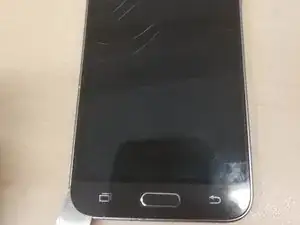
If the glass is broken or craked I suggest adding tape on the surface in order to prevent risks
-
-
-
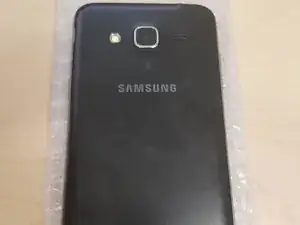
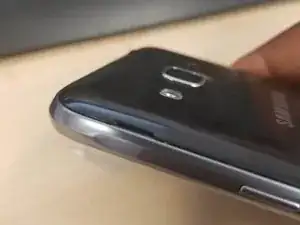
In order to remove the back cover. Flip the device around and lift the back cover by the little slit on the upper left side
-
-
-
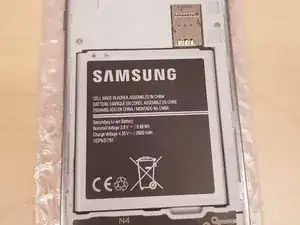
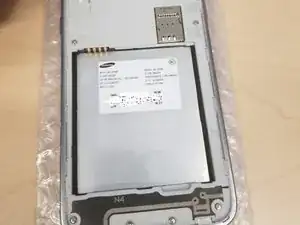
An unfortunately rare sight nowadays of a removable battery. Remove it by lifting from the lower right corner when there is a little notch
-
-
-
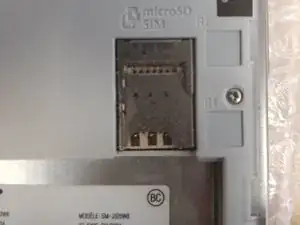
This is optional as the cards will not interfere with the replacement.
-
Since the device will be subjet to massive heat. I would still recommand to remove them (just in case)
-
-
-
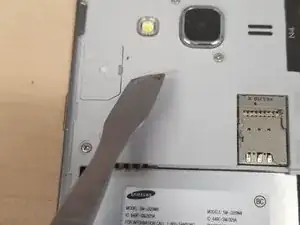
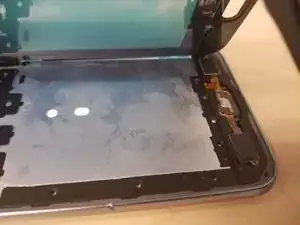
The LCD ribbon is very easy to access. Just pop that little door open and you will have access to it.
-
Like always with such device, be careful not to force anything out. You will damage the board if the connector is uncorrectly detached.
-
You can see the water damage indicator there (the white square)
-
There is a another one inside the cover that protect that zone.
-
-
-
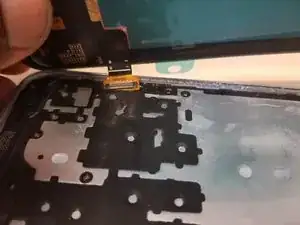
Heat with a heatgun the surrounding of the device. Be careful there are very fragile ribbons hidden away.
-
It is better to go from left to right as the main LCD ribbon is located on the right top corner
-
-
-
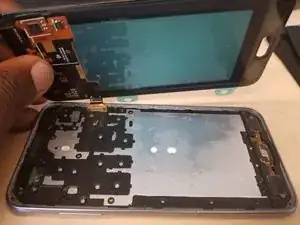
You can now detach the assembly from the body by passing thru the connector on the designed whole on the side.
-
-
-
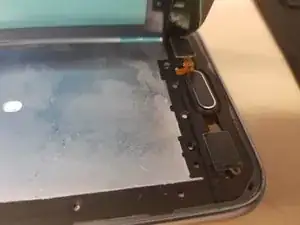
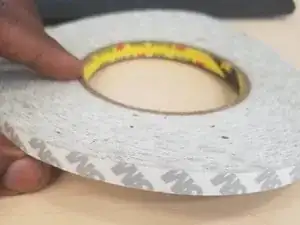
As the reverse of the last step slide the connector in the designed slit.
-
Be careful to make a test fit before adding any adhesive
-


Enjoy your newly repaired device!