
Introduction
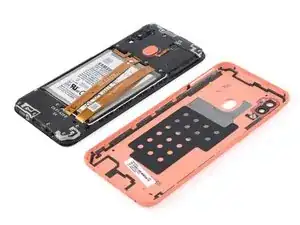
Use this guide to replace a worn-out or dead battery in your Samsung Galaxy A20e.
If your battery is swollen, take appropriate precautions. For your safety, discharge your battery below 25% before disassembling your phone. This reduces the risk of a dangerous thermal event if the battery is accidentally damaged during the repair.
You’ll need replacement adhesive to reattach components when reassembling the device.
-
-
Before starting repairs, take your Galaxy A20e off the charger and power it down.
-
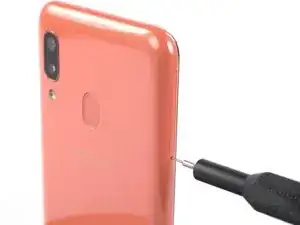
Insert a SIM card eject tool, a SIM eject bit or a straightened paper clip into the hole on the SIM tray located on the left side of the phone.
-
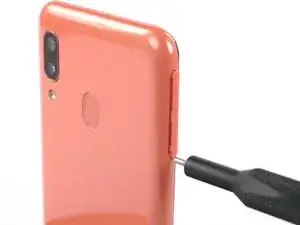
Press your SIM card eject tool firmly into the hole in order to eject the SIM card tray.
-
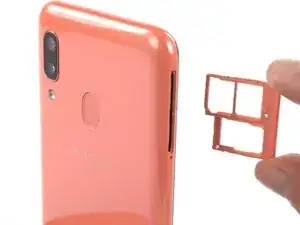
Remove the SIM card tray.
-
-
-
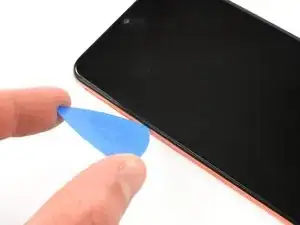
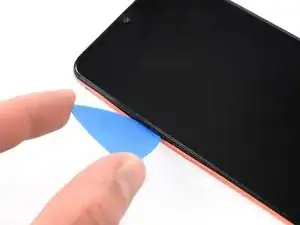
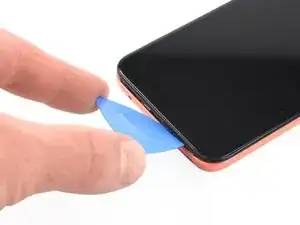
Insert an opening pick between the screen and the back cover on the left edge next to the hole for the SIM-eject tool.
-
-
-
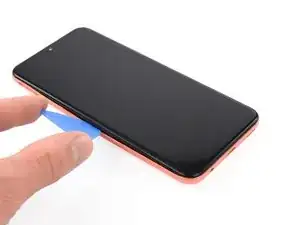
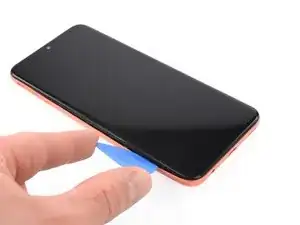
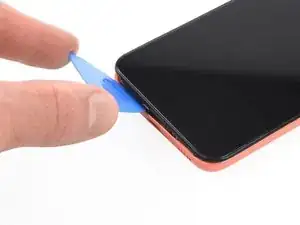
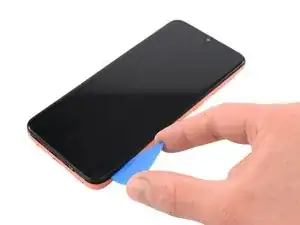
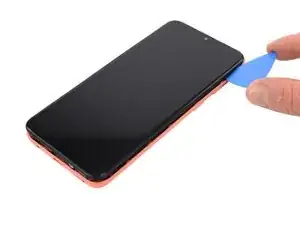
Slide the opening pick along the right edge to the top right corner to unclip the plastic clips.
-
-
-
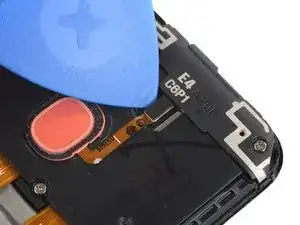
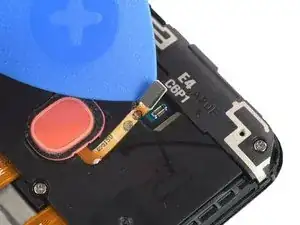
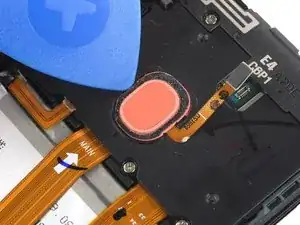
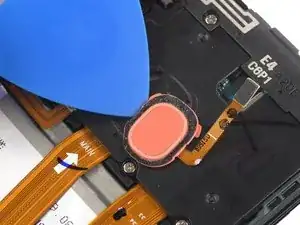
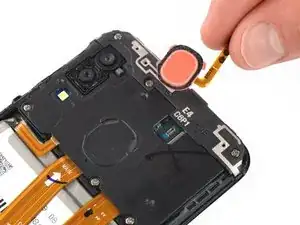
Push against the left edge of the fingerprint sensor with an opening pick to slide the sensor to the right and separate it from the motherboard cover.
-
-
-
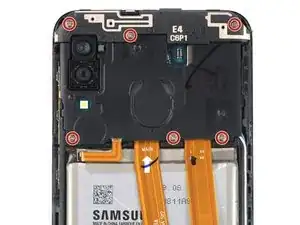
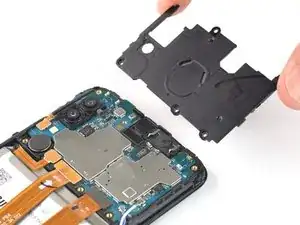
Use a Phillips screwdriver to remove the six 3.5 mm-long screws securing the motherboard covers.
-
-
-
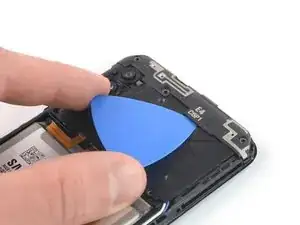
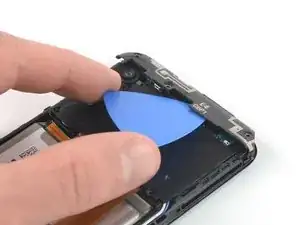
Slide an opening pick under the upper motherboard cover.
-
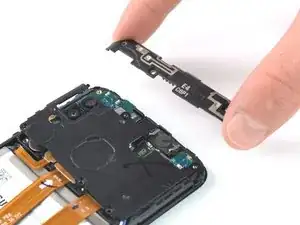
Use the opening pick to unclip the plastic clips, which are holding the upper motherboard cover in its place.
-
-
-
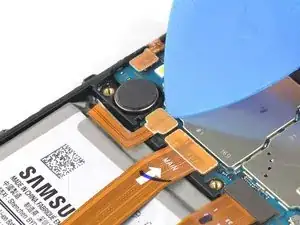
Use an opening pick to disconnect the battery by prying the connector straight up from its socket.
-
-
-
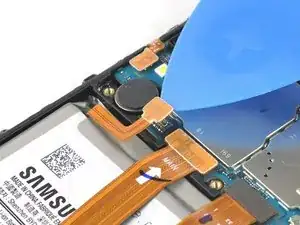
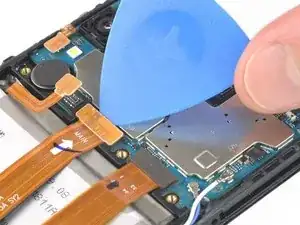
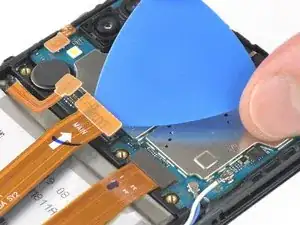
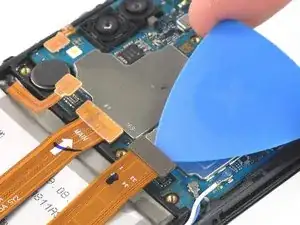
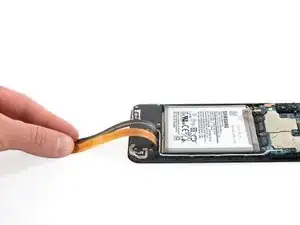
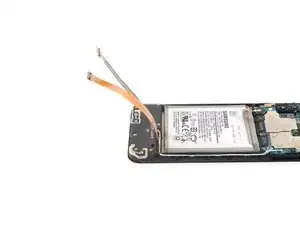
Use the opening pick to disconnect the interconnect and display flex cables by prying the connectors straight up from their sockets.
-
-
-
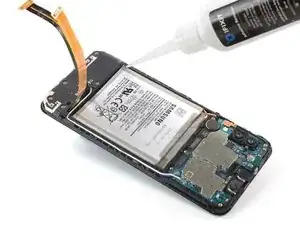
Apply a few drops of adhesive remover or high-concentration (90% or higher) isopropyl alcohol into the gap at the left edge of the battery.
-
Lift the bottom of your phone up to tilt it in the direction of the rear facing camera to let the adhesive remover spread out underneath the battery.
-
Let the adhesive remover penetrate the battery adhesive for at least 1 minute.
-
-
-
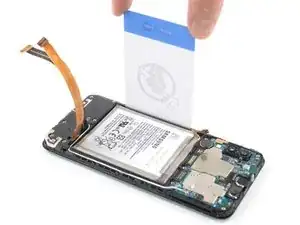
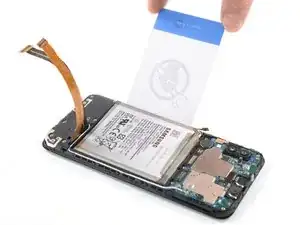
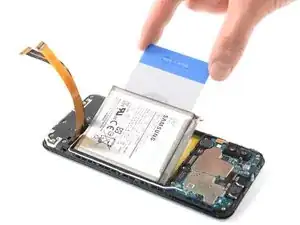
Insert a plastic card underneath the left edge of the battery.
-
Carefully slide it underneath the battery to loosen the adhesive.
-
Continue sliding the plastic card underneath to pry up the battery from its recess.
-

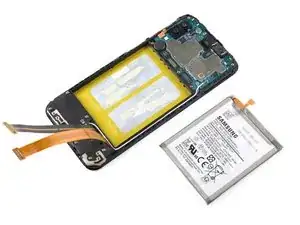
If possible, turn on your device and test your repair before installing new adhesive and resealing.
Secure the new battery with pre-cut adhesive or double-sided adhesive tape. In order to position it correctly, apply the new adhesive into the device at the places where the old adhesive was located, not directly onto the battery. Press the new battery firmly into place.
To reassemble your device, follow these instructions in reverse order. Apply new adhesive where necessary after cleaning the relevant areas with isopropyl alcohol (>90%).
For optimal performance, calibrate your newly installed battery: Charge it to 100% and keep charging it for at least 2 more hours. Then use your device until it shuts off due to low battery. Finally, charge it uninterrupted to 100%.
Take your e-waste to an R2 or e-Stewards certified recycler.
Repair didn’t go as planned? Try some basic troubleshooting, or ask our Answers community for help.

One comment
Step by step instructions absolutely fantastic so easy to follow and took me hardly anytime to complete the task