Introduction
Follow this guide to remove or replace the back cover on a Samsung Galaxy A15.
To reinstall the back cover, you will need replacement adhesive.
-
-
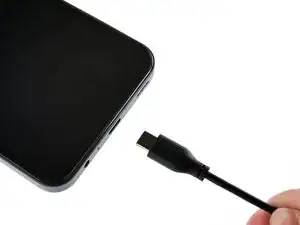
Unplug all cables and completely power off your phone.
-
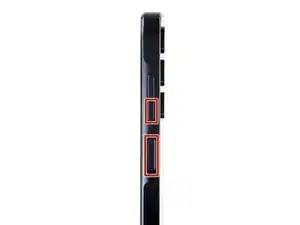
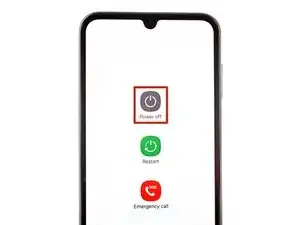
Press and hold the power and volume down buttons at the same time to bring up the shutdown menu.
-
-
-
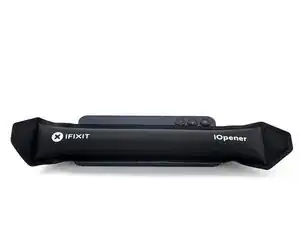
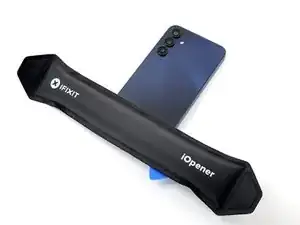
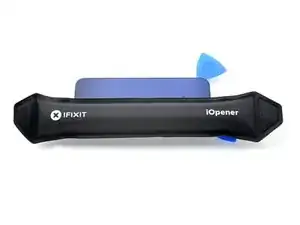
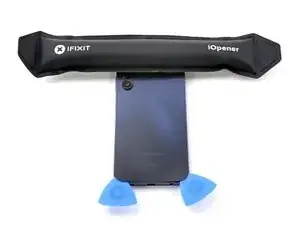
While you're waiting for the adhesive to soften, here is some useful information:
-
There's adhesive securing the back cover around the perimeter of the frame.
-
-
-
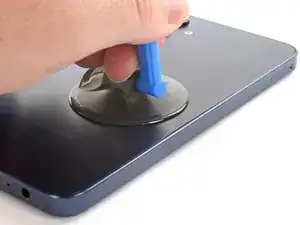
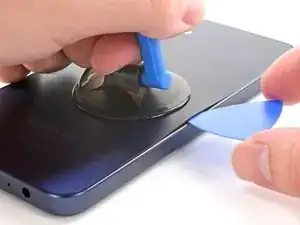
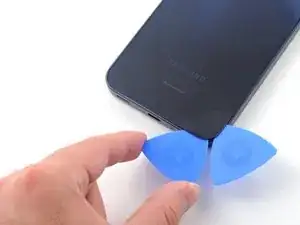
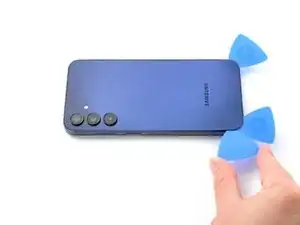
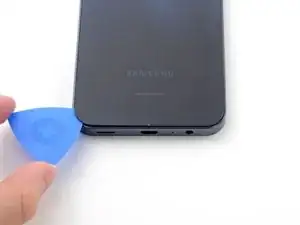
Apply a suction handle to the back cover, as close to the center of the right edge as possible.
-
Pull up on the suction handle with strong, steady force to create a gap between the cover and the frame.
-
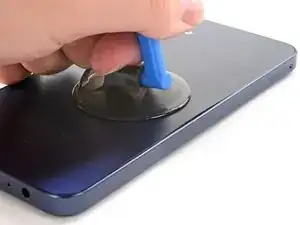
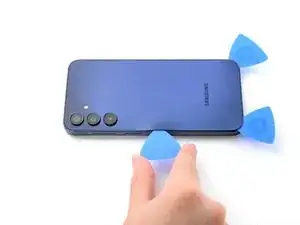
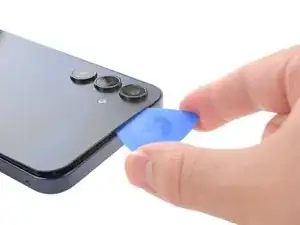
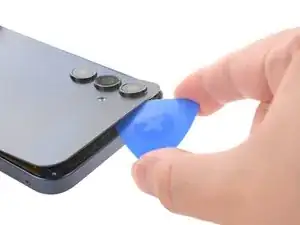
Insert an opening pick into the gap.
-
-
-
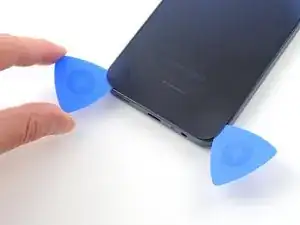
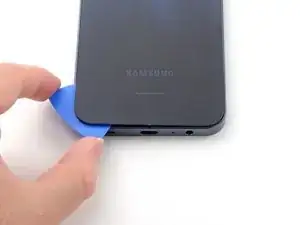
Slide your opening pick along the right edge between the back cover and the frame to slice through the adhesive.
-
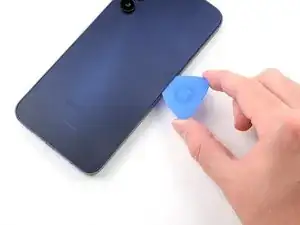
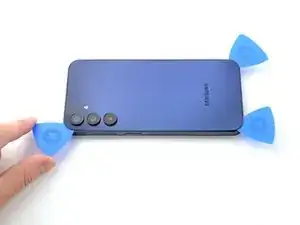
Leave your opening pick in the bottom right corner to keep the adhesive from resealing.
-
-
-
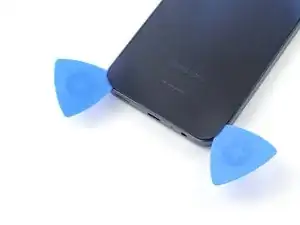
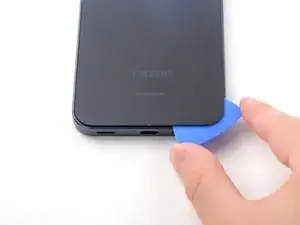
Insert another opening pick in the bottom right corner and slide it along the bottom edge to slice through the adhesive.
-
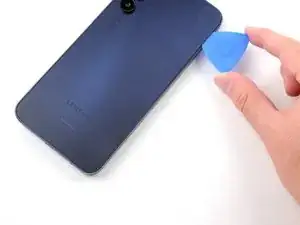
Leave your opening pick in the bottom left edge to prevent the adhesive from resealing.
-
-
-
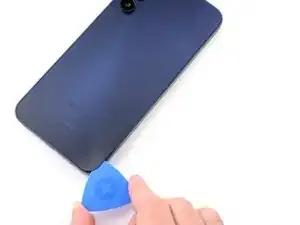
Insert another opening pick in the bottom left corner and slide it along the left edge to slice through the adhesive.
-
Leave your opening pick in the top left corner to prevent the adhesive from resealing.
-
-
-
Insert another opening pick in the top left corner at the same depth and slide it along the top edge to slice through the adhesive.
-
Leave your opening pick in the top right corner to prevent the adhesive from resealing.
-
-
-
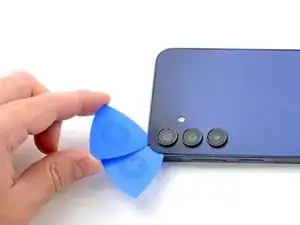
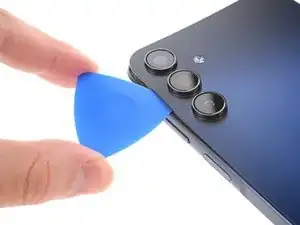
Insert your opening pick along the top edge of the phone and twist it gently to unfasten the camera clips.
-
Slide your opening pick around the edge of the camera modules to unfasten the remaining camera clips.
-
-
-
Once the adhesive around the edges is loose, insert your opening pick deeper into the bottom edge from the bottom left corner.
-
Slide your pick deeper into the phone across the bottom edge, slicing the remaining adhesive.
-
-
-
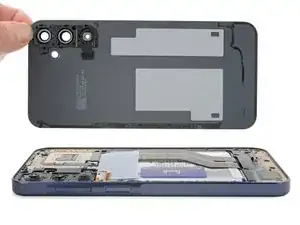
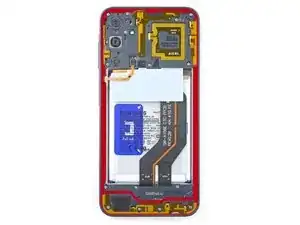
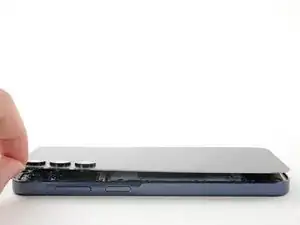
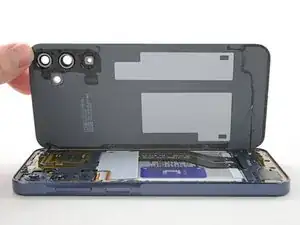
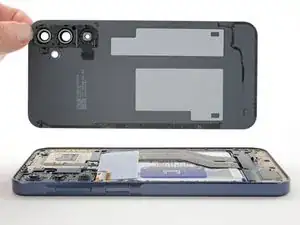
Lift and remove the back cover.
-
Remove any adhesive chunks with a pair of tweezers or your fingers. Apply heat and isopropyl alcohol (90% or greater) if you're having trouble removing the adhesive.
-
If you're using custom-cut adhesives, follow this guide.
-
If you're using double-sided tape, follow this guide.
-

Compare your new replacement part to the original part—be sure to transfer remaining components and remove adhesive backings from the new part before installing.
To reassemble your device, follow these instructions in reverse order.
Repair didn’t go as planned? Try some basic troubleshooting, or ask our Answers community for help.