Introduction
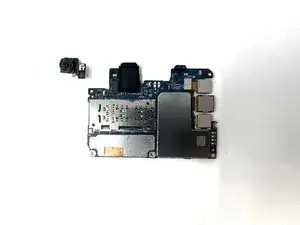
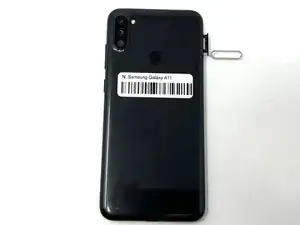
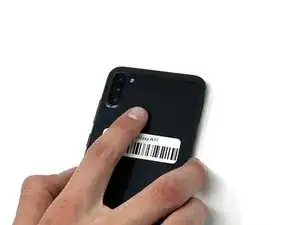
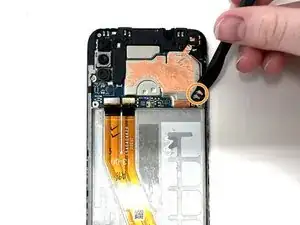
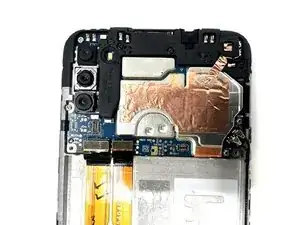
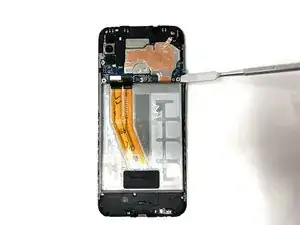
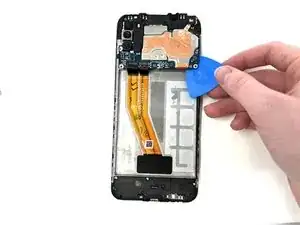
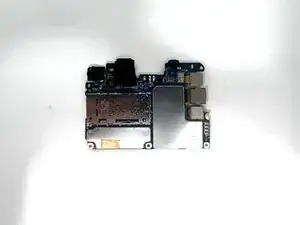
The front facing camera allows the user to capture photos and video on the user side of the phone. If your front facing camera does not work, is damaged, or is not working properly, follow this guide to safely remove and replace the front facing camera on your Samsung Galaxy A11.
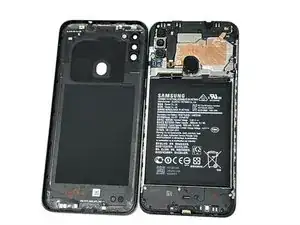
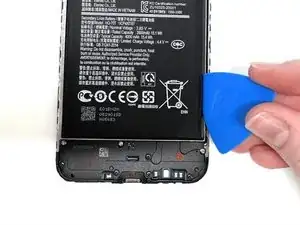
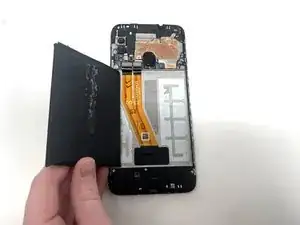
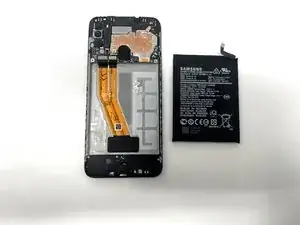
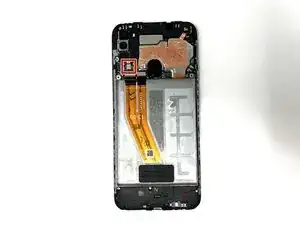
For your safety, this guide lists how to remove the battery from your device prior to removing the front facing camera. Follow these instructions to tell if your battery is swollen, to remove and recycle it, to prevent future swollen batteries.
If you are replacing the front facing camera in your phone, and are therefore disposing of your one, follow these instructions.
Tools
-
-
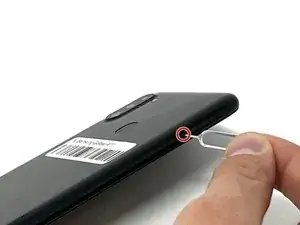
Place the SIM eject tool in the hole of the sim tray.
-
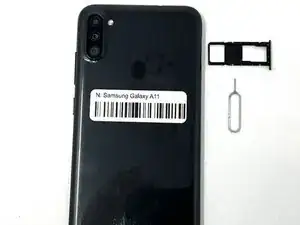
Push until part of the SIM tray is pushed out.
-
Pull out the rest of the SIM tray.
-
-
-
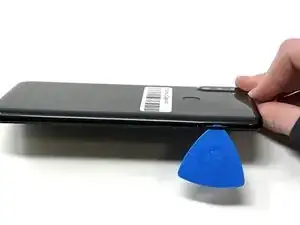
Gently pry open the area of the back cover near the SIM tray using an iFixit opening pick.
-
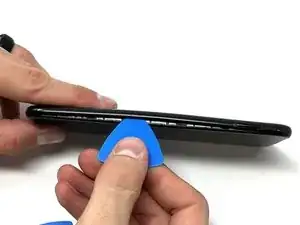
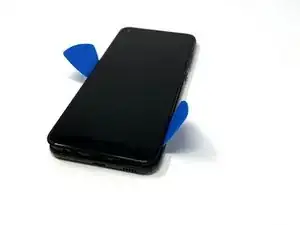
Gently move the pick along the gap and pry open the clips holding it together.
-
-
-
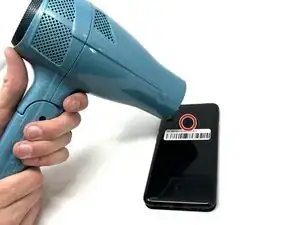
Using a hair dryer on low heat, heat the fingerprint sensor in increments of 30 seconds to loosen the surrounding adhesive.
-
Gently push the fingerprint sensor until it detaches from the back cover.
-
-
-
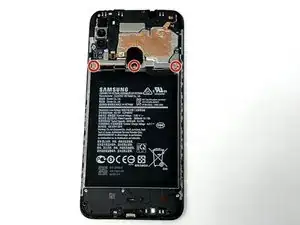
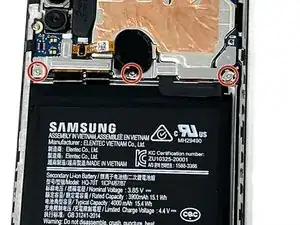
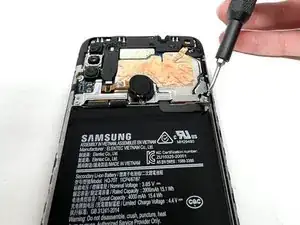
Remove the three 3 mm screws from the shield using a Phillips #000 screwdriver.
-
Remove the shield from the phone.
-
-
-
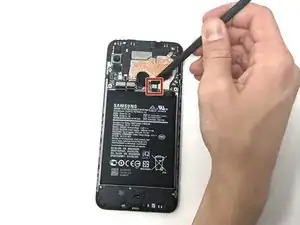
Using tweezers, a spudger, or your fingers, disconnect the battery press connector from the phone.
-
-
-
Use an iFixit pry tool to dig under the battery edge.
-
Continue to cut the adhesive under the battery until you are able to pry the battery away from the phone.
-
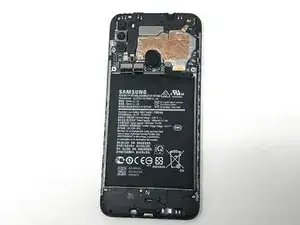
Remove the battery from the phone.
-
-
-
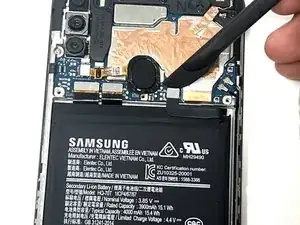
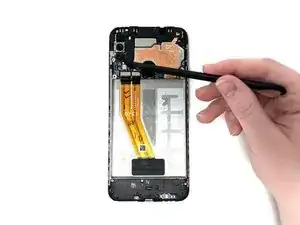
Using a spudger, detach the ribbon cable connected to the fingerprint sensor.
-
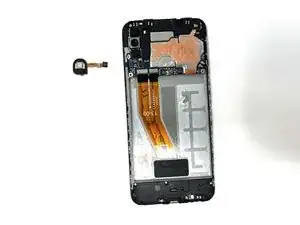
Remove the fingerprint sensor from the device.
-
-
-
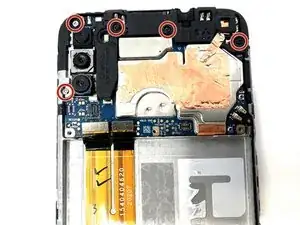
Remove the five 3 mm silver and black screws from the top of the device using a Phillips #000 screwdriver.
-
-
-
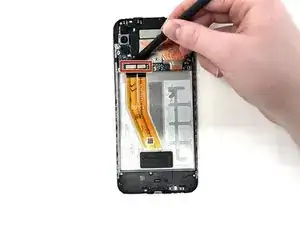
Using a spudger, disconnect the two ribbon cables attached to the battery slot from the motherboard.
-
Disconnect the two longer ribbon cables near the bottom right corner of the motherboard.
-
Lift these cables up slightly to reveal a gap.
-
-
-
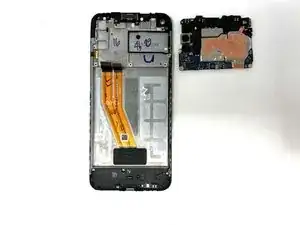
Using a spudger, gently pry the motherboard up using the corner revealed in the previous step.
-
Remove the motherboard from the device.
-
-
-
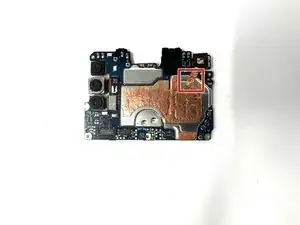
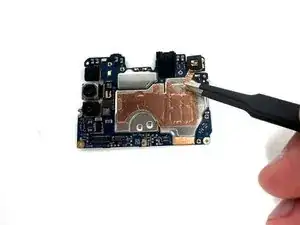
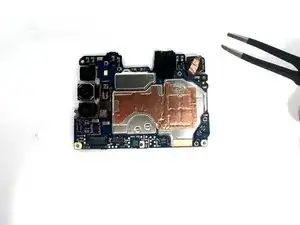
Gently use tweezers to peel up the copper strip that spans from the front facing camera to the motherboard.
-
-
-
Flip the motherboard over.
-
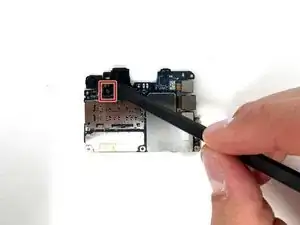
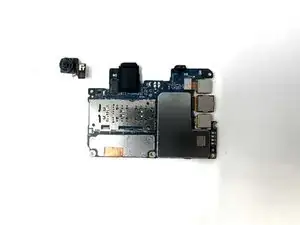
Using a spudger, disconnect the front facing camera from the motherboard.
-
To reassemble your device, follow these instructions in reverse order.
