Introduction
-
-
First, hold the power button on the keyboard until the device powers off.
-
Close the device and flip it over.
-
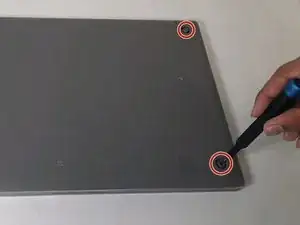
Remove the four rubber sockets on each corner of the device with your fingers.
-
Remove the four 4.6 mm Phillips #00 screws with a screwdriver.
-
-
-
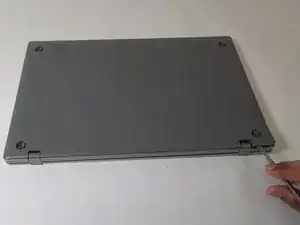
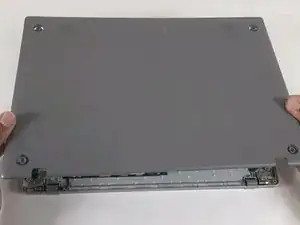
Starting near the hinges, use a metal spudger to gently pry the back off. Continue along the edges until the back is completely detached.
-
-
-
Locate a long gray box labeled “Laptop Battery.”
-
Remove the two 4 mm Phillips #00 screws with a screwdriver.
-
After removing the screws, remove the gray piece labeled “bracket battery BA61 - 03983A.” This piece is located over the golden band connecting the battery and the motherboard.
-
-
-
Unplug the golden band that connects the battery to the motherboard.
-
Use the Phillips #000 screwdriver to remove the four 4 mm screws holding the battery in place.
-
-
-
Unplug the black and red wire and the black and white wire.
-
Unclip and remove the black and gold ribbons and the black wire from the motherboard.
-
-
-
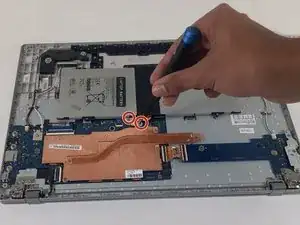
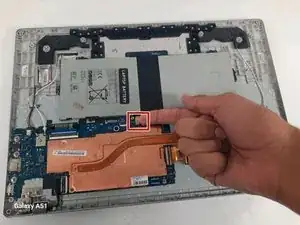
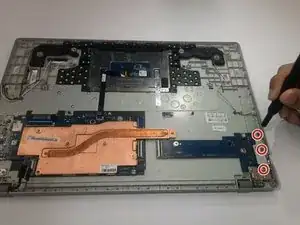
Remove the three 4.53 mm Philips #00 screws from the grey metal piece labeled "BRKT-PORT-SUB JOAN-15 BA61-03942A".
-
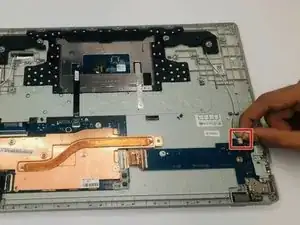
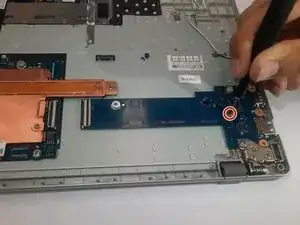
Remove the 4.50 mm Philips #00 screw from the right side of the motherboard.
-
-
-
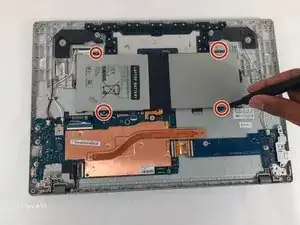
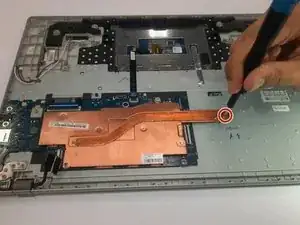
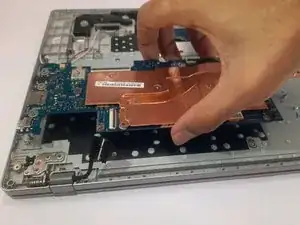
Remove the two 4.56 mm Philips #00 screws from the copper heat sink.
-
Remove the four 4.63 mm Philips #00 screws
-
-
-
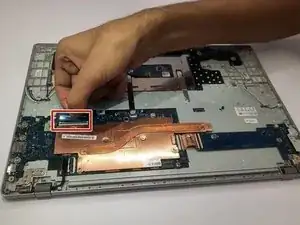
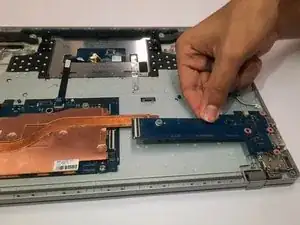
Carefully turn the motherboard and heat sink over being careful not to touch any of the components.
-
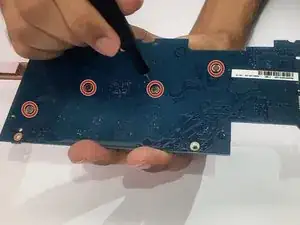
Remove the four 4.63 mm Philips #00 screws from the back of the motherboard and remove the heat sink.
-


To reassemble your device, follow these instructions in reverse order.