Introduction
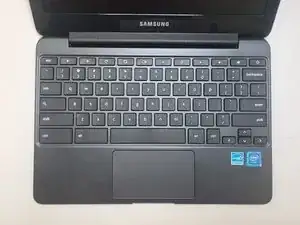
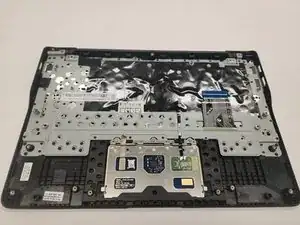
This guide is a step-by-step guide on how to replace the Samsung Chromebook 3 XE500C13-K02US Touchpad. You will need to remove the battery, remove the I/O board, remove the speakers, remove two port covers, then disconnect the display from the keyboard and remove the touchpad.
-
-
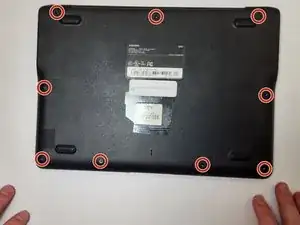
Place the laptop back cover facing up to expose all nine 4.6 mm screws.
-
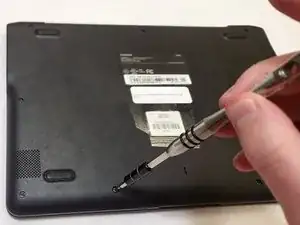
Remove all nine 4.6 mm screws using a Phillips #00 screwdriver.
-
-
-
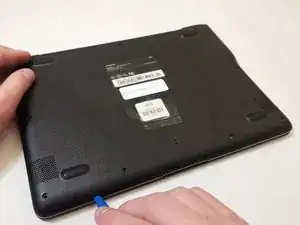
Wedge a plastic opening tool underneath the cover of the laptop.
-
Once the tool is wedged between the cover and the body of the laptop, slide the tool around the edge of the laptop to disengage the retaining clips.
-
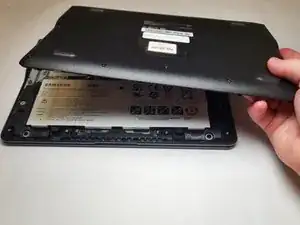
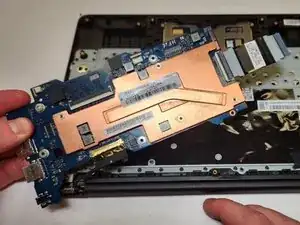
Remove the cover of the laptop to expose the inside components.
-
-
-
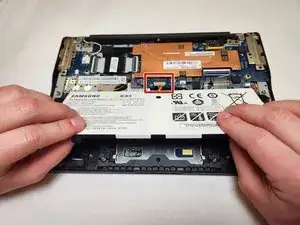
Use the spudger to pry underneath the cable and remove the connector.
-
Remove the battery from the case.
-
-
-
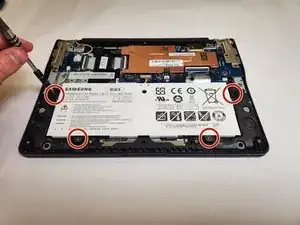
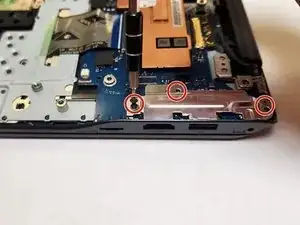
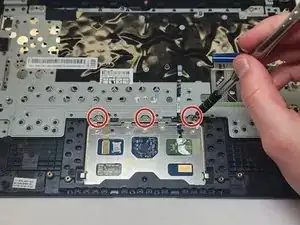
Use the Phillips #00 screwdriver to remove the three 4.6 mm screws from the silver bracket.
-
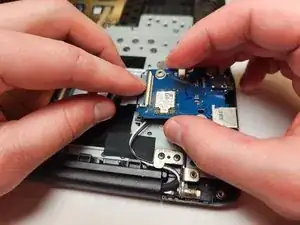
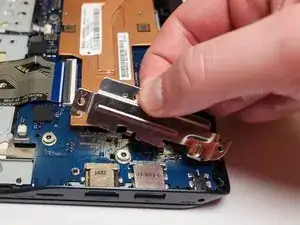
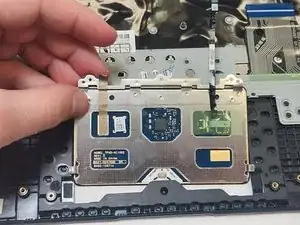
Remove the silver bracket.
-
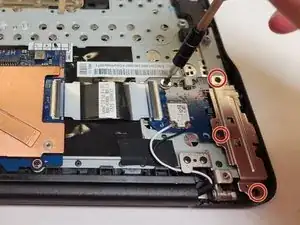
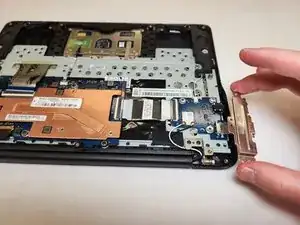
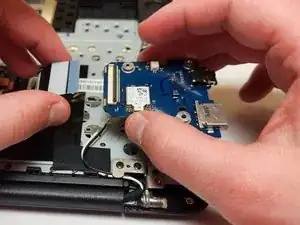
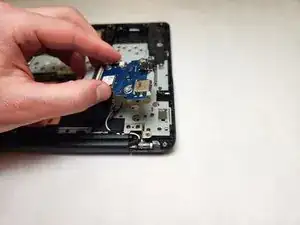
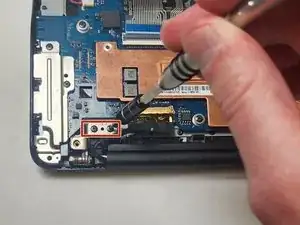
Remove the remaining 4.6 mm screw from the I/O board.
-
-
-
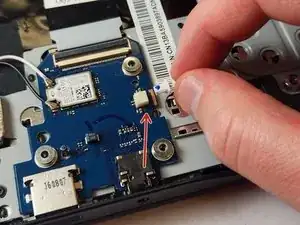
Remove the wire connector from the I/O board.
-
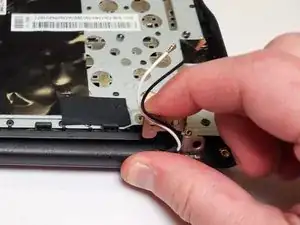
Remove the black and white wires from the I/O board.
-
-
-
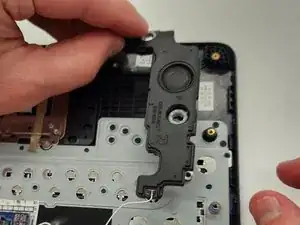
Remove the red and black speaker wires from the connector on the motherboard.
-
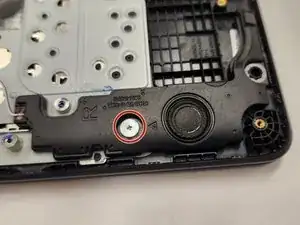
Use the #00 Phillips screwdriver to remove the 4.9 mm screw.
-
Repeat the first two steps for the other speaker.
-
-
-
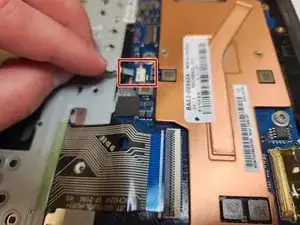
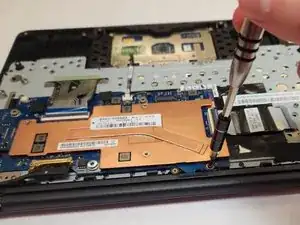
Remove the smaller cable ribbon from the port on the motherboard.
-
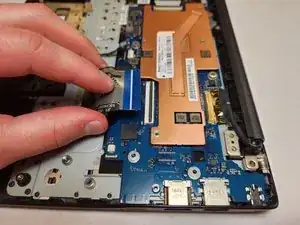
Lift the clip on the connector on the motherboard and remove the larger cable ribbon.
-
-
-
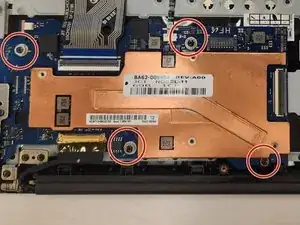
Use the #00 Phillips screwdriver to remove the two 4.6 mm screws from both display hinges.
-
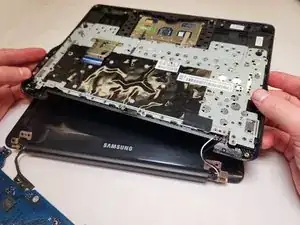
Lift the display hinges and remove the keyboard from the screen of the laptop.
-


To reassemble your device, follow these instructions in reverse order.