Introduction
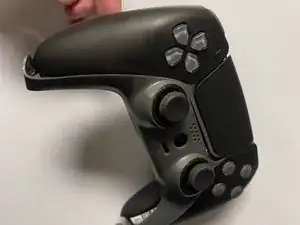
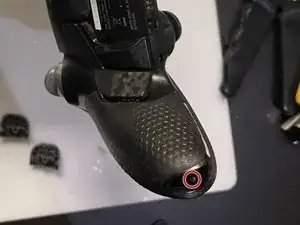
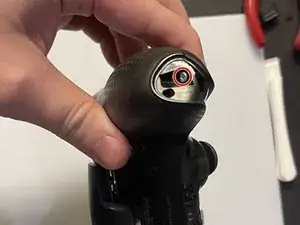
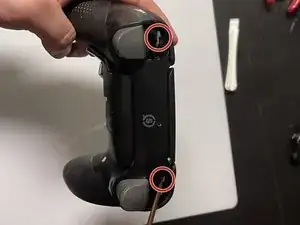
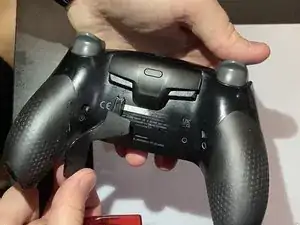
Follow this guide to replace the joystick switch on a SCUF PlayStation 5 DualSense controller.
Joysticks typically go wrong when they've been used extensively, as they start to drift or get clogged up and function incorrectly (or not at all), which is where this guide comes in. This is also ideal for a cosmetic upgrade if your sticks are worn down or damaged.
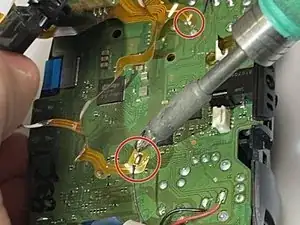
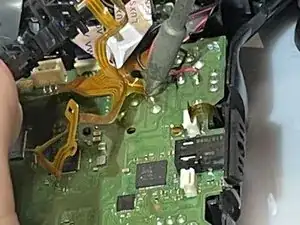
When you get to Step 11 desoldering is required. Using a soldering iron can be dangerous if used incorrectly as the iron is heated to extremely high temperatures and can burn. For more information on soldering, take a look at the How to Solder and Desolder Connections guide.
Tools
-
-
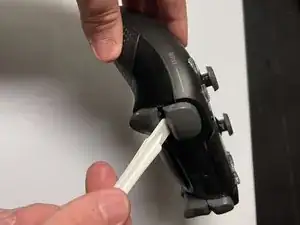
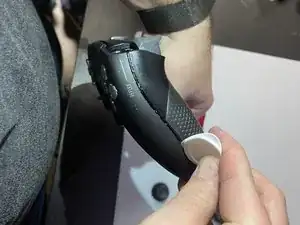
Insert an opening pick underneath the middle trim at the bottom-right corner of the controller to release the clips.
-
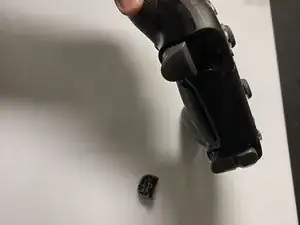
Loosen the rest of the clips and take the middle trim out.
-
-
-
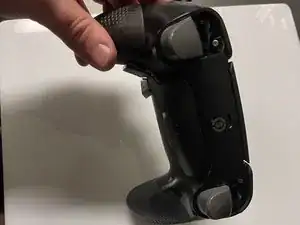
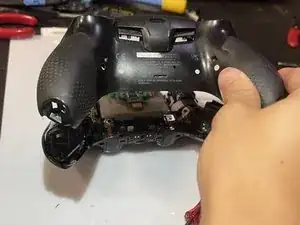
Slide the prying tool down the edge of the rear casing of the controller to remove the rear case.
-
-
-
Slide the battery out of the controller. It's grey and held in by a couple of wires, so be careful not to damage them.
-
-
-
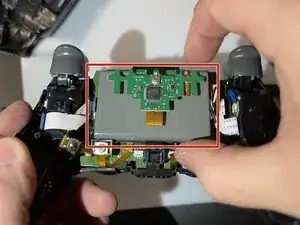
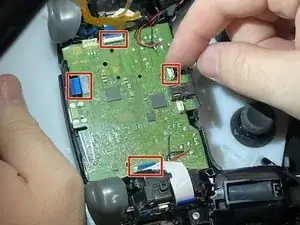
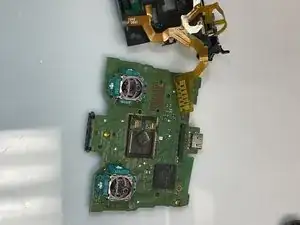
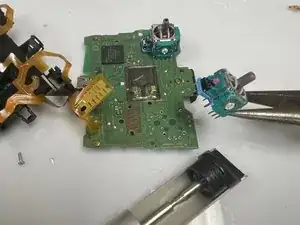
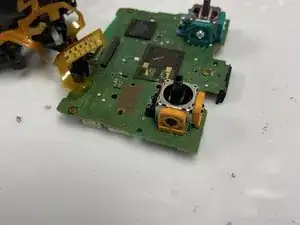
Remove the motherboard and the battery bracket from the controller to expose the joystick component.
-
-
-
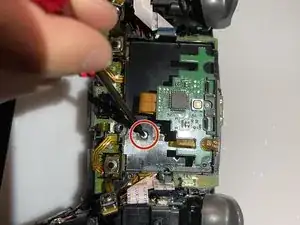
Use the soldering iron and the desoldering pump to desolder the 14 connections for the component.
-
To reassemble your device, follow these instructions in reverse order.
One comment
Hi! Wich replacement component do you use?
