Introduction

Use this guide to replace or repair a broken spring in your Rozia HQ242 Hair Trimmer.

Over time, the spring that is located inside your trimmer may become loose due to vibrations caused by the motor. This can cause the device to shake abnormally, making it difficult to use or even render it inoperable.

  1. IWrECGdrRmQXwuPk
    IWrECGdrRmQXwuPk
    OShKNCYGHMQWIsHB
    BvioWUTkrgSnL16M
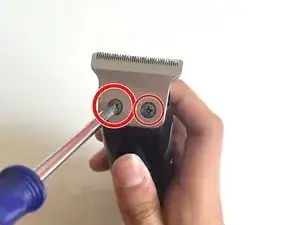
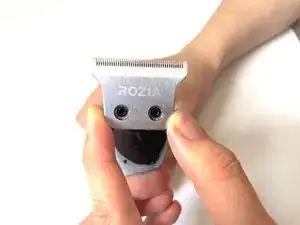
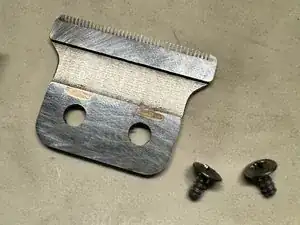
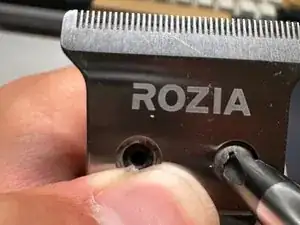
    • Use a Phillips #1 screwdriver to remove the two 6 mm screws securing the blade to the trimmer.

  2. qdygRmbAOhOTTAhH
    qdygRmbAOhOTTAhH
    EJ4oM1ULOpyDZayl
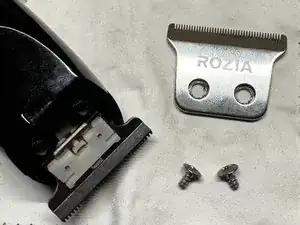
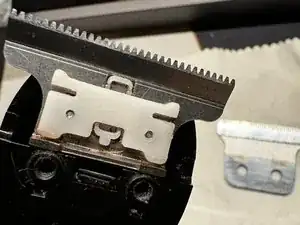
    • Gently lift the inner blade straight up and away from the device.

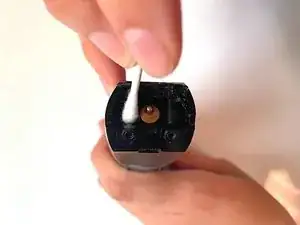
    • With the blades removed, now is a good time to clean the trimmer using a small brush, dust blower, or q-tips.

  3. AsPaqGyVfEuhoiad
    AsPaqGyVfEuhoiad
    PyDgKTKrPWpAFAbm
    ISS1EjiGYgyAJBAg
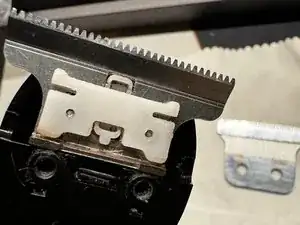
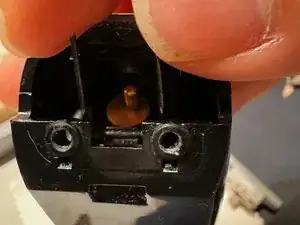
    • Gently lift the spring away from the trimmer.

    • You may need to point the legs of the spring at a 45-degree angle before you can pull it out.

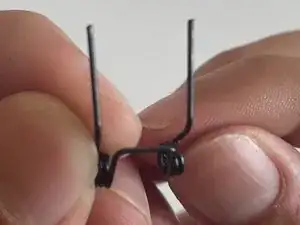
    • Take note of the shape of the spring. There is a flat U-shaped bend that rests on a notch in the trimmer. This information will be important when putting everything back together!

  4. uPheUaIngbQEdVGY
    uPheUaIngbQEdVGY
    LUI1bUHWfDyCBHnF
    LhG6qebtIs3TBEHu
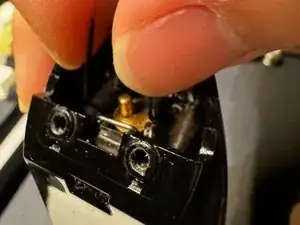
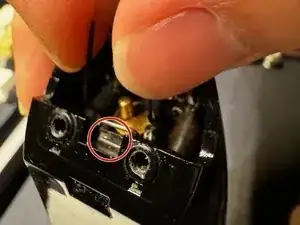
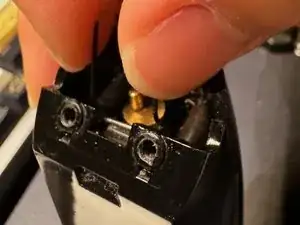
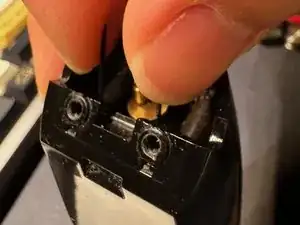
    • Align the flat U-shaped end of the spring to the notch on the trimmer.

    • Gently pinch the two legs of the spring with your thumb and index finger, aligning them to point towards the front of the trimmer at a 45-degree angle, then drop it into the slot.

    • Once it is successfully in, carefully let go. If it falls off the notch, you will have to wedge it out and try again. This may take multiple attempts.

    • Make sure that the spring is securely resting on the notch, or the trimmer may not function properly!

  5. 3RTuUZ2KDOh6e2Gu
    3RTuUZ2KDOh6e2Gu
    r2jqaH1tVSIv2oMi
    oOYoTXK1JGnX1aa4
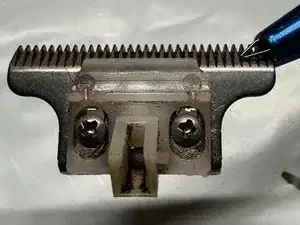
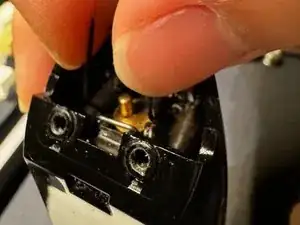
    • Reinstall the inner blade.

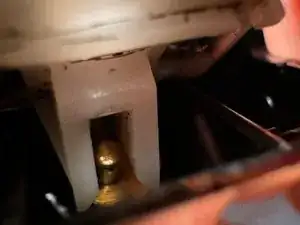
    • The notch located on the back of the blade must align with the gold-plated contact.

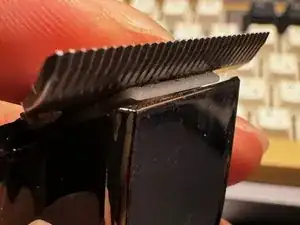
    • Gently push down so that the plate rests against the front of the trimmer.

    • Take extra caution not to dislodge the spring from its position, especially after pressing down on the blade.

  6. rFLwbCX3cvFqLWGi
    rFLwbCX3cvFqLWGi
    pAQy1McoJ1DS2hEZ
    Yu4RJOPG5qrGECNV
    • Carefully reattach the outer blade.

    • The screw holes protrude just enough to allow the blade to 'click' into position.

    • Use a Phillips #1 screwdriver to replace the two 6 mm screws that secure the outer blade.

Conclusion

To reassemble your device, follow these instructions in reverse order.
Jose Lucio

Member since: 05/03/24

201 Reputation

0 comments