Introduction

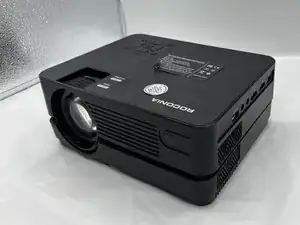
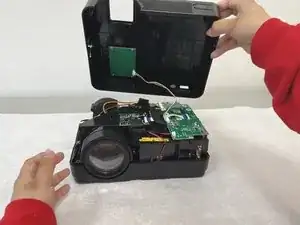
This is a step-by-step guide on replacing the motherboard in the Roconia Q6 Projector. Whether you're upgrading or troubleshooting, follow these instructions to navigate through the process smoothly.

  1. 3XlJtx1gXGGNa2jy
    3XlJtx1gXGGNa2jy
    4KkxCAIpSgsAb2Lb
    • Flip your device upside down so that the interface is facing downwards.

  2. EVvnGY1DBQGP5ZkC
    EVvnGY1DBQGP5ZkC
    FRZpEKYUKBXMgGJD
    vkRDRip4kpZWJxNO
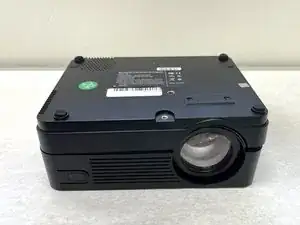
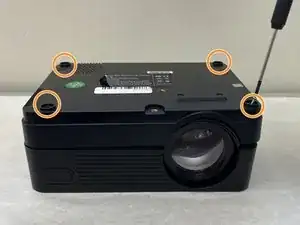
    • The device is supported by rubber pieces located at the bottom extremities.

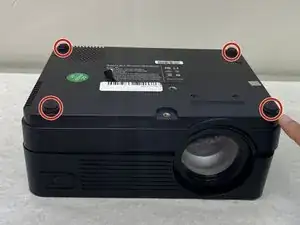
    • There are screws beneath the rubber pieces that can be removed. Remove all four 1.1 mm Phillips #1 screws by using the Phillips #0 screwdriver.

  3. FFjm2Iq2ppjUPZAL
    FFjm2Iq2ppjUPZAL
    dlWgw2Hu2IdBxBCO
    J2jGaUxbnnsDLykr
    • Turn device over again and pry open the device to remove the cover.

  4. cNbsiWBnWcRJPrAM
    cNbsiWBnWcRJPrAM
    NtyPvB52uN2ZixKv
    iA4llaOaKLfPiEIF
    • Pull out the cable that is connected to the top cover to fully separate.

  5. RHjCkDKxoFsPP6an
    RHjCkDKxoFsPP6an
    kNvZpVPL4L4114Kc
    wJJKYhggcysQeSFX
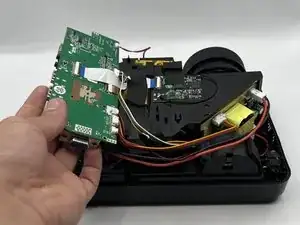
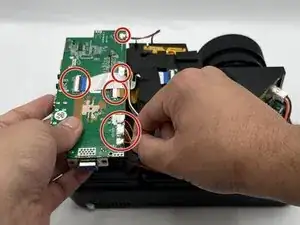
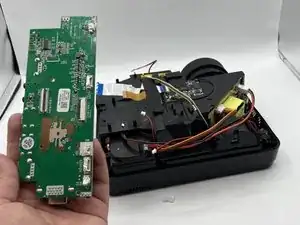
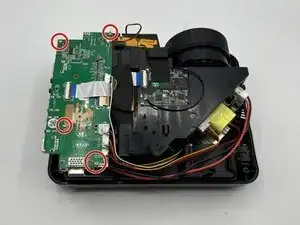
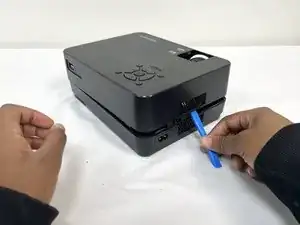
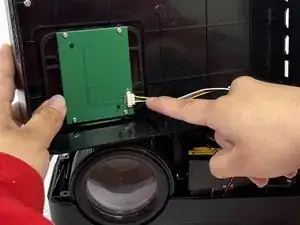
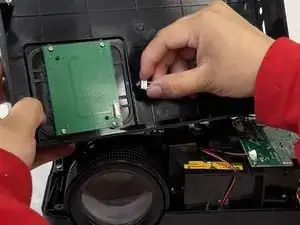
    • Once opened remove the 8.8mm screws holding the device in place using the Phillips #0 screwdriver

  6. oCSDJlIXtyhIHoJv
    oCSDJlIXtyhIHoJv
    MZNFObguLqrCg5OC
    • Remove the wires attached to the motherboard by pulling them out gently

Conclusion

To reassemble your device, follow these instructions in reverse order.

Axel

Member since: 08/02/24

193 Reputation

0 comments