Introduction
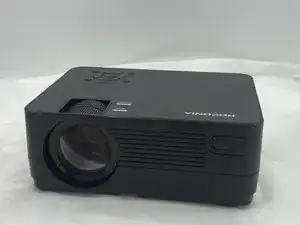
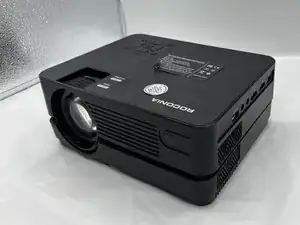
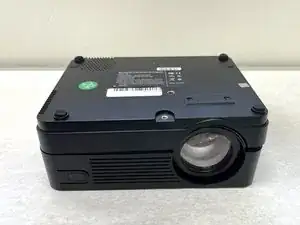
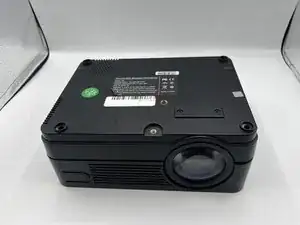
If anything is wrong with the roconia Q6 lens this guide will help you fix any issues. The replacement of the lens is very quick and easy and can be used whether the lens is simply just dirty or having issues projecting images correctly. When working on lens replacement make sure the roconia is on a flat dry surface and handled carefully.
Tools
-
-
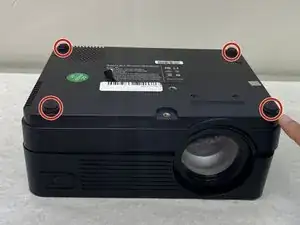
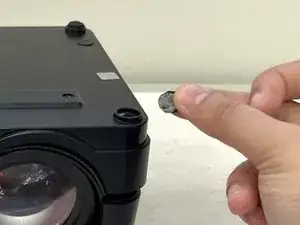
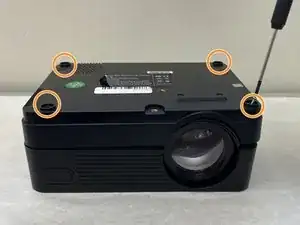
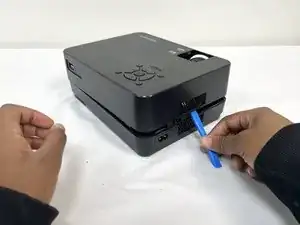
The device is supported by rubber pieces located at the bottom extremities.
-
There are screws beneath the rubber pieces that can be removed. Remove all four 1.1 mm Phillips #1 screws by using the Phillips #0 screwdriver.
-
-
-
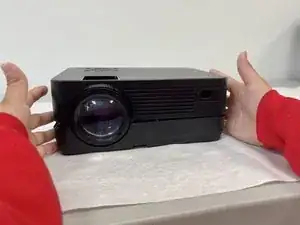
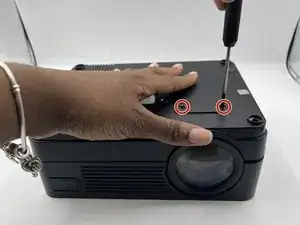
Flip roconia over to access screws holding lens in place
-
Remove 7.9 mm screws using a Phillips #0 screwdriver
-
-
-
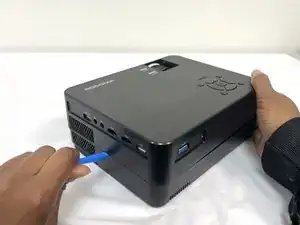
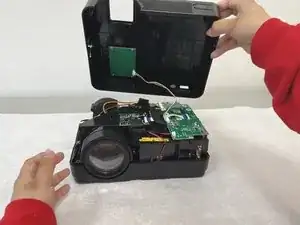
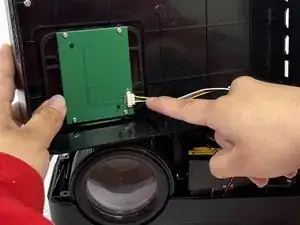
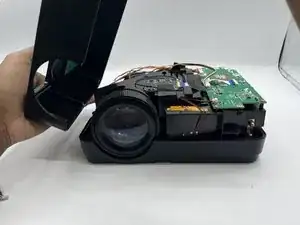
Flip the roconia back over after removing screws and remove cover
-
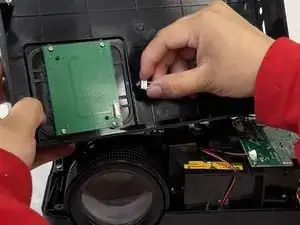
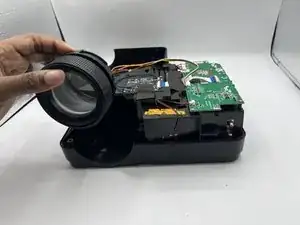
Remove lens from holding area and insert replacement
-
To reassemble your device, follow these instructions in reverse order.
