
Introduction
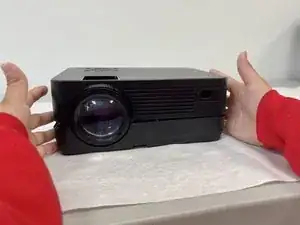
In this guide, we'll walk you through the simple steps of replacing the fan in the Roconia Q6. With just a few basic tools and a little know-how, you can ensure your Roconia Q6 continues to operate smoothly and efficiently.
-
-
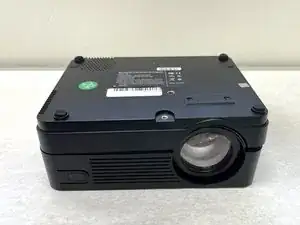
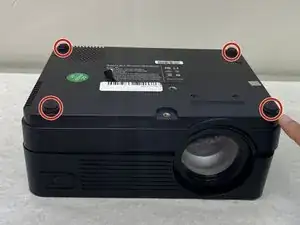
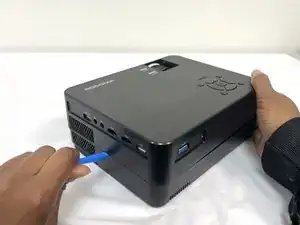
The device is supported by rubber pieces located at the bottom extremities.
-
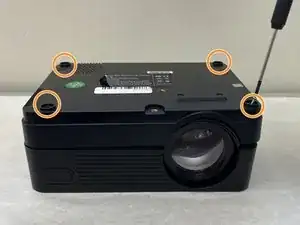
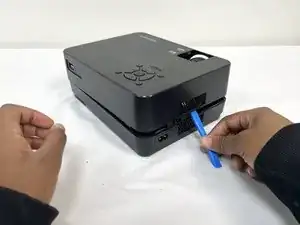
There are screws beneath the rubber pieces that can be removed. Remove all four 1.1 mm Phillips #1 screws by using the Phillips #0 screwdriver.
-
-
-
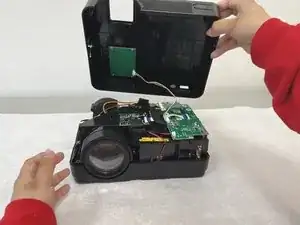
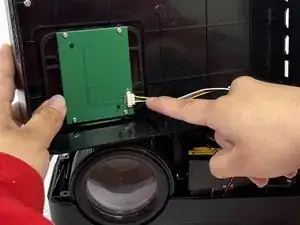
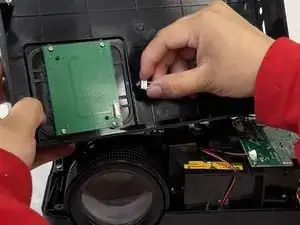
Use the opening guide to open the device. Once open find the fan located in the back corner of the device
-
-
-
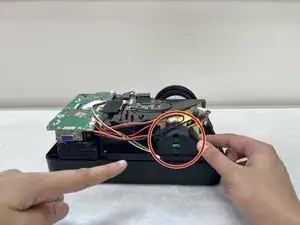
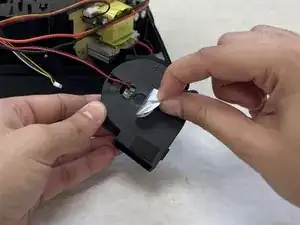
Remove the sticker on the back of the fan to reveal soldered wires.
-
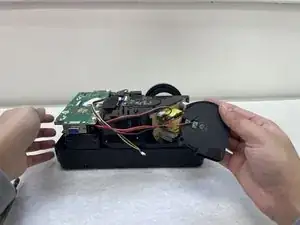
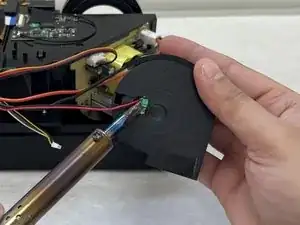
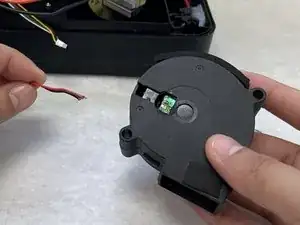
Using a soldering iron, desolder the wiring from the fan.
-

Conclusion
To reassemble your device, follow these instructions in reverse order.
