Introduction

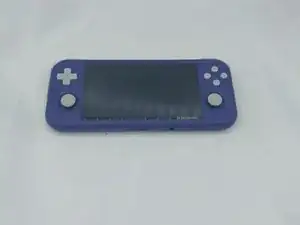
If the device is not turning on at all and is not responding, follow this guide to do a mainboard replacement (PCB) on the device. This process will take approximately 20-25 minutes, and the tools needed for the project are listed in the guide.


  1. NoyTpQYKgrBqUnYq
    • Unplug any cables connected to the Retroid Pocket 3+.

    • Ensure your device has a charge of 5% or less as a charged battery can be dangerous if punctured.

  2. SJWM3mXSyA4rmts4
    SJWM3mXSyA4rmts4
    QHsiZWqRyZqMqpm1
    LcGnolvQgfOyXdhn
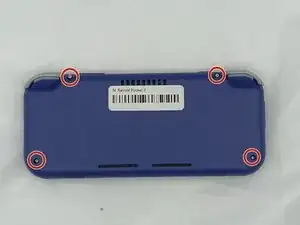
    • Remove the four 6 mm screws from the backplate of the device with a T5 Torx screwdriver.

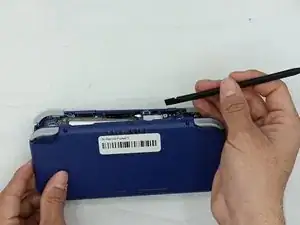
    • Use a plastic opening tool or spudger to gently pry apart the backplate from the device.

  3. UtrYjlWQ5LYY5iHS
    UtrYjlWQ5LYY5iHS
    nrfICOX5FkOwMhfw
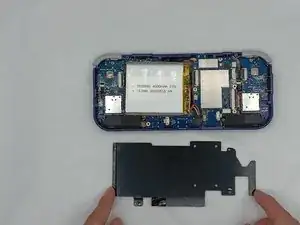
    • Remove the four 4.5 mm screws with a Phillips #00 screwdriver.

    • Lift off the metal plate.

  4. ACaHbojOqJPIviuW
    ACaHbojOqJPIviuW
    ggJ3kjOWMIjYmbKX
    cJCU5TXw2EOYgyR4
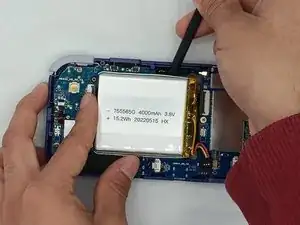
    • Use a plastic opening tool or spudger to unclip the battery connector.

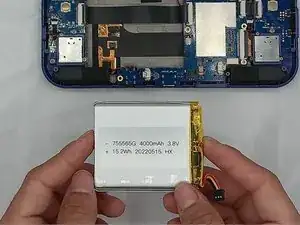
    • Carefully lift the battery from the case.

    • The battery has double-sided tape at the bottom. Gently push a spudger or opening tool underneath the battery to help free it from the adhesive. Do not bend or puncture the battery.

    • Lift and remove the battery.

  5. Y1ePAEOwB5JRHi6G
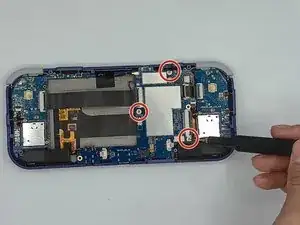
    • Remove the three 4.5 mm screws with a Phillips #00 screwdriver on the main board.

  6. aL1Bw4BvphbfPWkj
    • Using a spudger, put the tip under the aerial connecter and rotate upwards to unclip the plug.

  7. tTTw3EKPcvYTuGGl
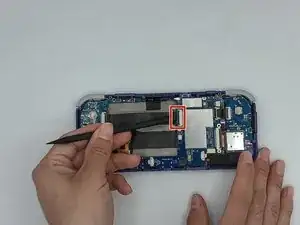
    • Unclip and remove the one ribbon cable on the left.

  8. EZTTEKegKe5xpTMA
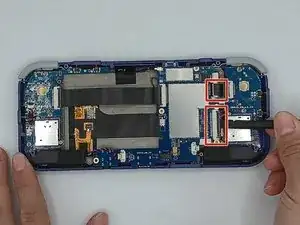
    • Use a spudger to unclip and remove the two ribbon cables on the right side.

  9. 2UOuJ4CvrwfEnC4O
    2UOuJ4CvrwfEnC4O
    vUNQYcHMjyXekrWG
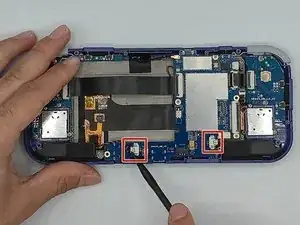
    • Use a spudger to disconnect the two speaker cables on the bottom of the board.

  10. hGFKLHXvZvOG2DcA
    hGFKLHXvZvOG2DcA
    PPNlBKDryGXCLXQw
    Ruf2pxJMXt4Z6idX
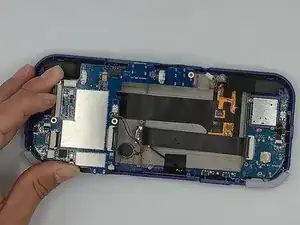
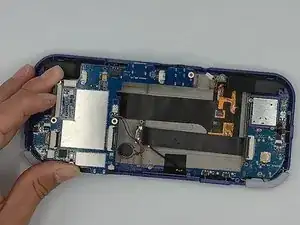
    • Start lifting the board to give you access to the vibration motor on the metal case.

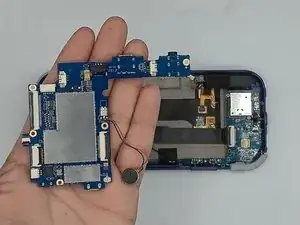
    • Use a spudger to carefully pry the motor free; it is bound with double-sided tape.

    • Carefully lift the board out of the device.

Conclusion

To reassemble your device, follow these instructions in reverse order.
Willem Pretorius

Member since: 08/02/24

183 Reputation

0 comments