Introduction

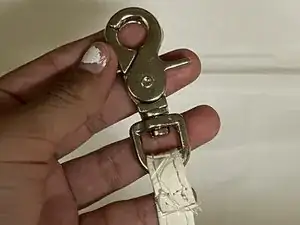
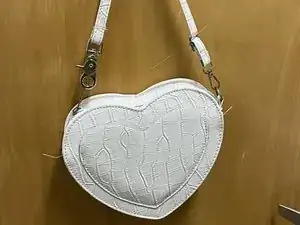
A broken hardware can occur when it is pulled on too tight, over time, or in many other instances. Replacing a crossbody bag can be expensive. Aside from costing more money to replace instead of repair, it is a waste of resources. Especially if the bag needing repair is close to new, and could still be used. This repair guide will walk through the steps of replacing the hardware on a crossbody bag to reduce waste.
  1. UI6NsKVbWNXSOwS5
    UI6NsKVbWNXSOwS5
    EFvsyIZRZZPQJpXX
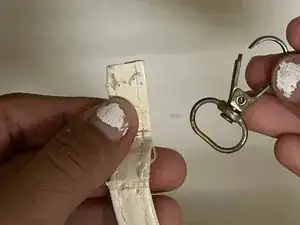
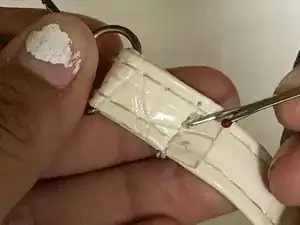
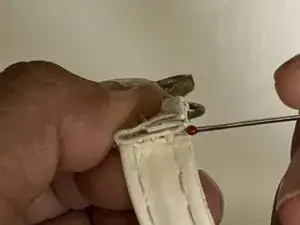
    • Remove the old stitching with the seam ripper blade.

    • Use the seam ripper blade carefully as it is very sharp.

  2. xO24cl4achMalqnH
    xO24cl4achMalqnH
    6NQeWxpql6kxCD4S
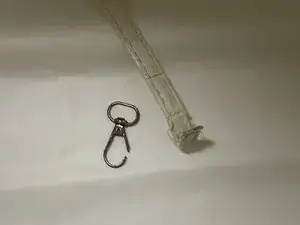
    • Remove the previous hardware from the strap.

  3. pyaYRDGmnPVQU4bH
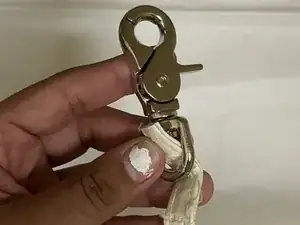
    • Measure, and ensure the new hardware fits.

    • Place the new hardware through the strap.

  4. KclYrZdbQcO5fFyC
    KclYrZdbQcO5fFyC
    qXjvETBBgYXGZnHy
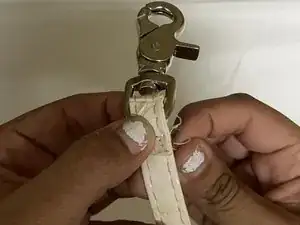
    • Use the needle and thread to stitch the new hardware into place.

    • Using the adequate needle for the material you need is essential, as some materials may be thicker and need a larger needle.

    • Use needle and thread carefully, as the needle can be sharp.

  5. NYjRVMqWS1JKLJt2
    • Verify the stitching is secure by hanging the crossbody bag.

joanna

Member since: 20/02/24

122 Reputation

0 comments