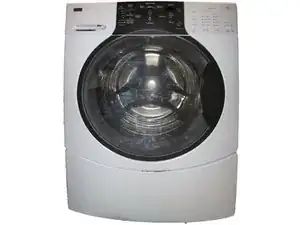
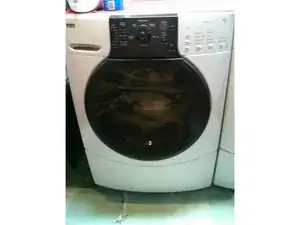
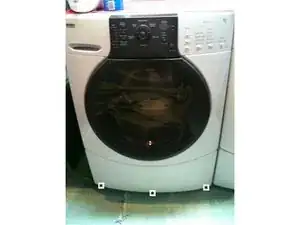
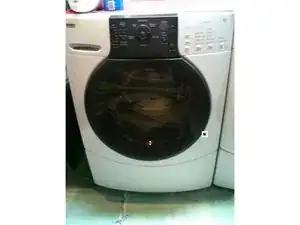
Introduction
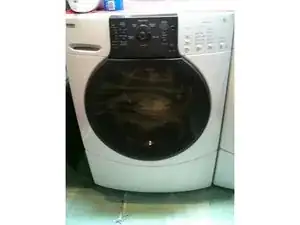
The Kenmore Elite HE3 washers will stop their cycle and display an error code if they detect a problem. Two error codes seem prevalent, FDL and F11. FDL indicates a failure of the door lock mechanism. F11 indicates an error in communication with the control board and the front panel. Clearing the error and restarting the cycle may fix the problem temporarily, but is not a permanent fix.
One condition known to cause the problem is that the door latch relay on the control board can become coated with carbon due to excessive arcing. This guide will explain how to access and clean or replace the relays.
-
-
The F-DL door lock error may indicate an inability to open the door, trapping your damp clothes inside. This first step is optional, and explains how to release the door lock manually.
-
Using a Torx T20 screwdriver or a 9/32" socket wrench or driver, remove the three screws along the bottom front of the washer, and remove the panel.
-
Reach up inside the right hand side behind the door latch, and you should be able to feel a 1" diameter ring. Grab the ring with your fingers, and pull it down toward the floor. It will release the door lock.
-
-
-
I am not kidding about any of these safety precautions or risks. And I can not be held responsible for actions you take on your own. You assume full responsibility for any consequences of following this guide. Call a qualified repair person if you are uncomfortable with any of these steps.
-
-
-
To remove the lid, remove the three screws along the back that hold it in place using either a T20 Torx screwdriver or a 9/32" socket driver.
-
Slide the top panel toward the back of the machine about one half of an inch, and lift the top panel up and off.
-
-
-
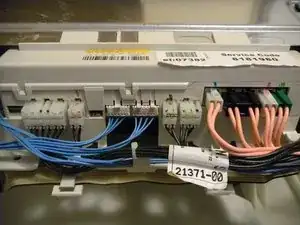
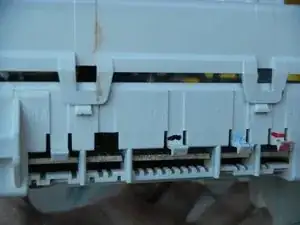
Mark the wires and note how the cables are routed, so you can return them to their original routes after disassembly.
-
Either apply wire labels, or take a fine-tipped permanent marker and as you disconnect each connector mark it with the two letter name of the mating socket, which you will find stamped on the plastic of the control unit's housing. A flashlight will help reading the letters along the left side of the control unit.
-
-
-
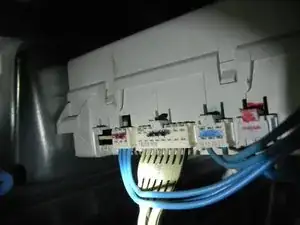
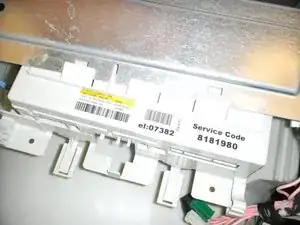
Remove the control unit by very gently prying up the two outside tabs that hold it to the top crossbar with a flat bladed screwdriver and simultaneously sliding the control unit toward the front of the washer.
-
Open the gray housing of the control unit by gently prying the side tabs open.
-
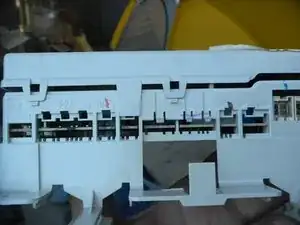
Remove the circuit board the same way, by gently prying open the tabs holding it down.
-
-
-
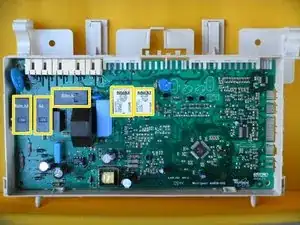
There are three or five relays on the circuit board. K6 is an OMRON G2RL-1A-E, 12VDC, and rated to switch 16A at 250 VAC. K1 and K4 are both OMRON G5LE-1-VD, 12 VDC, and rated to switch 10A at 250 VAC.
-
K1 controls the door lock solenoid. I found the contacts on it were blackened due to arcing. I didn't bother to find out what the other two relays do, but I cleaned them all anyway. Another repairer says that only K1 & K4 were inspected; K1 had significant contanimation & K4 looked new by comparison. Treated K1 only with all problems resolved!
-
Unsolder one relay at a time from the circuit board, clean or replace it, then solder it back in position.
-
To unsolder a relay, start by heating the solder at one end of the relay, and gently pull the relay's plastic package with a finger on the hand holding the circuit board. Use solder wick to remove excess solder. After making progress at one end, switch to desoldering the contacts at the other end of the relay in the same fashion.
-
To clean a relay, open its plastic case. Blow out the dust and grit. Dress the relay contacts with a small piece of folded-in-half 200-400 grit sandpaper, treated with contact cleaner. Replace the plastic case on the relay.
-
Solder the relay back onto the circuit board, and repeat with the next relay until all relays are cleaned and/or replaced.
-
To reassemble your device, follow these instructions in reverse order.
16 comments
"Open the gray housing of the control unit by gently prying the side tabs open." Gently is the operative word here, I broke both tabs, could use a new cover. Found K1 clean as a whistle, no suspect solder joints. Just cleaned the board edge contacts and up and running. We will see how long it lasts.
well its good but i think i am not facing problems regarding control board i think its main machine....
I'm doing this exact repair and have noted that there is a lot of carbon on the one relay. i've also noticed that the relay is $1.26 at digikey and for an extra buck you can get the 16A version to replace the 10A version that keeps getting burnt out.
awr -