Introduction

  1. bJCIoljRGHheln1Q
    bJCIoljRGHheln1Q
    U6O2v1LcgZDnFLhs
    mTCjSPtCKs5OGr5D
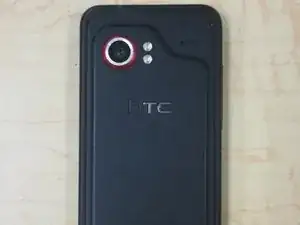
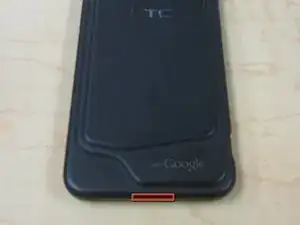
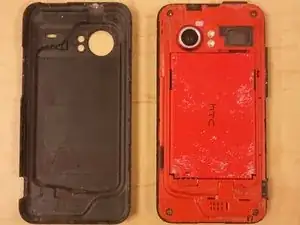
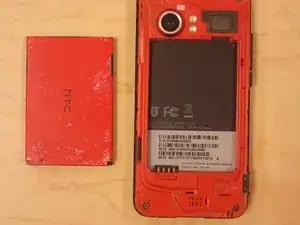
    • Pry off back plastic, starting at the gap provided at the bottom of the phone. A spudger can be used to make this easier.

  2. 6xiF4XgFI6u5bQW6
    6xiF4XgFI6u5bQW6
    KAUDBtjAh6aSlFRZ
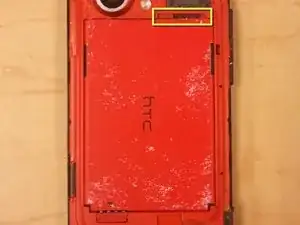
    • Remove battery, prying from the provided gap at the upper-right corner of the battery

  3. PyWqNBFhGxWWiV53
    PyWqNBFhGxWWiV53
    6JHPEQwsufC1eDdm
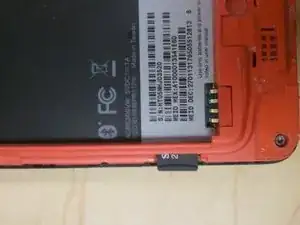
    • Depress MicroSD to eject it from the side of the case.

  4. dm3gqbFnWJII4Rgx
    dm3gqbFnWJII4Rgx
    3QXKRGtJHbTXJQBZ
    xfFxSKRIgJyYwR6E
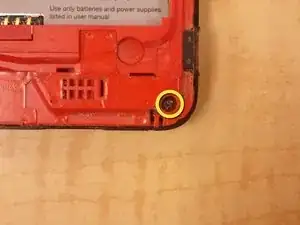
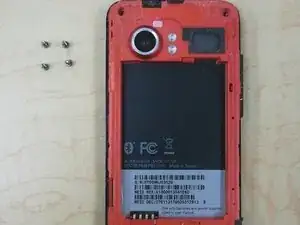
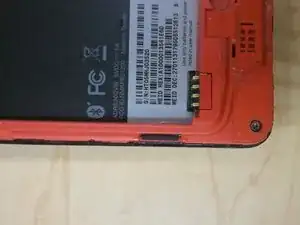
    • Remove 4 corner screws, you may have to remove a "VOID" sticker from one of the screw heads.

  5. nW2mI4FPhKGV4KkL
    nW2mI4FPhKGV4KkL
    WMhODjhE3tJiaXDI
    X2jOxHCZThqVZAA3
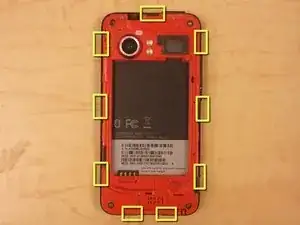
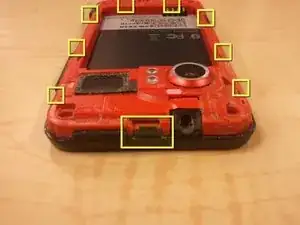
    • Using a spudger, unclip the nine clips holding the back panel to the front panel, highlighted in included pictures.

    • Start at the top, and work clockwise, being careful not to break the clips.

    • There are, 1, 3, 2, and 3 clips on each side, respectively.

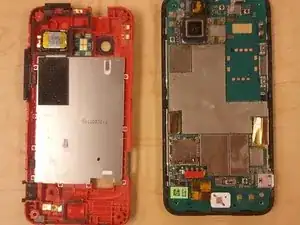
    • After the clips are disengaged, there are no cables holding the back panel in place.

Conclusion

To reassemble your device, follow these instructions in reverse order.
Mobile Rapid Response Unit

Member since: 08/05/12

1941 Reputation

0 comments