Introduction
The LG UltraFine series of monitors, whatever their merits as displays, are prone to requiring board-level repairs due to poorly designed I/O connectors. If you need to make board-level repairs to an LG UltraFine monitor, you'll need to gain access to it first. Removing the back panel of the LG UltraFine is not difficult, but how to do so is not readily apparent from just a cursory inspection.
-
-
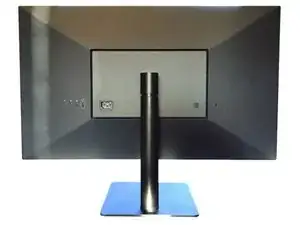
If the monitor display is still attached to its stand, make sure that the monitor is disconnected from any computer and power outlet by removing any attached cables from the back of the monitor, then place it upright onto a sturdy, flat surface.
-
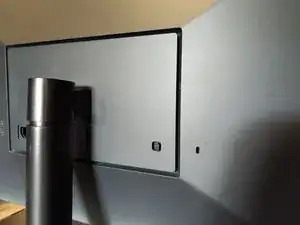
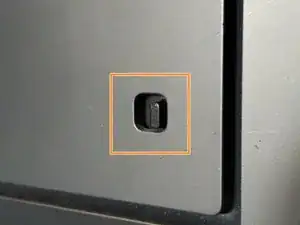
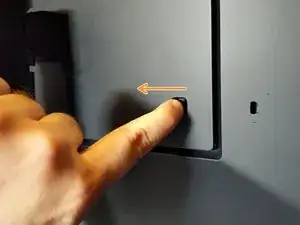
To remove the monitor's display from its stand, start by releasing the latch on the rear of the display, visible through the mounting bracket. The latch is spring-loaded, and should be moved from right to left in order to release it.
-
-
-
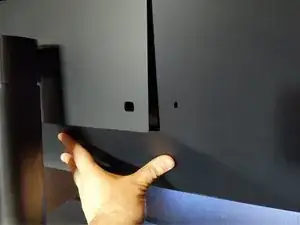
Once the latch is released, pull the display away from the stand from the bottom, then lift the display up and off the mounting bracket. (You may wish to have someone hold down the stand while you perform this step, as the height of the stand may extend upwards as you lift.)
-
Gently place the monitor's display face-down onto a flat surface. You may wish to place a towel underneath the display.
-
-
-
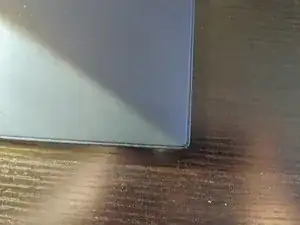
Once the screws are removed, the back panel will only be secured by clips between the back panel itself and the bezel, visible as a seam around the perimeter of the rear of the display.
-
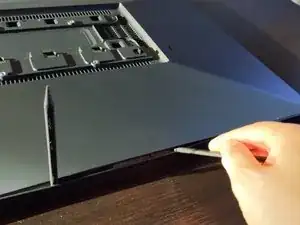
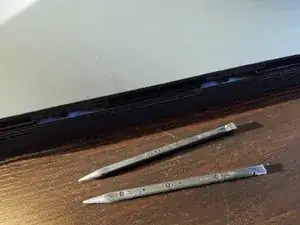
Insert a plastic spudger into one of the seams of the back panel. (You may wish to start with one of the longer sides as the clips are less strongly attached.)
-
With the first spudger inserted, use a second spudger to pull and separate the clips along the edge of the panel and the bezel. You may wish to start from the center of the seam, moving outwards along the edge.
-
Once the first edge of the back panel is completely separated from the bezel, repeat along two more edges of the seam.
-
-
-
With three of the edges of the back panel separated from the bezel, lift the panel up from the opposite end of the still-attached edge. The rest of the panel should separate without much force under the weight of the display.
-
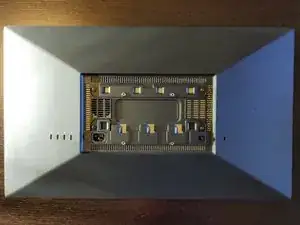
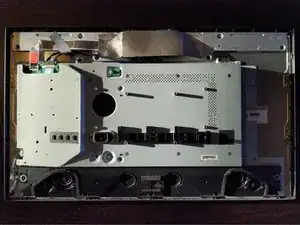
Removing the back panel reveals the EMI shield, to which the PSU and motherboard are both attached as a single assembly. To gain access to these, the assembly will need to be entirely removed from the display enclosure.
-
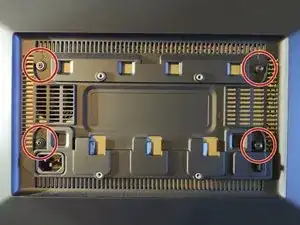
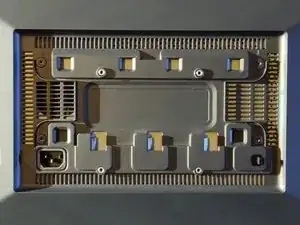
To re-attach the back panel, simply align it with the rear of the display, then press along the seam to re-clip it to the bezel all the way around. Make sure that all of the clips are reattached, then replace the phillips screws to the threaded inserts marked with arrows (not to the VESA mount screw holes).