Introduction

  1. VH3KD1FNDhChgBRk
    VH3KD1FNDhChgBRk
    H4rraGu6VcfPWaVP
    COp6NVbs3VVeSG5Y
    • Your new front camera assembly might have plastic covers lightly adhered over each of the lenses. If it doesn't, then skip this step.

    • Use your fingers to remove the three lens covers from your new rear camera assembly.

  2. BKcQRHTAC4y2bEoM
    BKcQRHTAC4y2bEoM
    eajehPvGXJ2eQ4Of
    • Align and place your new rear camera assembly on its cutout in the logic board.

  3. Zr4AbBpPr6MCcOFD
    Zr4AbBpPr6MCcOFD
    NNJdwLhvISGKckZh
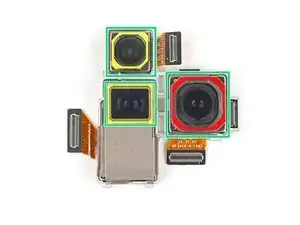
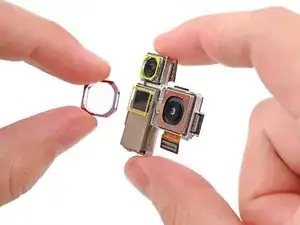
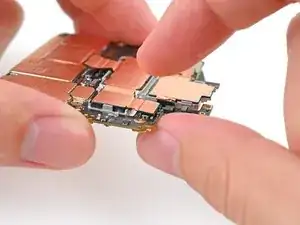
    • Align one of the rear camera assembly's press connectors carefully over its socket and press down with your fingertip until it clicks into place.

    • Don't try to force the connector into place. If you're having trouble, reposition it and try again.

  4. cbYwZQgKc1d2Bjhu
    cbYwZQgKc1d2Bjhu
    SKLr1GQdrPHMQuTJ
    • Repeat the previous step for the other two rear camera press connectors.

  5. yi2wy1MKDLReKYJK
    yi2wy1MKDLReKYJK
    unOZtPNBV4HE5EiH
    k4T5WPAZFDNPIMTO
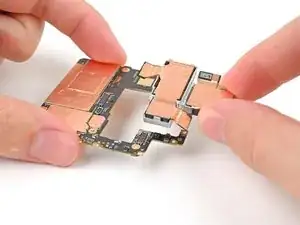
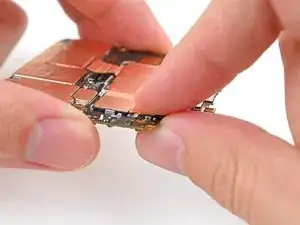
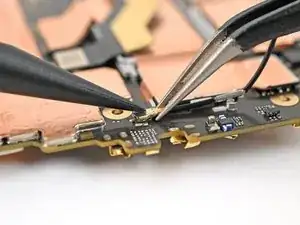
    • Use tweezers to hold one of the rear camera assembly's antenna connectors in place over its socket and gently press down with your finger or a spudger until the connector snaps into place.

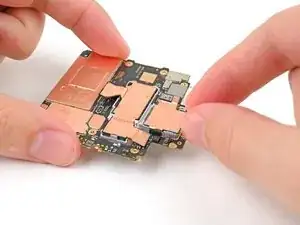
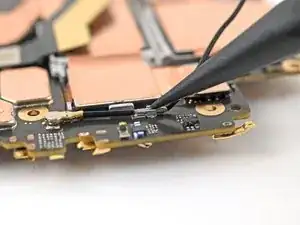
    • Repeat for the other connector on the antenna cable.

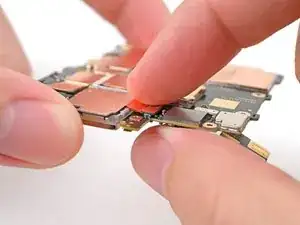
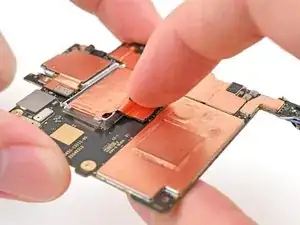
    • Use a spudger, or your fingers, to press the antenna cable into its clips and groove in the rear camera assembly.

Conclusion

To reassemble your device, follow these instructions in reverse order.

Alex Diaz-Kokaisl

Member since: 16/01/22

151892 Reputation

0 comments