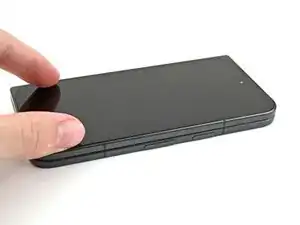
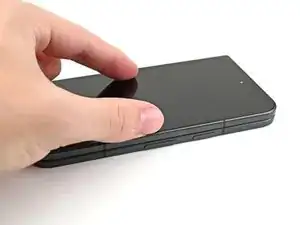
Introduction
-
-
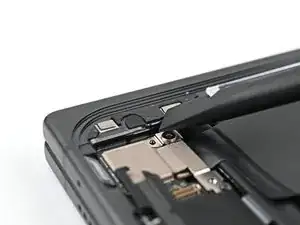
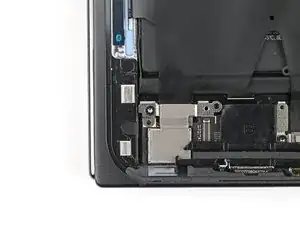
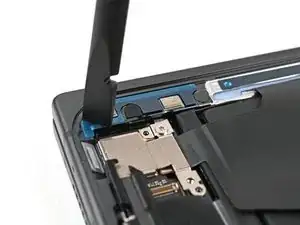
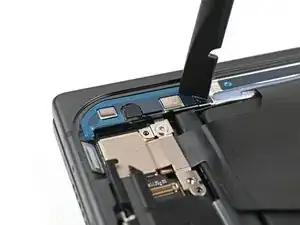
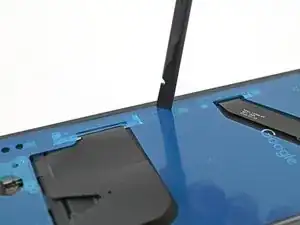
Use a spudger, or your fingers, to remove the old bottom left outer screen adhesive.
-
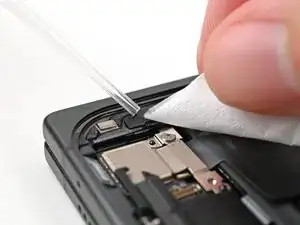
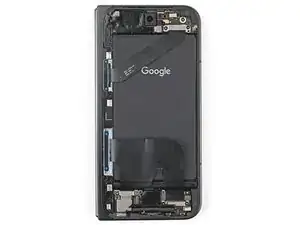
Use isopropyl alcohol (>90%) and a coffee filter or a microfiber cloth to remove any adhesive residue.
-
-
-
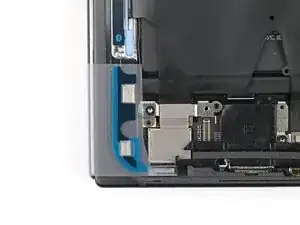
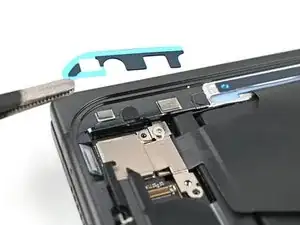
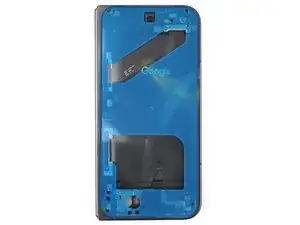
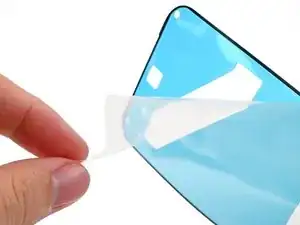
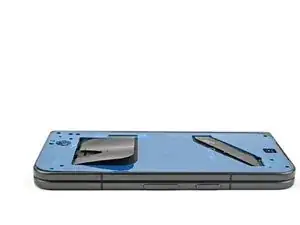
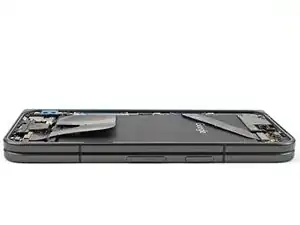
Before removing any liners, check if the bottom left outer screen adhesive matches the frame.
-
-
-
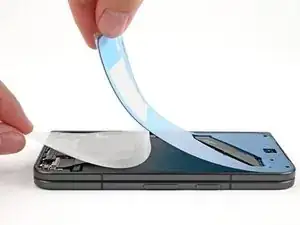
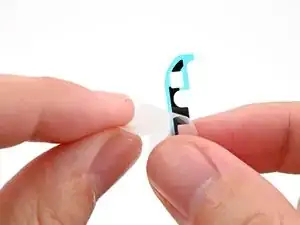
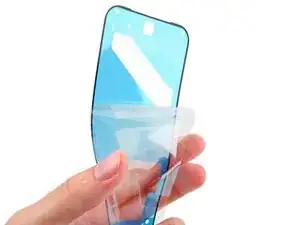
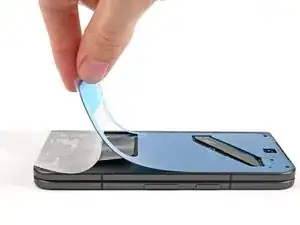
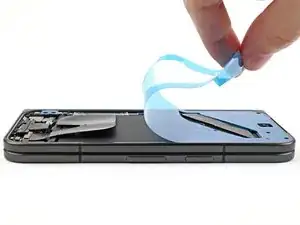
Peel the bottom left outer screen adhesive off its clear liner to expose the adhesive.
-
Put the adhesive into place on the frame.
-
-
-
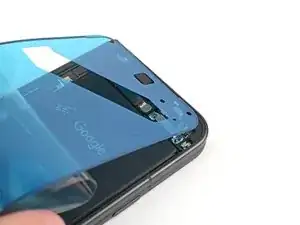
Align the top half of the adhesive over the frame, using the corners as reference points.
-
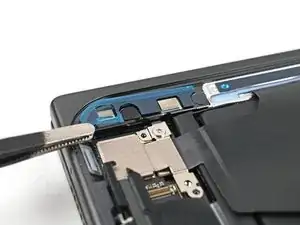
Place the adhesive on the frame.
-
-
-
Use the flat end of a spudger, or your fingers, to press down the top edge of the adhesive and adhere it to the frame.
-
-
-
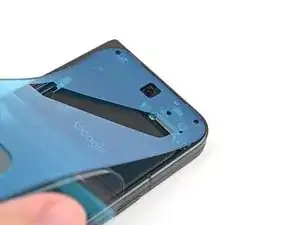
While peeling away the rest of the clear liner, slowly lay the rest of the adhesive over the perimeter of the phone.
-
-
-
Use the flat end of a spudger, or your fingers, to press down the rest of the adhesive and adhere it to the frame.
-
-
-
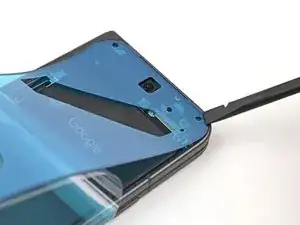
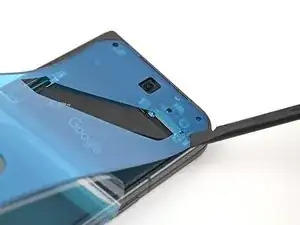
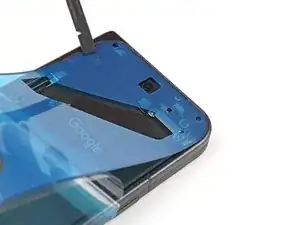
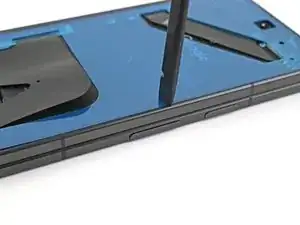
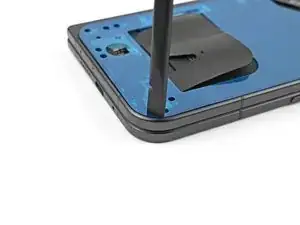
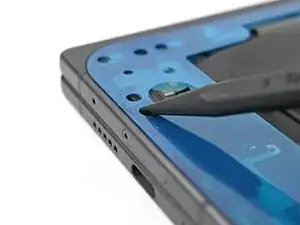
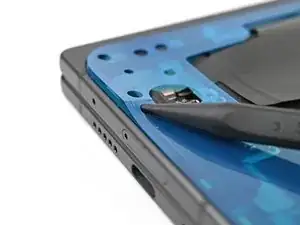
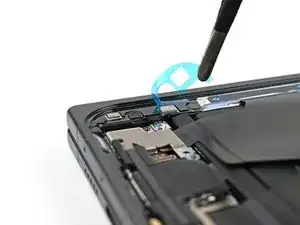
Use the tip of a spudger to pry up the segmented tab on the bottom left corner of the large blue liner.
-
-
-
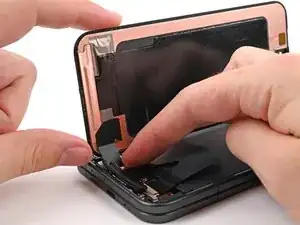
Support the screen with your hand or prop it up on something sturdy.
-
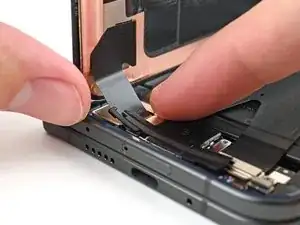
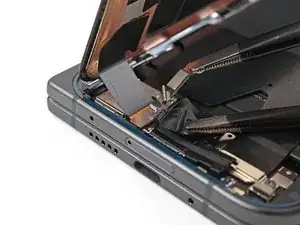
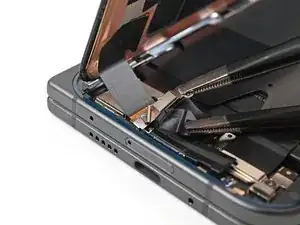
Reconnect the outer screen cable press connector.
-
-
-
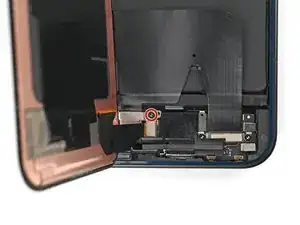
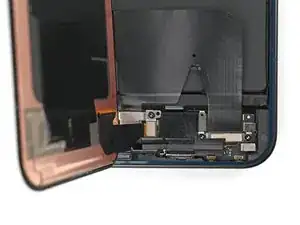
Use a Torx Plus 3IP driver to install the 2.2 mm‑long screw securing the display cable bracket.
-
-
-
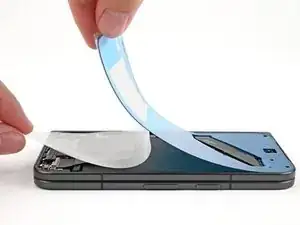
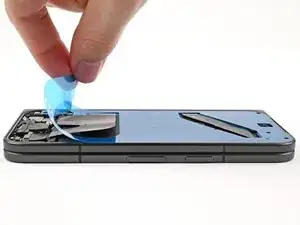
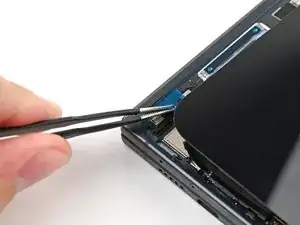
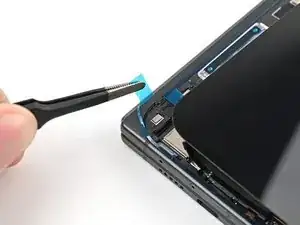
Remove the blue liner from the bottom left outer screen adhesive strip.
-
While holding the screen above the frame, separate one of the secondary liner's pull tabs at the bottom left corner.
-
-
-
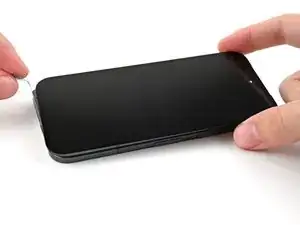
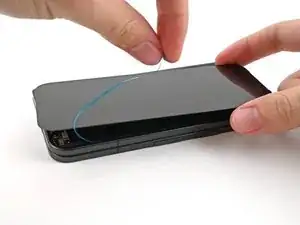
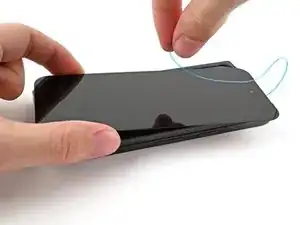
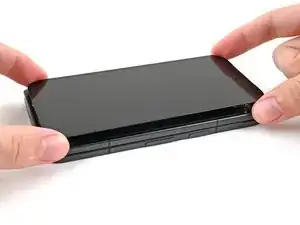
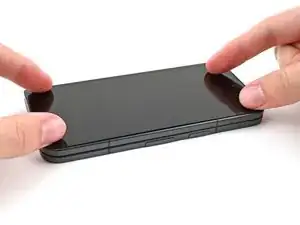
Press along the perimeter of the outer screen to adhere it to the frame.
-
Let the phone sit a few hours for the adhesive to cure.
-
To reassemble your device, follow these instructions in reverse order.
