Introduction
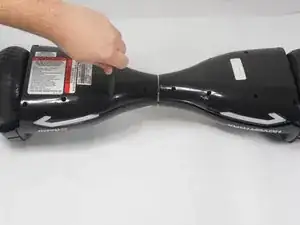
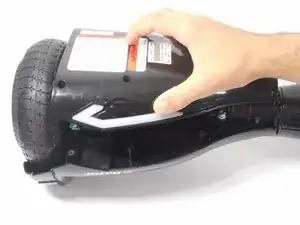
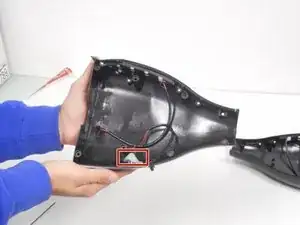
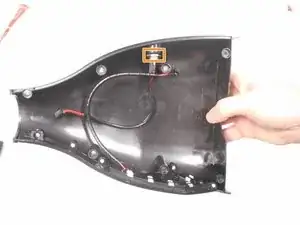
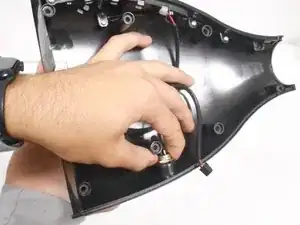
Use this guide to replace a damaged or broken charging port on a Razor Hovertrax 2.0. The charging port is located on the back of the unit and the side with the warning stickers about the product. For this guide you will need a Phillips #2 screwdriver and a 4mm hex screwdriver.
Tools
-
-
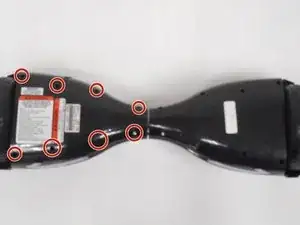
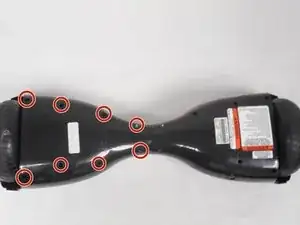
Use a #2 Philips screwdriver to remove the eight 18.5 mm screws from the bottom of the Hovertrax 2.0.
-
-
-
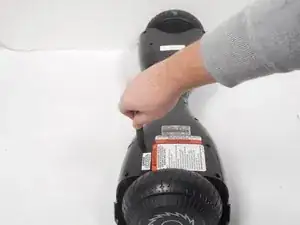
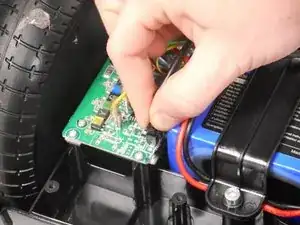
To remove the led connector from the board, press the clip in with your fingers and gently pull up.
-
-
-
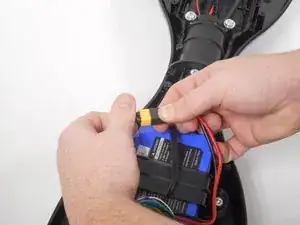
Disconnect the battery connector by grabbing the black side with one hand and the yellow side with the other hand and gently pull apart. (Try not to pull on the wires, it could damage them)
-
-
-
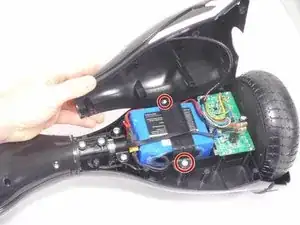
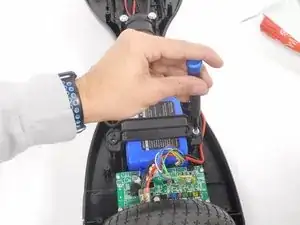
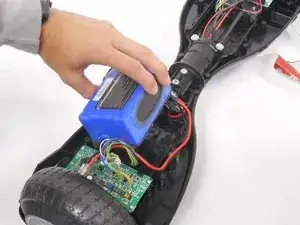
Remove the two 17.2 mm hex head bolts using the 4 mm hex screwdriver that secures the battery in place.
-
-
-
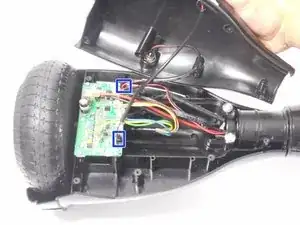
Remove the black shell with the warning stickers.
-
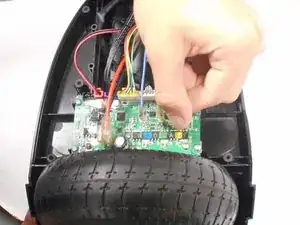
Carefully disconnect the two connectors from the circuit board.
-
To reassemble your device, follow these instructions in reverse order.
