Introduction

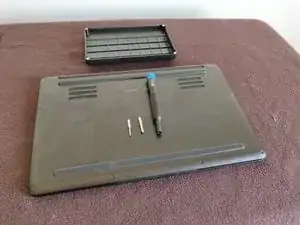
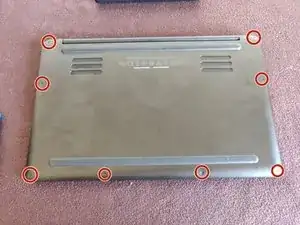
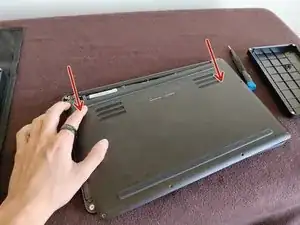
Here is a guide for an SSD replacement in this model.

  1. FuBtnnwAp1LCBBIq
    • Use a Torx T5 screwdriver to remove the eight, 3mm screws on the bottom cover of the laptop.

    • Whenever removing screws from the device, remember to save and label them.

    • Ensure the laptop is fully powered off before beginning!

  2. MBpQAQGeGTwGQ1MO
    • Remove the bottom cover of the laptop by sliding it away from the hinge.

    • Do not force the cover up!

  3. RVwwMBXRfuSThgO4
    • Use the Philips #00 screwdriver to remove the screw securing the SSD.

  4. MQ2nnPKaiDlBbwo2
    • Gently lift the side where you just removed the screw.

    • Do not lift the SSD too much or you might cause damage to your SSD, or your computer.

  5. yMKSACkMbDbZBKSM
    • Gently pull the SSD towards you to remove it

  6. GwwcKioGIwPdeTkj
    GwwcKioGIwPdeTkj
    MOgOZ4GoBDjMbKFg
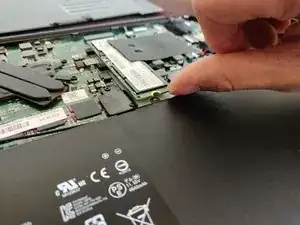
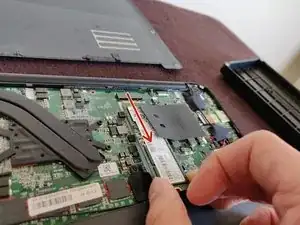
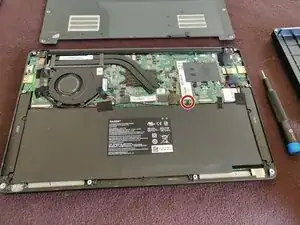
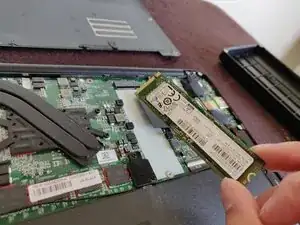
    • Congratulations! You can now insert the desired SSD M.2 drive that you desire. Install it in the port you just freed.

Conclusion

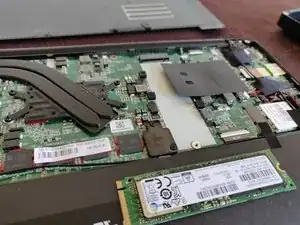
To reassemble your device, do what you just did but in reverse order, and BAM, more storage.

Joaquin RP

Member since: 13/03/20

133 Reputation

0 comments