Introduction

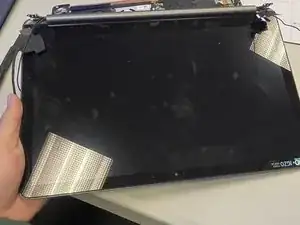
This guide outlines how to remove the display assembly of the Razer Blade Stealth 2017. Display assembly replacement may be necessary if there are cracks or breaks on the screen, dead or stuck pixels that show one color or no color at all, lines, spots, or blobs on the screen, flickering or fading of the backlight, distorted colors or contrast, blurry or ghost images, and no image or signal. Some tools are required for this replacement.

  1. LxXeUEUX1QsYMuo2
    LxXeUEUX1QsYMuo2
    qnJFsCybk6ZWj3fs
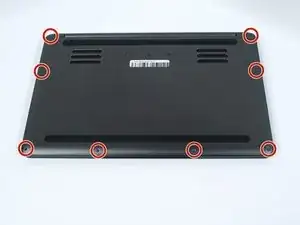
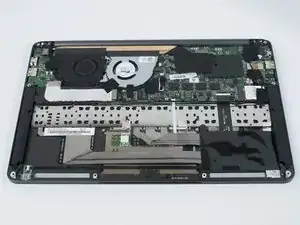
    • Before you begin, be sure to turn off your laptop and discharge the battery down to 25%.

    • Use a Torx T5 screwdriver to remove the eight, 3mm screws on the bottom cover of the laptop.

    • Whenever you remove screws from the device, remember to save and label them.

  2. qk4H6BDjtIosjQR5
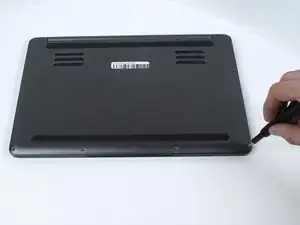
    • Remove the bottom cover of the laptop by sliding it away from the hinge.

    • Do not force the cover up!

  3. QIvH3Auj5t3CqgN5
    QIvH3Auj5t3CqgN5
    SbmLLqpMocvpYq1W
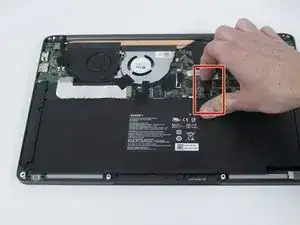
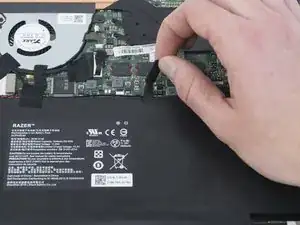
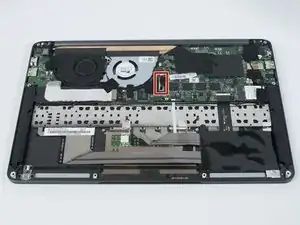
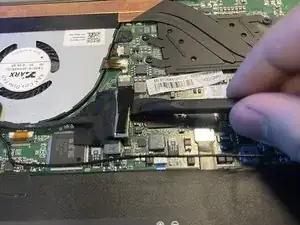
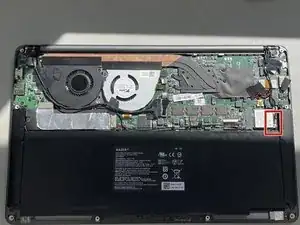
    • Use your fingernail to pry up and disconnect the battery from the motherboard.

  4. F2jGBNOC4tpmVq16
    • Use a Phillips #00 screwdriver to remove the six, 5mm screws securing the battery.

    Do you have to remove the battery before swapping the wifi card? Is disconnecting the power not enough?

    Charles Tsai -

    Hi Charles,

    If you’re swapping the Wi-Fi card, you don’t need to remove the battery. Disconnecting it will suffice.

    Arthur Shi -

    Are two of these screws shorter than the other four? And if so, where do the two shorter screws go?

    James Spinella -

    Looks like the two shorter screws go where the trackpad is!

    James Spinella -

  5. yvhnafCZb3yMYkjF
    yvhnafCZb3yMYkjF
    QrZNXNVFLGHaBM5M
    • Remove any tape attached to the battery.

    • Use the plastic spudger to pry out the battery.

    After removing the 6 screws securing the battery, mine does not come out easily. There is resistance, and I don't wanna forcefully pull it out. Is it supposed to be easy to pick up and take out or is there some sort of tape holding it down from the bottom?

    kairos -

  6. LtgrEEMT5SsQdFSV
    LtgrEEMT5SsQdFSV
    dasSfsBrlsAEHIiG
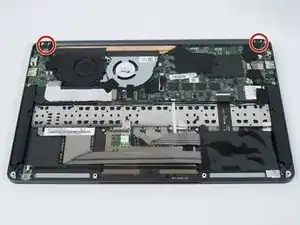
    • Use a Phillips #00 screwdriver to remove the six 4 mm screws securing the display assembly.

  7. 6kSPfaGSZRwurFWs
    6kSPfaGSZRwurFWs
    FHkNDd6p5qL4vdlw
    LPOLZuDvncQcTkBO
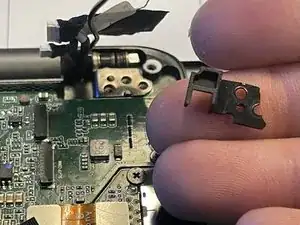
    • Use the plastic spudger to remove the plastic brackets beneath the hinges.

  8. NuVnDGdqlKlv1hEY
    NuVnDGdqlKlv1hEY
    mqqB5DFpIXqKKFBG
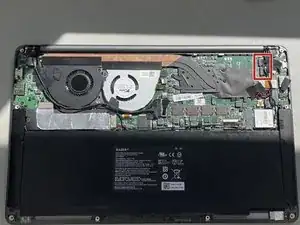
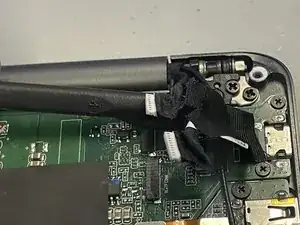
    • Remove any tape attached to the wires.

    • Use the plastic spudger to slide the connectors to the right to disconnect them.

  9. Zdn3VxSg6VPhBoYQ
    Zdn3VxSg6VPhBoYQ
    BKR4RZtWUSapCauo
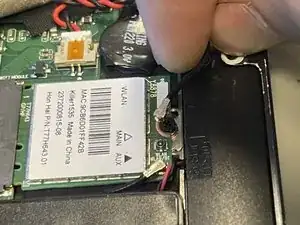
    • Use the plastic spudger to lift the connector off of the socket.

  10. dAmh2ttvUP2suRjC
    dAmh2ttvUP2suRjC
    TRuJSHMyCSMZoNWv
    • Use your fingers to lift connectors off of their sockets.

  11. yp5OiHGFvL1g13GT
    yp5OiHGFvL1g13GT
    bDRdXqp6Rst3sMOv
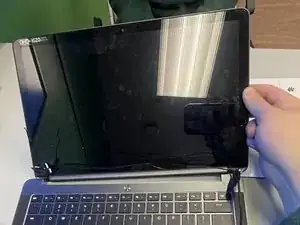
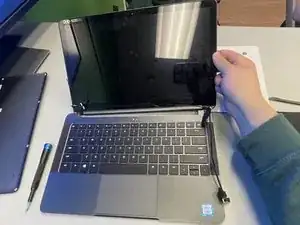
    • Lift the screen to the open position.

    • Remove the display assembly by sliding it away from the keyboard.

    • Do not force the display assembly off!

Conclusion

To reassemble your device, follow these instructions in reverse order.
Kris Ritter

Member since: 08/02/24

173 Reputation

0 comments