Introduction

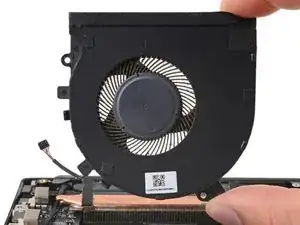
Use this guide to remove or replace the right fan in your Razer Blade 15" (2019).

Note: This guide refers to the "right" fan as the one on your right-hand side when the screen is open and facing you.

  1. U3WCBShbaLvURkIn
    U3WCBShbaLvURkIn
    DLKeF3nRAqw6JZHV
    • Allow your laptop's battery to drain below 25% before starting this repair—a charged battery may catch fire if damaged.

    • Unplug all cables, fully shut down your laptop, and close the lid.

  2. mwpZH3qBEQhGfMsZ
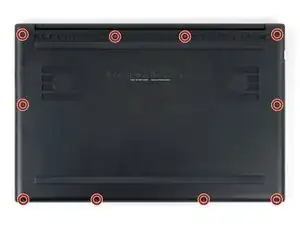
    • Rotate your laptop so the screen hinge is farthest from you.

    • Use a Torx T5 driver to remove the ten 3.8 mm-long screws securing the back cover.

  3. UyswDlrMoOuPxypO
    UyswDlrMoOuPxypO
    ZCQLS6SmYFD16roT
    AKZCEEwppCqshwfw
    • Depending on the age and condition of your laptop, the back cover may come off sooner than this guide instructs. If the cover feels loose, remove it at any time.

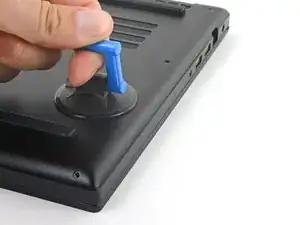
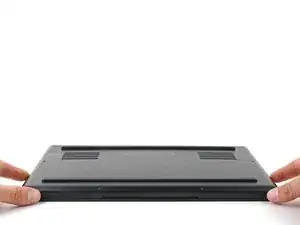
    • Apply a suction handle to the right edge of the back cover, between the middle screws and the screws closest to you.

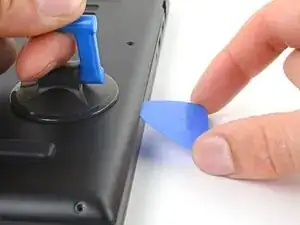
    • Pull up on the suction handle to create a small gap between the back cover and the frame.

    • Insert an opening pick into the gap.

  4. 5ZeHhQqyGyPNtQ2Z
    5ZeHhQqyGyPNtQ2Z
    65pDl33yTCvLjvtV
    6GNJkCfOsbUZWFQE
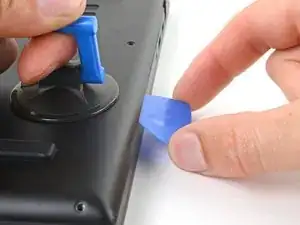
    • Angle your opening pick upward, away from the frame. Keep it angled upward as long as it's between the back cover and the frame.

    • Insert your pick up to 10 mm (0.4 in) deep.

  5. aoYEQ1ZuOohURDBV
    aoYEQ1ZuOohURDBV
    3wZjhrAbjWVHpYDE
    QaiFOX5uygSIVlEo
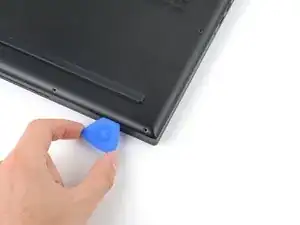
    • Slide your opening pick around the bottom right corner of the back cover to free it from the frame.

  6. aoJKrYRFNEwNCsgQ
    aoJKrYRFNEwNCsgQ
    WU5LeqALfrufkyDR
    1ig13qvemkhwD3TF
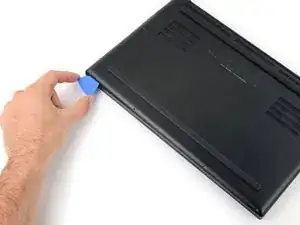
    • Slide your opening pick along the front edge and around the front left corner of the back cover to free it from the frame.

  7. I5kaOpbIqhSTcGUi
    I5kaOpbIqhSTcGUi
    jVDlxYULoPWxIQZK
    sopitFR2e4OLx1Fn
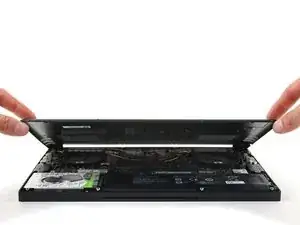
    • Remove the back cover.

    • Lay the back cover down on its rubber feet to avoid damaging the gray thermal pads on its underside.

  8. tl4ggcyTcEFHBtcx
    tl4ggcyTcEFHBtcx
    QPDdmGyfDxdgdhNN
    • Apply a heated iOpener to the battery cable tape for one minute.

    • You can also use a hair dryer—but be careful, as overheating the battery may damage it or create a fire hazard.

  9. ERiRULpYZEt5i1me
    ERiRULpYZEt5i1me
    LJcIXWnnRRFw4dPm
    hWjBHE1olSZCQguG
    • Be careful not to damage the battery with your tool.

    • Use blunt nose tweezers or your fingers to peel the battery cable tape away from the cable.

  10. OtNVUtIl2ECSCjeK
    OtNVUtIl2ECSCjeK
    DFBDFRBp2HppeMkb
    Fgs2I1YL5fbhjokZ
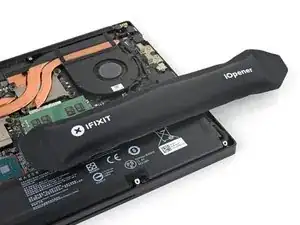
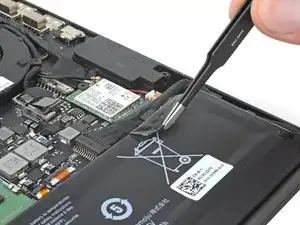
    • Use the point of a spudger to press on alternating sides of the battery connector and walk it out of its socket.

  11. 5Xd3SV1fcrWMvKMi
    5Xd3SV1fcrWMvKMi
    wNQBKhbBOGyMRGud
    • Use blunt nose tweezers or your fingers to grab the rubber sleeve around the right fan cable and pull the connector straight out of its socket.

  12. NHcBg4MlaBMxLttO
    NHcBg4MlaBMxLttO
    KQBAUfS6VDsWysDO
    xjpcWJcyJ5gArx6Q
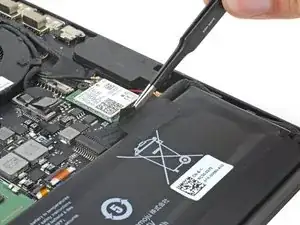
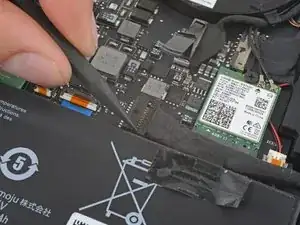
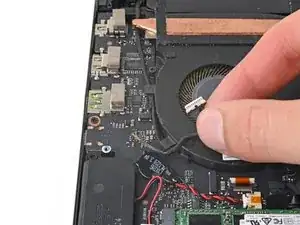
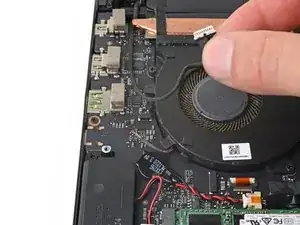
    • Use the point of your spudger to push on alternating sides of the left screen connector, just under the right fan, to "walk" it out of its socket.

  13. ODZdkk3QndHxrTjl
    ODZdkk3QndHxrTjl
    YJkuXCwJTuaCsBbt
    • Guide the left screen cable out from the tabs on the right fan.

  14. bJQylwTATV11AWAW
    bJQylwTATV11AWAW
    TDI6ZyXBtanSP1pa
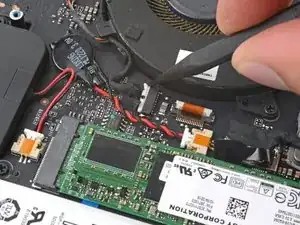
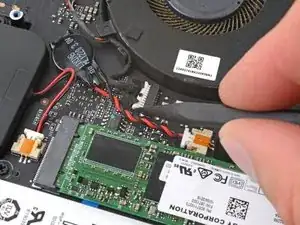
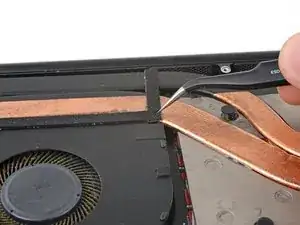
    • Use tweezers or your fingers to peel the top right corner of the fan tape from the heatsink.

  15. FIGxFxmTOPaantPL
    • Use a Phillips screwdriver to remove the two 6.7 mm screws securing the right fan.

  16. 6TJsLSCOTa1RKUKm
    6TJsLSCOTa1RKUKm
    aRPDaRRIQEBKIZMr
    • Remove the right fan.

Conclusion

To reassemble your device, follow these instructions in reverse order.

Take your e-waste to an R2 or e-Stewards certified recycler.

Repair didn’t go as planned? Try some basic troubleshooting, or ask our Answers community for help.

Clay Eickemeyer

Member since: 19/09/22

77552 Reputation

0 comments