Introduction
This guide provides detailed instructions for replacing the side-to-side scroll wheel buttons (SW2 and SW4) and the middle scroll wheel click button (SW3) on the Razer Basilisk V3. These components are essential for smooth scrolling and clicking actions during use. Replacement may be needed if the buttons become unresponsive or feel inconsistent.
Tools
-
-
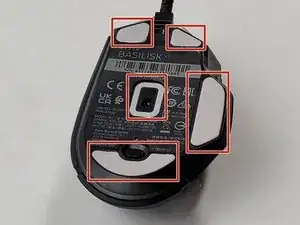
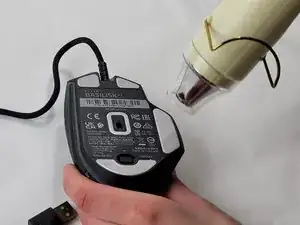
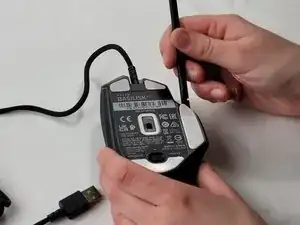
Heat the skate using a heat gun or hair dryer.
-
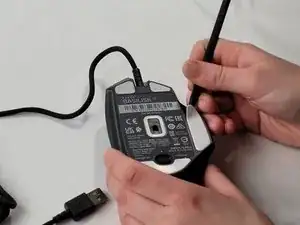
Using the pointy end of the spudger pry away a corner of the skate.
-
Once the corner of the skate comes free use the flat end of the spudger to peel off the rest of the skate.
-
Repeat these steps for each of the skates.
-
-
-
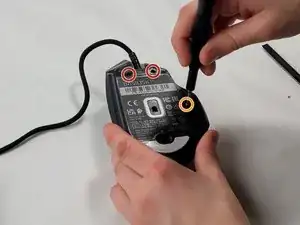
Remove two 4.8 mm screws that were hidden under the skates using a JIS #1 screwdriver.
-
Remove the single 4 mm screw beneath the thumb grip using a JIS #1 screwdriver.
-
-
-
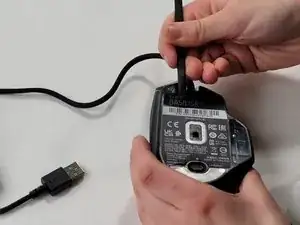
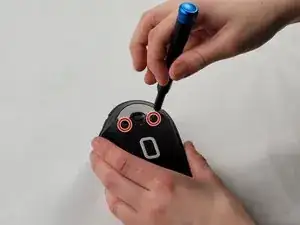
Heat the label gently with a heat gun or hair dryer.
-
Once the adhesive is loosened, use a spudger to peel off the label carefully, revealing two additional screws.
-
Remove the two 4.8 mm screws using a JIS #1 screwdriver.
-
-
-
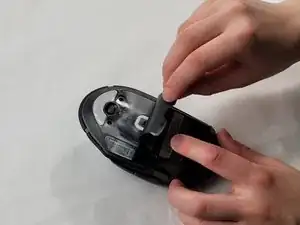
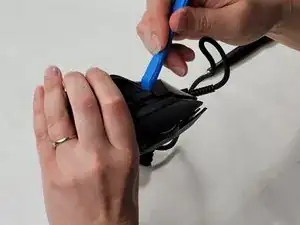
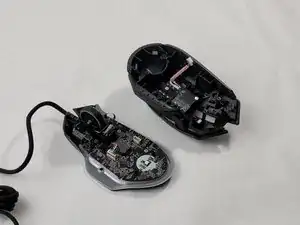
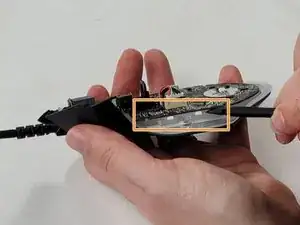
Carefully pry apart the mouse's top and bottom halves. Using the iFixit opening tool, start at one corner and work around the edge.
-
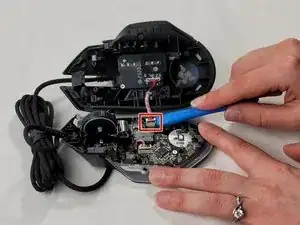
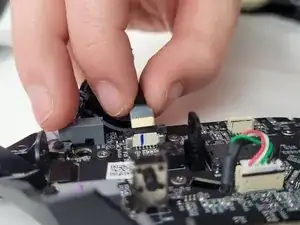
Using a plastic opening tool, gently pry the connector apart by moving side to side to avoid bending the pins.
-
-
-
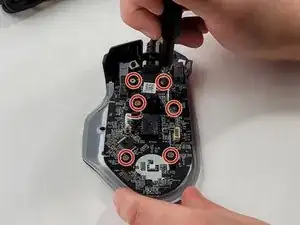
Remove six 4 mm screws using a JIS #0 screwdriver.
-
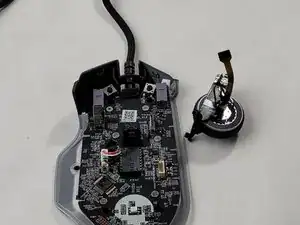
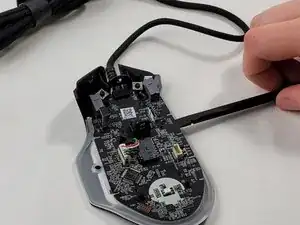
Insert the flat end of a spudger in the gap between the motherboard and the rest of the mouse.
-
Slowly pry up the edge of the board, moving around the mouse slowly in a counterclockwise direction.
-
-
-
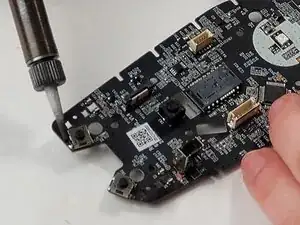
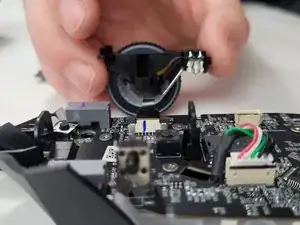
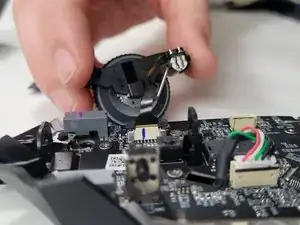
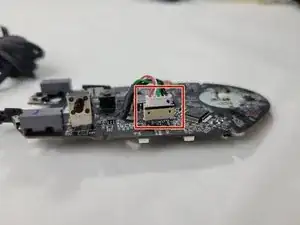
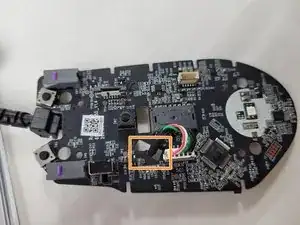
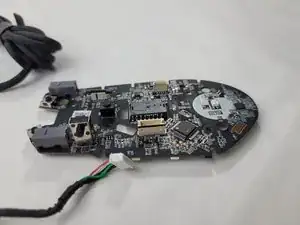
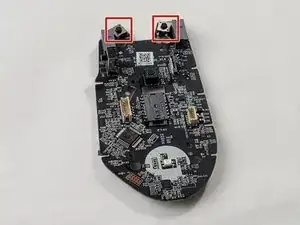
Identify SW2, SW3, and SW4 which are marked on the motherboard.
-
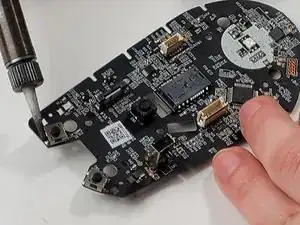
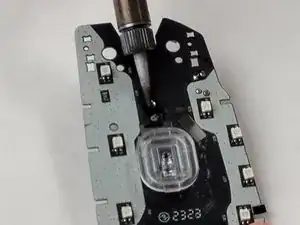
Use a soldering iron and desoldering pump or solder wick to remove the old solder from SW2, SW3, and SW4.
-
Once the solder is removed, use tweezers to carefully lift and remove the old button modules from the motherboard.
-
To reassemble your device, follow these instructions in reverse order.
One comment
Hi. You know which kind of switch is the black one in the middle?
