Introduction

This guide outlines the steps for replacing the main left and right-click buttons on the Razer Basilisk V3 gaming mouse. Whether the buttons have become unresponsive or physically damaged, this guide will assist with installing new button modules to restore functionality.

  1. LJ3HZCtowhuMfVfU
    • Locate each of the skates.

  2. XVfyNMIBC3bUAV5d
    XVfyNMIBC3bUAV5d
    k3oVtwMtn2BtoQ3j
    WCwdVSWHSJMUZgvh
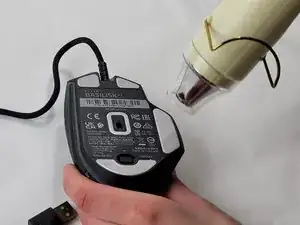
    • Heat the skate using a heat gun or hair dryer.

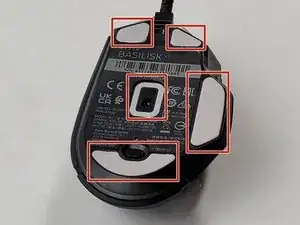
    • Using the pointy end of the spudger pry away a corner of the skate.

    • If the adhesive does not pull away easily, heat the skate more.

    • Once the corner of the skate comes free use the flat end of the spudger to peel off the rest of the skate.

    • Repeat these steps for each of the skates.

  3. 5XUjbxypMncU33tq
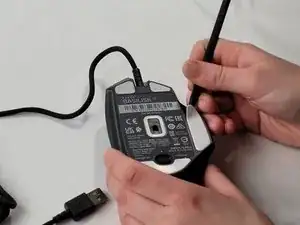
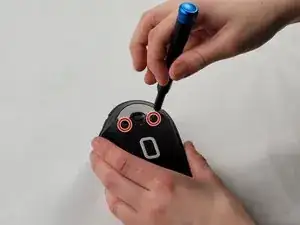
    • Remove two 4.8 mm screws that were hidden under the skates using a JIS #1 screwdriver.

    • Remove the single 4 mm screw beneath the thumb grip using a JIS #1 screwdriver.

  4. 2waIBMuRNIaLXE3E
    2waIBMuRNIaLXE3E
    i1LKDAPGQvcIfk6k
    bOjOWUaMmVqZVi4L
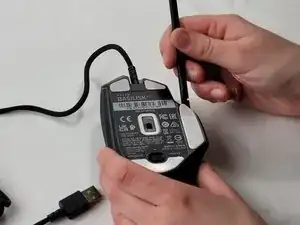
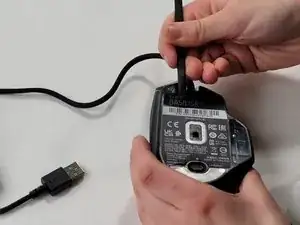
    • Heat the label gently with a heat gun or hair dryer.

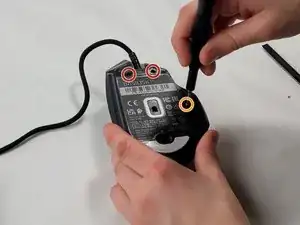
    • Once the adhesive is loosened, use a spudger to peel off the label carefully, revealing two additional screws.

    • Remove the two 4.8 mm screws using a JIS #1 screwdriver.

  5. X6FNuMFmjaQuqYQT
    X6FNuMFmjaQuqYQT
    waF3giuOdpoNG3dQ
    LppQwuiaBAPoM3Jb
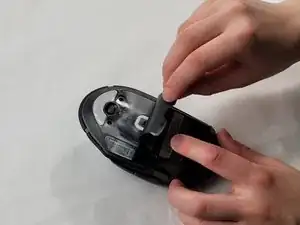
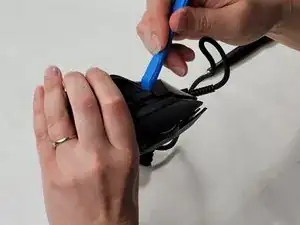
    • Carefully pry apart the mouse's top and bottom halves. Using the iFixit opening tool, start at one corner and work around the edge.

    • Be cautious of the clips that may break during this process.

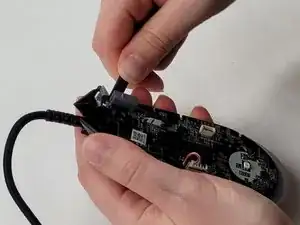
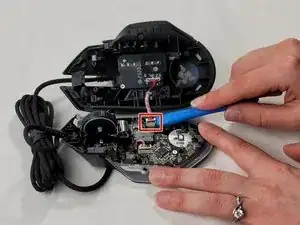
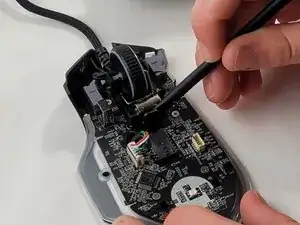
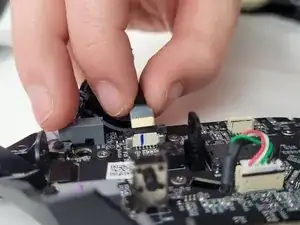
    • Using a plastic opening tool, gently pry the connector apart by moving side to side to avoid bending the pins.

    • When reassembling, be mindful that the connector only fits one way, as shown in the pictures.

  6. at5qUVkcMa6TaWuO
    at5qUVkcMa6TaWuO
    QSXavItBYMwqPAqb
    Y2jD5ReISNRsHVUb
    • Use the flat end of the spudger to pop-out the scroll wheel assembly.

    • Make sure you are careful when removing the assembly since it is still connected to the device with a ribbon cable. If you pull too hard the cable could break.

  7. EmcPlsZY6tDElKP6
    EmcPlsZY6tDElKP6
    gYvPYQqIKkLBcjHp
    RsAEtJGKwMUt1V1y
    • Pull up on the top half of the cable connector and pull the cable from the connector.

    • The connection pins on the wire face towards the scroll wheel assembly housing. When reassembling, make sure the connectors on the cable are facing the correct direction.

  8. pryTYowjneVVuTrQ
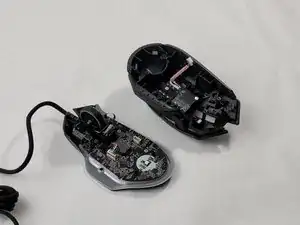
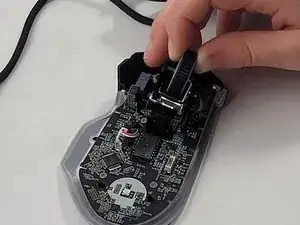
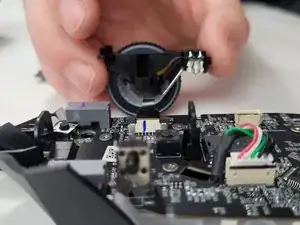
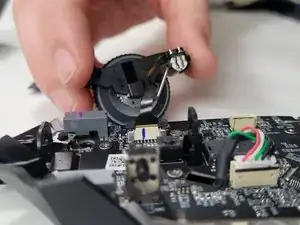
    • Use the flat end of the spudger to press the two main button modules out from their mountings.

    • Apply steady pressure to just the button modules to avoid damaging the surrounding plastic.

Conclusion

To reassemble your device, follow these instructions in reverse order.

Brendin Costa

Member since: 18/03/24

402 Reputation

0 comments