Introduction
-
-
Find the file for printing at http://bit.ly/2RFHGyT
-
To start this process, you will need to remove all 4 corner leveling knobs. There may also be a star washer between the knob and Y carriage plate on each corner.
-
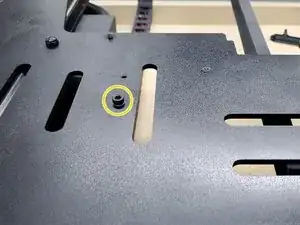
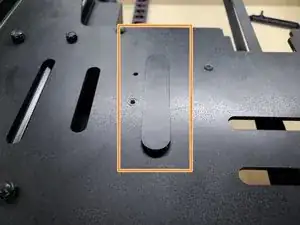
The screw that is not allowing the new chain to sit flat, needs to be removed. Use an M2.5 hex for this.
-
The screw is no longer needed.
-
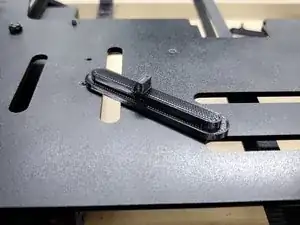
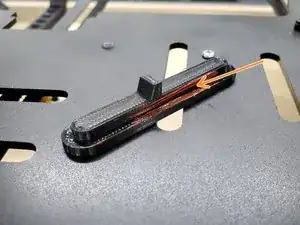
The raised part sits closer to one side. It should face the end stop.
-
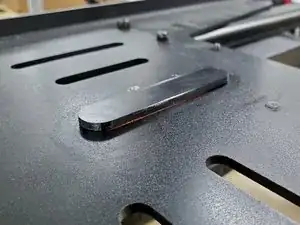
Test fit the printed part first to make sure it sits all the way flush.
-
-
-
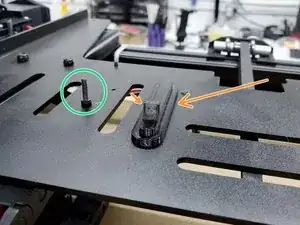
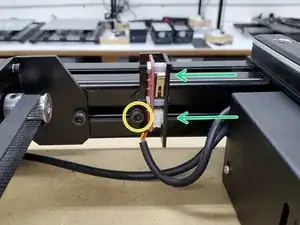
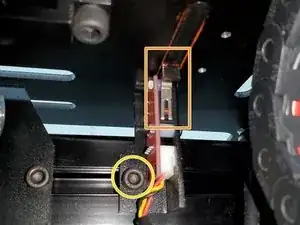
Loosen the socket head screw using a M4 hex .
-
Reposition the end stop so that the new printed part triggers the lever.
-
Using a RTV silicone based adhesive (high temp suggested) or another glue that works with plastic/metal, apply a small amount of glue to the sides of the printed part on the inside corner.
-
-
-
Clean up any excess glue using a paper towel.
-
Double check that the end stop is triggered by the new part. Reposition the end stop bracket if necessary.
-
Tighten the end stop bracket.
-
Continue on with Step 10 on the Cable Chain Install Guide by clicking http://bit.ly/2Runj7r.
-

To reassemble your device, follow these instructions in reverse order.