Introduction

  1. 2sJ2M3qZBN5s6fFQ
    2sJ2M3qZBN5s6fFQ
    UxHmnZHaR3MBa12Y
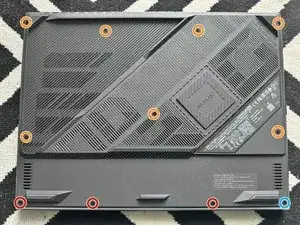
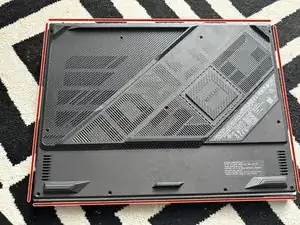
    • Remove the following screws

    • PH0 Screws

    • This one remains captive to the backplate and will not come off.

    • These ones are also PH0 but are longer then the other ones.

  2. B4IPY4Oe3qQyRAx6
    B4IPY4Oe3qQyRAx6
    vGvCMrckmkxxpbFI
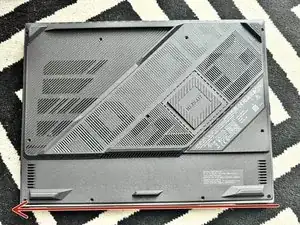
    • Slide an Opening Pick around the edge until you make an opening

    • Carfully lift the backplate with your hand

  3. YusfCLgEDRNN2XWc
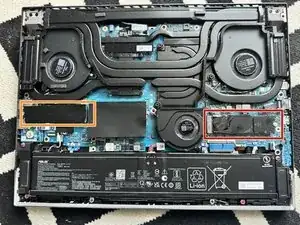
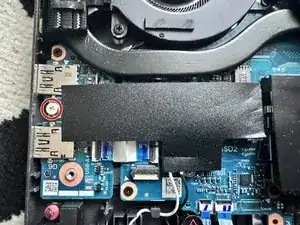
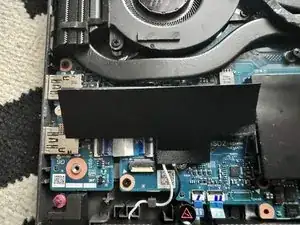
    • There are 2 slots labeled "SSD1" and "SSD2"

    • The SSD1 slot has a preinstalled SSD by the OEM and has your operating system on it

    • The SSD2 slot is free and you can install a M-Key M.2

  4. TSdatDCGAKfEDKVY
    TSdatDCGAKfEDKVY
    eEYR2BeTfLvB6Wv6
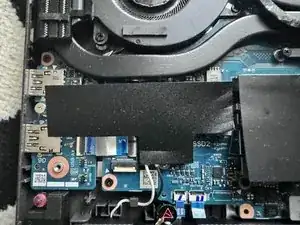
    • Lift/Remove the tape to reveal the slot

    • You may decide if you would like to keep the tape, we will be reapplying it in step 9

  5. UyZKmsVLbLydEYTL
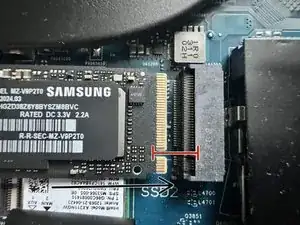
    • Remove the PH00 Screw.

  6. nWt4dAW5YSTKs4pK
    nWt4dAW5YSTKs4pK
    1iKZlhDlgpWX6nGP
    D6TEFSdUQNHSottE
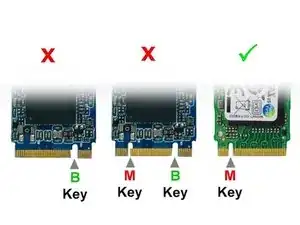
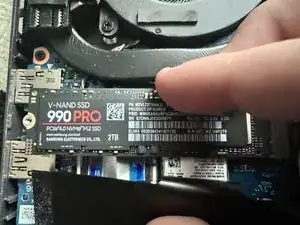
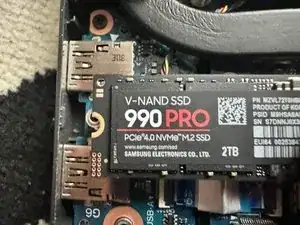
    • Carfully slide in the M.2 into the slot

    • Make sure to align the pins properly to avoid damaging them

    • Make sure you are installing a M-Key (5pin) M.2, A B-Key or a B&M-Key is not supported

  7. CBKmpcFQPtP1Jtrx
    CBKmpcFQPtP1Jtrx
    TyAAWaEaw6cLedCo
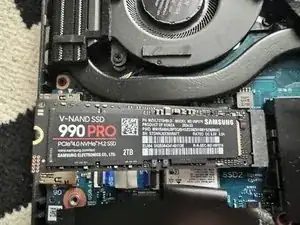
    • Press down on the M.2

  8. jZLHIO5TwuQQRIno
    jZLHIO5TwuQQRIno
    3ecrihhWCdvKgGOX
    vmfYuJMCtQHJxXqT
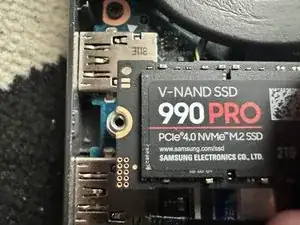
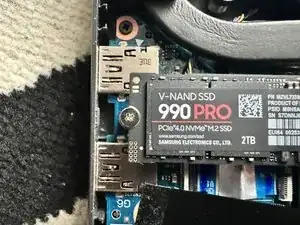
    • Align the M.2 with the screwdriver hole

    • Screw in the M.2

  9. nBdAomKN52OGQVKv
    nBdAomKN52OGQVKv
    nhnXyZZvEtFJoOL4
    • Reapply the tape

    • If you have removed the tape and you dont want to reapply it you may skip this step

  10. DY1i3BupaQiHDq3D
    • Align the backplate and firmly press down on the edges

  11. pHRd3vTwBax16Bkv
    • Screw in all the PH0 Screws

    • Short Screws

    • Long Screws

    • Captive Screw

Conclusion

Enjoy!

Artem Ivat

Member since: 05/02/20

3095 Reputation

0 comments