Introduction
If the Y-axis bearings in your PRUSA i3 MK3 are worn and need to be replaced they might make noise and prevent the heat bed from moving smoothly. If you need to replace the Y-axis bearings in your PRUSA i3 MK3, follow the steps in this guide. Ensure that you do not lose any of the parts or screws that are removed during replacement.
-
-
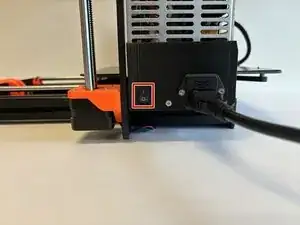
Orient the printer so that the screen is facing to the left.
-
Using the On/Off button, switch the printer into the Off position.
-
Ensure your printer is off by visually inspecting the screen. If the screen is not lit up, your printer is off.
-
-
-
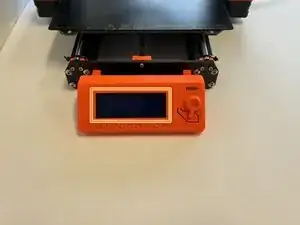
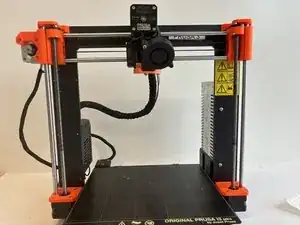
Orient the printer so that the screen is facing you.
-
Move the X-axis carriage to the highest Z-axis height for optimal accessibility.
-
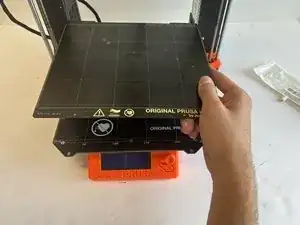
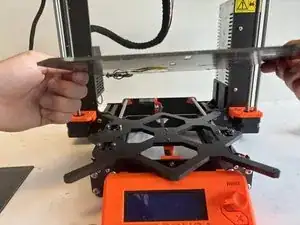
Remove magnetic build plate.
-
-
-
Remove the nine 2.5mm X 12mm flat-head countersink screws from the heat bead.
-
Lift and set the heat bed aside to access the heat bed mounting bracket.
-
-
-
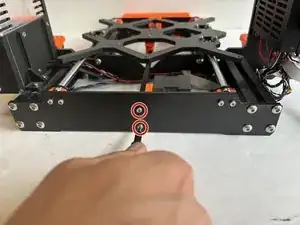
Orient the printer so that the screen is facing away from you.
-
Remove the two 2.5mm X 10mm socket head screws holding the Y-axis belt motor bracket.
-
-
-
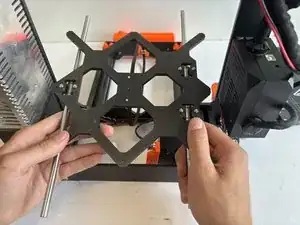
Lift the heat bed mounting bracket assembly from the printer.
-
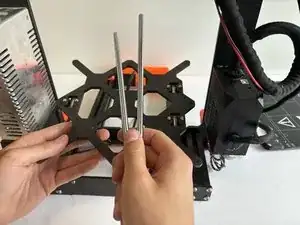
Remove the Y-axis rods from the heat bed mounting bracket assembly.
-
-
-
Rotate the heat bed mounting bracket assembly to access the bottom side.
-
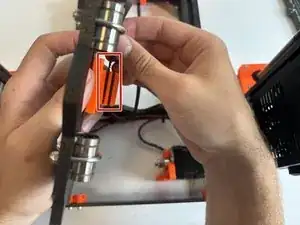
Remove the Y-axis belt from the Y-axis belt grip.
-
-
-
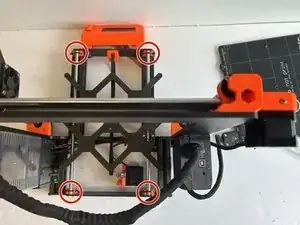
Orient the heat bed mounting bracket so that you are looking at the top side.
-
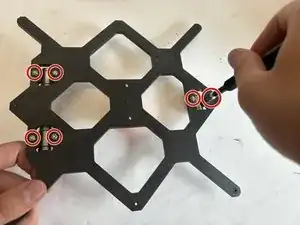
Use the 5.5mm nut driver to remove the six 5.5mm u-bolt nuts.
-
Orient the heat bed mounting bracket so that you are looking at the bottom side.
-
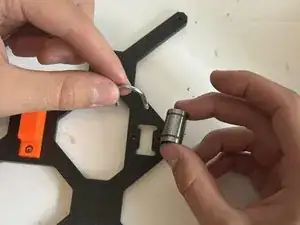
Remove the three sets of U-bolts and Y-axis bearings.
-
-
-
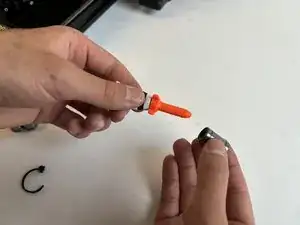
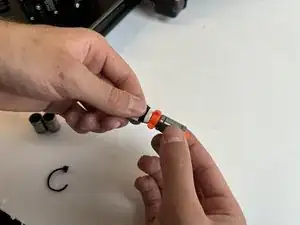
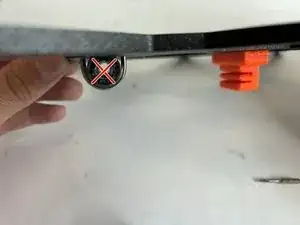
When reinstalling the Y-axis bearings, the balls inside the bearings should form a diagonal "X", not a vertical "+".
-


To reassemble your device, follow these instructions in reverse order. Use Step 9 for reference.