Introduction
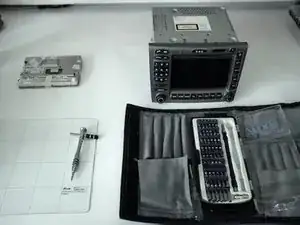
In my case, I had to replace the screen due to the appearance of surface blisters. This not only looked unsightly, but the pixels distorted as well.
Tools
Parts
-
-
This guide only shows the steps to change the screen once the PCM has been removed from the car. There are lots of great You Tube videos that cover the removal process.
-
-
-
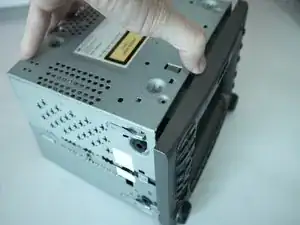
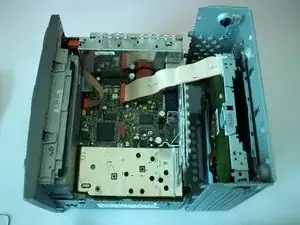
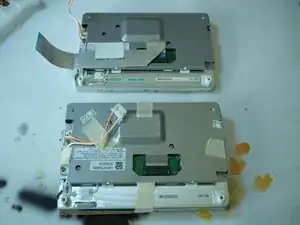
Carefully split the PCM case in half. There are several interlocking tabs, but essentially open from the front to the back like an oyster shell. The top half can be set behind the unit as shown in the second photo.
-
-
-
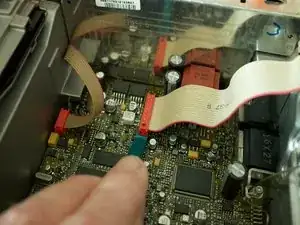
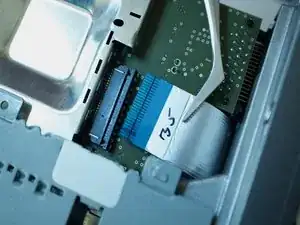
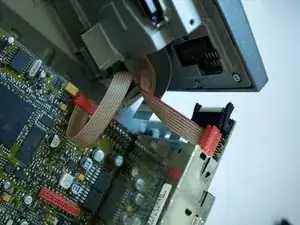
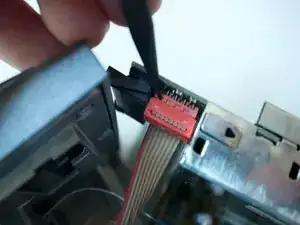
Use a plastic spudger to disconnect the PC ribbon cable joining the CD player to the motherboard and place the CD unit safely to one side.
-
-
-
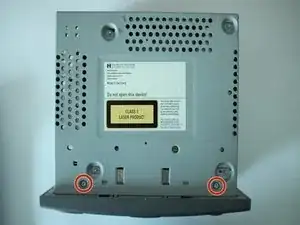
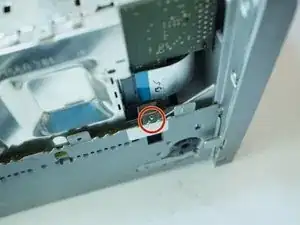
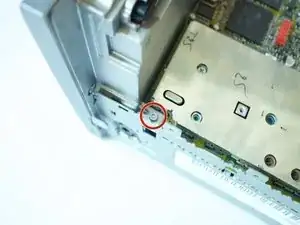
Remove the two Torx T9 machine screws that attach the front facia to the chassis. There is one screw either side as shown in the photos.
-
-
-
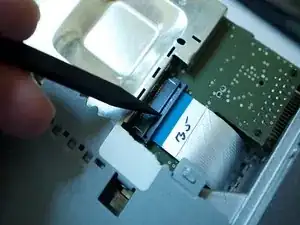
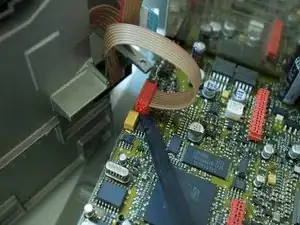
Open the ribbon cable lock (there is probably a proper name for it) and remove the ribbon cable on the left hand side of the unit.
-
-
-
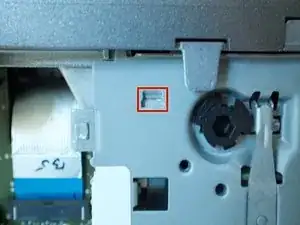
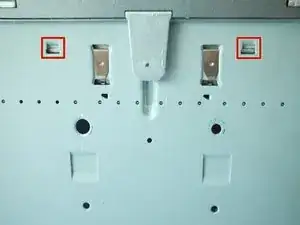
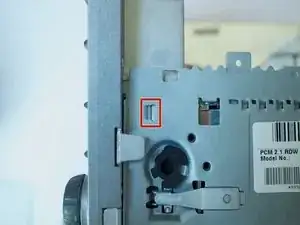
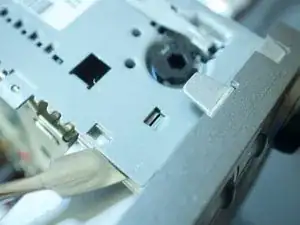
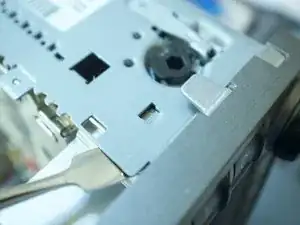
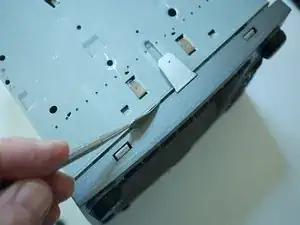
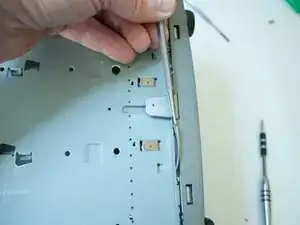
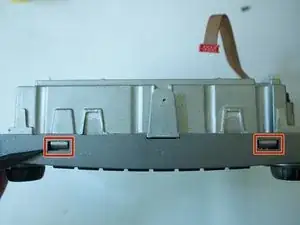
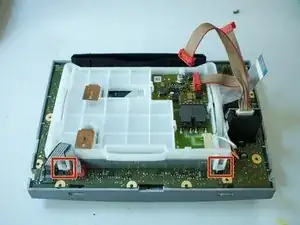
This is the most difficult step in the process. Firstly, identify the four tab retainers holding the facia to the chassis. The three photos show them all.
-
-
-
A curved metal spudger seemed to work well for this. Each tab had to be carefully leveraged up to disconnect them from the facia.
-
-
-
Working around the tabs, the facia can be gently pried off the chassis. This requires patience and care.
-
The third photo shows the fixed connector which needs careful realignment on reassembly.
-
-
-
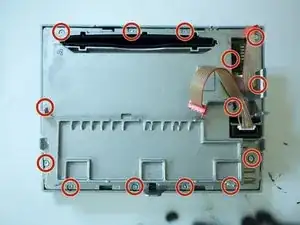
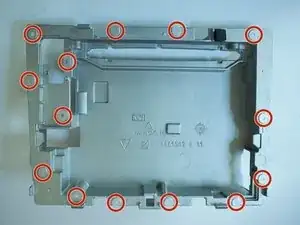
Once all 14 torx T9 screws have been found and undone, there are two tabs remaining that need to be disconnected before the facia comes apart.
-
-
-
The first photo shows the location of the screen carrier clips. Once these are released with a spudger, the screen carrier can be released, the small grey ribbon connector can be gently pushed out the way when this is done.
-
-
-
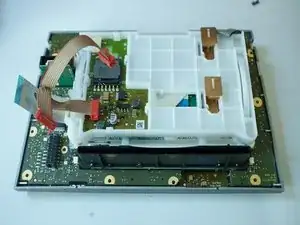
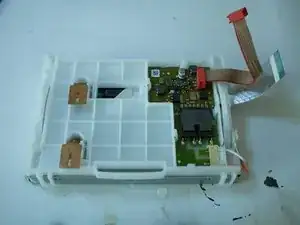
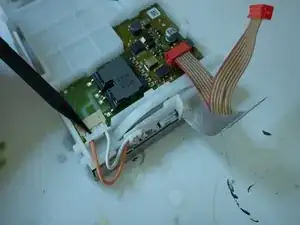
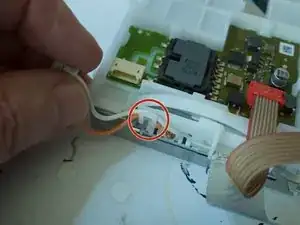
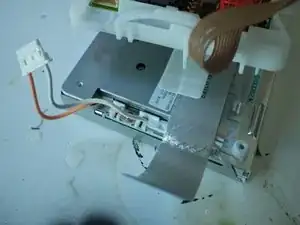
Use a spudger to disconnect the orange/white cable. This only reconnects one way. Unhook the orange/white cable from the screen carrier and the carrier will lift away from the screen.
-
-
-
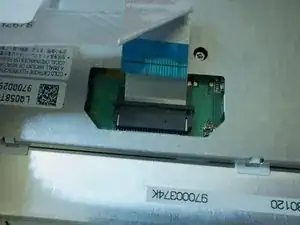
Disconnect the ribbon cable using the same technique that was done at the other end, where it connects to the motherboard.
-
To reassemble your device, follow these instructions in reverse order.
2 comments
This guide saved me a lot of money. Follow it and don’t be scared. It’s actually a fairly easy job.
guide worked great, thank you! one additional caution. the pins on the data ribbon connecting the display to the electronics are very fragile and can easily separate from the plastic. when reinserting the ribbon into the socket use great care not to bend the pins. thankfully I was able to straighten the pins by hand and make a good connection, otherwise I was preparing to shopping for a replacement ribbon on amazon :)
douirc -
