Introduction

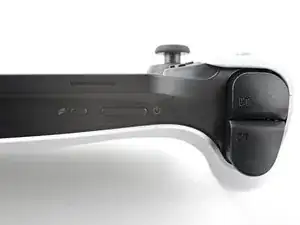
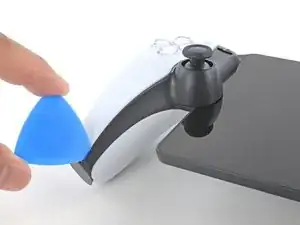
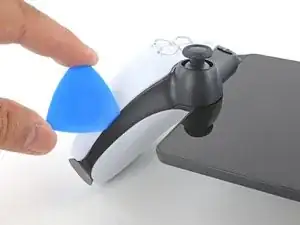
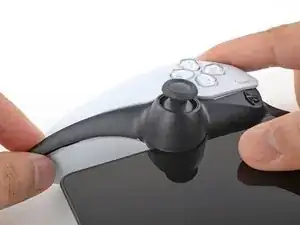
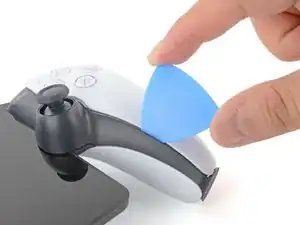
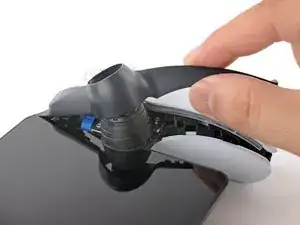
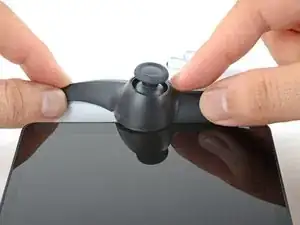
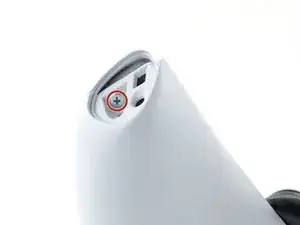
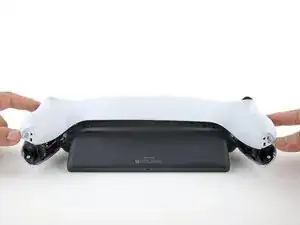
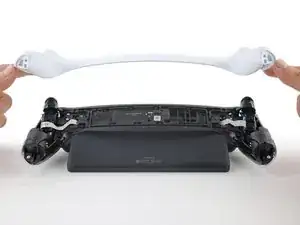
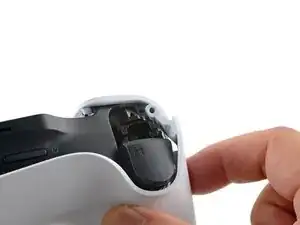
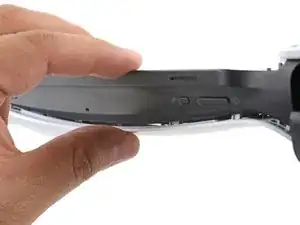
This guide shows how to remove and replace a worn out right joystick grip (or thumbstick cover) on your PlayStation Portal.

This repair won't fix joystick drift. If you're encountering drift issues, you'll need to replace the joystick module instead.

  1. vuMqD5i3hcerDEMS
    vuMqD5i3hcerDEMS
    5srGjXGcsxrW1hx3
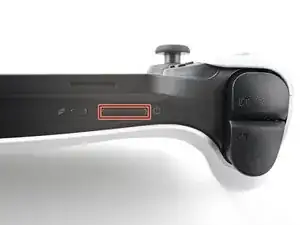
    • Before you begin repairs, power off your PlayStation Portal and unplug any cables.

    Where can i buy PlayStation Portal Joystick Grip (Left) Replacement

    Aaron Gboryea -

  2. APANSpKvQnmygYVX
    APANSpKvQnmygYVX
    3KOkBYiCulCsPspJ
    AQY4ZGZqngCGVVcR
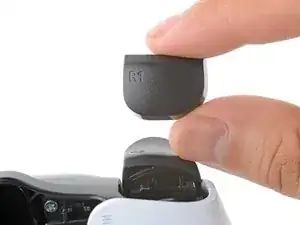
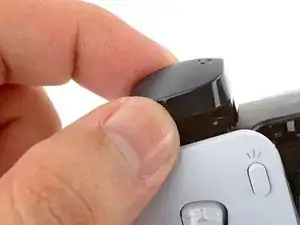
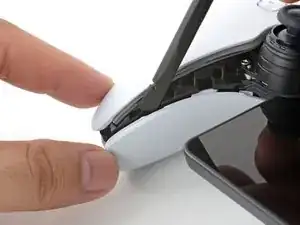
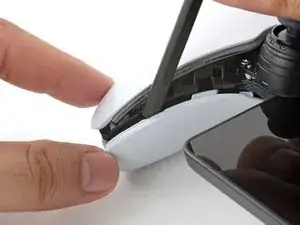
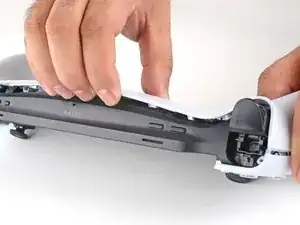
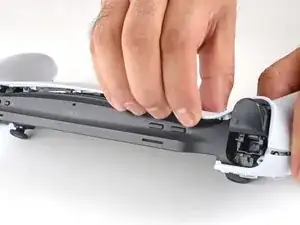
    • Both bumpers are held in place with clips.

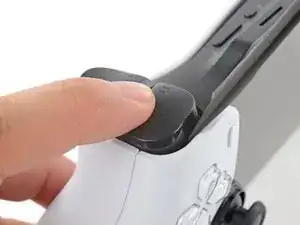
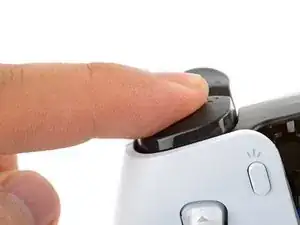
    • Rest a finger over the L1 bumper to prevent it from flying off when you pry.

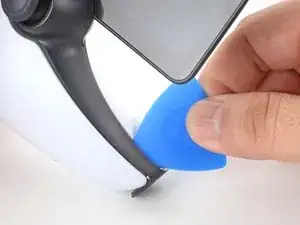
    • Insert the flat end of a spudger between the top edge of the bumper and the white shell.

    • Pry up to unclip the bumper.

    • Slide the spudger along the seam to release any remaining clips.

  3. 5uLYcPZAL2UYFdGG
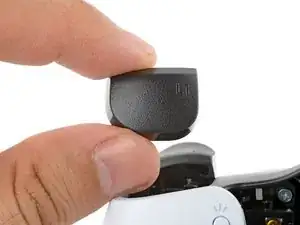
    • Remove the L1 bumper.

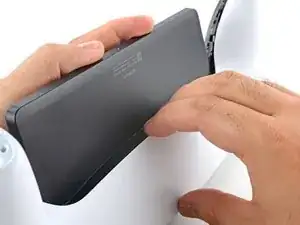
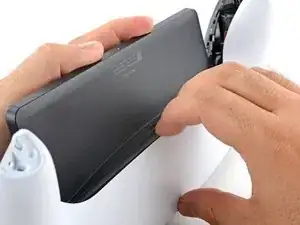
  4. cE5iWBfCVyTbu2Vt
    cE5iWBfCVyTbu2Vt
    xFCnjmCwIYIhXi1P
    ANtSmrhxm1UMdijH
    • Repeat the procedure to pry up and remove the R1 bumper.

  5. lnSbMD3h1DnIUYma
    lnSbMD3h1DnIUYma
    EgH5XdsToOvOb3WS
    aVVSZTMjqVvhtCJH
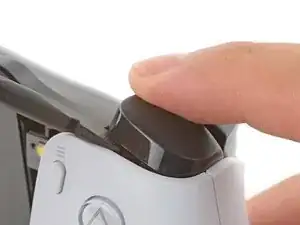
    • To install a bumper during reassembly:

    • Align the bumper into its slot.

    • Use a finger to press the bumper down firmly until it clicks into place.

  6. ST1q5ORSqlvrSwhd
    ST1q5ORSqlvrSwhd
    HLPRY3DdpZNOTbMQ
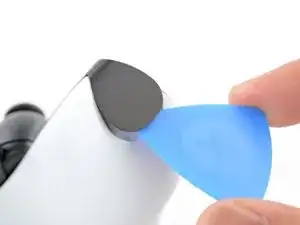
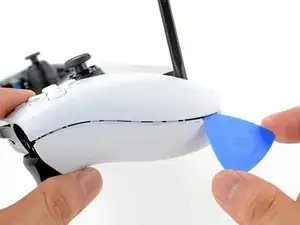
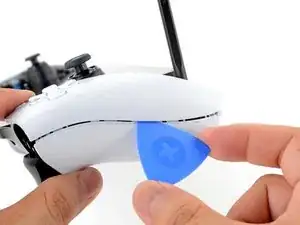
    • Insert the tip of an opening pick underneath the left joystick trim strip, where it wraps below the grip.

    • Twist the opening pick to release the bottom clip.

  7. Oui1dbAhJKunFqME
    Oui1dbAhJKunFqME
    tWqO4ftEe2LknFda
    gZ25ewQev2coswZZ
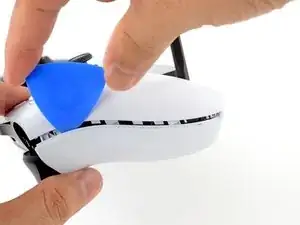
    • Insert the tip of an opening pick underneath the outer edge of the trim strip.

    • Slide the opening pick along the edge to release the clips.

  8. 6AwEEn2DLmDyFWFV
    6AwEEn2DLmDyFWFV
    SrTUyx1qeNbxXbCu
    • Insert the tip of an opening pick under the inner edge of the strip.

    • Slide the opening pick along the edge to release the clips.

  9. OUMEpI6JBulOxx6y
    OUMEpI6JBulOxx6y
    RIN3Xwm65UAXZvKV
    • Grasp the bottom edge of the trim strip and slowly lift to release any remaining clips.

    • If the strip feels stuck, twist or shift the strip sideways to help release any stubborn clips.

  10. 4vvl4hBUUUHEWmuV
    4vvl4hBUUUHEWmuV
    XjQDcQhPnhYCBVei
    • Lift and remove the left joystick trim strip.

  11. FGN5TLLGWqwAKYcb
    FGN5TLLGWqwAKYcb
    yylkypaXMxnCHGW6
    NCGSiAOxLsjGApBH
    • Repeat the procedure to unclip and remove the right joystick trim strip.

  12. rXQXDWhGyGrMJ5Oy
    rXQXDWhGyGrMJ5Oy
    EXTBhWcqgnQjJrxh
    • To reattach a trim strip during reassembly:

    • Use your fingers to align and clip the top edge in place.

    • Firmly press along the remaining edges to clip the strip in place.

  13. iXfEBRWCUynk3DQZ
    iXfEBRWCUynk3DQZ
    6OIwvX1K3gSEj6I4
    • Use a Phillips screwdriver to remove the two 6.5 mm‑long screws at the bottom tips of each grip.

    • You may need to peel off some tamper-evident stickers to access the screws.

  14. Ij2aZFQxW5AlZdHu
    Ij2aZFQxW5AlZdHu
    JWrNHxXuEF2EI6bV
    • Use a Phillips screwdriver to remove the two 6.5 mm‑long screws securing the top corners of the shell.

  15. yNSEIg5wZBZYNVGM
    • The back shell is still secured with numerous clips. The next few steps will show how to unclip the shell while reducing the chance of damaging the clips.

  16. G4d2HfsWhBprQrec
    G4d2HfsWhBprQrec
    4MMd5W1UkWImfYGR
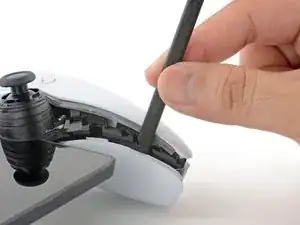
    • Push the flat edge of a spudger into the back shell's left, inner seam.

    • This releases the clip in that area while flexing the shell slightly, creating a larger outer seam.

    • Keep the spudger inserted in the seam.

  17. YdmVntjWKgULdgDc
    YdmVntjWKgULdgDc
    aWxkTimiUr2GkLIh
    WVKCLnbRAfJmSGAQ
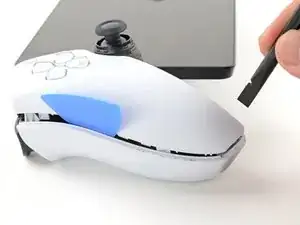
    • Insert the tip of an opening pick into the shell's left, outer seam.

    • Slide the pick along the seam to release the clips securing the edge.

    • Keep a pick in the seam to prevent the shell from clipping back together.

  18. KGBsNoucXXEaPoUu
    KGBsNoucXXEaPoUu
    DmZ5PSTNNihGSbTL
    • Remove the spudger from the inner seam.

  19. U6KQHiRU5GRm5jFa
    U6KQHiRU5GRm5jFa
    dck1CfutR4agxsnv
    DEJAPqByesPGA2tk
    • Repeat the previous three steps on the right side of the Portal to release the clips along the right edge.

  20. UZBF6ZJuY4Jci5fo
    UZBF6ZJuY4Jci5fo
    BqTcySqHPmaVBP4Q
    • Carefully flip your Portal over.

    • Grasp the top edge of the back shell, near a corner.

    • Gently pull the top edge away until you feel the clips release in that corner.

  21. nojc1fB2LrSXJrOQ
    nojc1fB2LrSXJrOQ
    BLnOI155FOvu4iWE
    • Pull along the top edge to release all the top edge clips.

  22. tAWYPYFv5mkEK4UU
    tAWYPYFv5mkEK4UU
    njGkYUud1QXhlf1j
    • Grasp the bottom edge of the back shell, near the center.

    • Pull away with firm force to release the clips securing the bottom edge.

  23. 2clCPva5XXbfEcPC
    2clCPva5XXbfEcPC
    KdOmwGBjSWSgwKuB
    • Remove the back shell.

  24. LHbZVPyND2IbSSBB
    LHbZVPyND2IbSSBB
    QvNuLBqOQ3XR5Kfy
    cOFiFS6PyqNuefFF
    • To clip the back shell in place during reassembly:

    • Align the corners near the trigger buttons first.

    • Firmly press around the entire perimeter to clip the shell back in place.

  25. SrKqCPKdBXScIwD6
    SrKqCPKdBXScIwD6
    rcGXeAMIJy2Z1aJW
    • Use a Phillips screwdriver to remove the two 6.5 mm‑long screws securing the right grip shell to the Portal.

    • From the back, these screws are on the left side of the Portal.

    • These screws can be tight. Brace the Portal with your hand and apply strong pressure to the screwdriver.

    • You can also try using a JIS #00 screwdriver to get a better grip on these screws.

  26. DMOArSS5rnXBwQmh
    DMOArSS5rnXBwQmh
    eEXEyhKSI3vGD6Hq
    • Grasp the top edge of the grip shell and twist it slightly outwards (away from the screen) to release the inner clips.

  27. uaEYxQKxGgANWHkc
    uaEYxQKxGgANWHkc
    AZBYVQlhnC2WLPpl
    2GZkdA4NXYQbhday
    • Insert the flat edge of a spudger underneath the inner edge of the grip shell, near the vibration motor.

    • Twist the spudger along the edge to unclip the bottom portion of the grip shell.

    • Remove the right grip shell.

  28. 5NLSaIwGeGvMLjKb
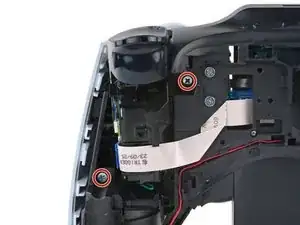
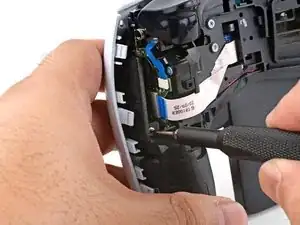
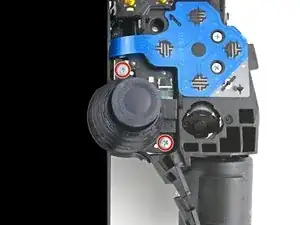
    • Use a Phillips screwdriver to remove the two 6.5 mm‑long screws securing the right joystick cover.

  29. GUKEOyQPe2fLQHfI
    GUKEOyQPe2fLQHfI
    DVEi2dbZSNg13gM3
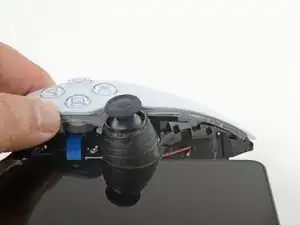
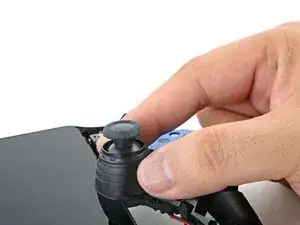
    • Lift and remove the right joystick cover.

    seems like the knob differs from dualsense knob

    JKYOHO -

  30. jaHeTDyYFcQa2ePN
    jaHeTDyYFcQa2ePN
    NnO3gW6wwZaLpNa3
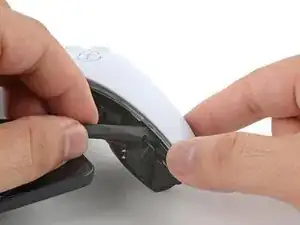
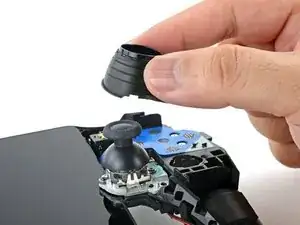
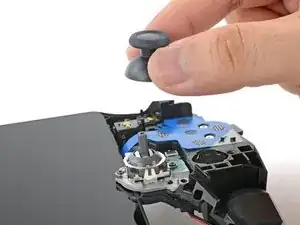
    • Lift and remove the right grip from the joystick.

Conclusion

To reassemble your device, follow these instructions in reverse order.

Repair didn’t go as planned? Try some basic troubleshooting, or ask our Answers community for help.

Arthur Shi

Member since: 03/01/18

272294 Reputation

0 comments