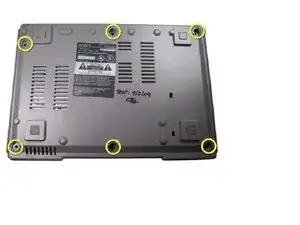
Introduction

  1. DgHkXQH2O6ZTITOX
    • Remove the parallel port cover on the back of the PlayStation

  2. R3eZgpfUpTYkUCpC
    • Flip over the PlayStation and remove the six screws from the bottom.

  3. KJOABD3JhWBJMxBK
    • Turn the PlayStation upright. Remove the cover by lifting it up.

  4. 3AlXIsMI3sMUK52W
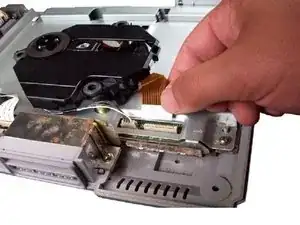
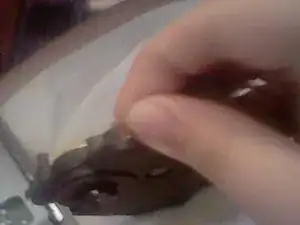
    • Carefully disconnect the gold-colored ribbon cable from it's connector.

    • To avoid damaging the cable, pull it by the white, reinforced tab.

  5. DXeOPTOE3BQCKVWx
    • Disconnect the second cable by pulling up on the plastic connector at the end.

  6. JRSmPs4cQIUKGWdp
    • Lift the optical drive off of the PlayStation.

  7. LcpBTZPKEVxQd5qf
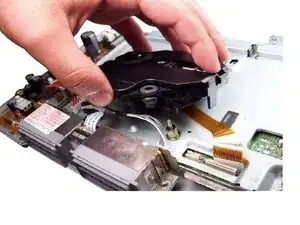
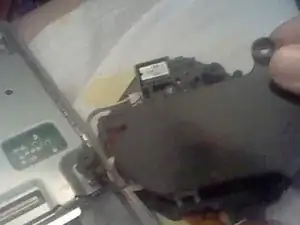
    • Remove the two screws and take off the bottom piece for your new Optical drive from the old one.

  8. HVnQA45SaA2cieAL
    • Take the new lens either from a SCPH-7501 or SCPH-9001.

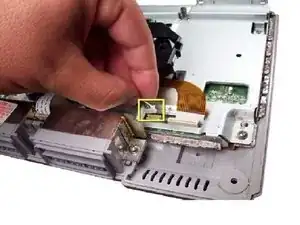
    • To avoid damaging the cable, Gently lift on this gold-colored cable that has a pot screw on it and lift it, but not too much.

  9. lKh3enVUqHaSl44G
    • Take the bottom piece and screw the two screws on the new Optical Drive.

  10. CAjV1KC4Ebt2yOI6
    • Plug the cables back in. Your work should look like this. Put it back together, plug it in, turn it on and see if it works.

Conclusion

To reassemble your device, follow these instructions in reverse order.

Unchi

Member since: 27/10/13

367 Reputation

0 comments