Introduction

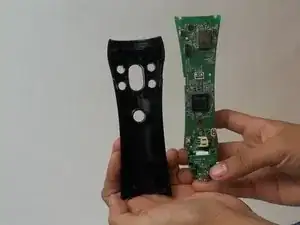
Use this guide to replace the LED light on the Playstation Move

  1. E6yboQoCAFfamfwL
    E6yboQoCAFfamfwL
    QSn6UTO3SpXB4MvY
    tCiTLLowl3HSprDe
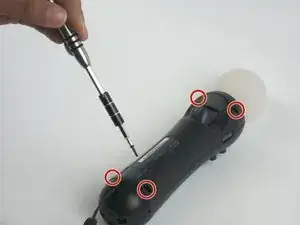
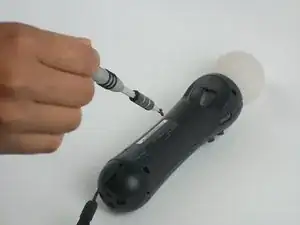
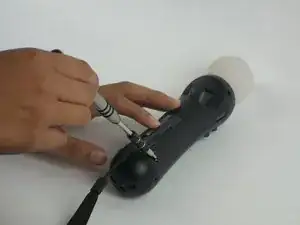
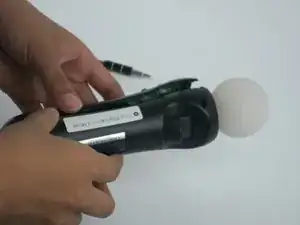
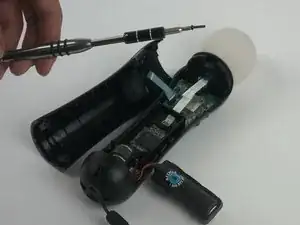
    • Using a Phillips #0 screwdriver, remove the four 10mm screws located on the back of the device.

  2. cAeUQusiO4CQKRIu
    cAeUQusiO4CQKRIu
    AtbGEP3VYTDm2RWE
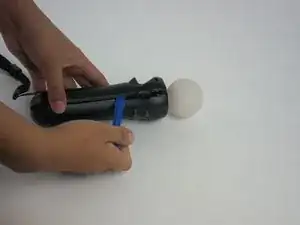
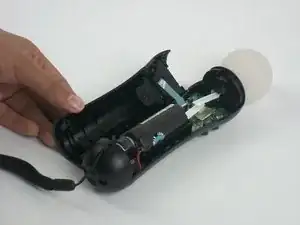
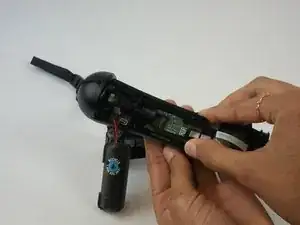
    • Insert the plastic opening tool at the indent.

    • Gently use a forward and backward motion to safely pop open the cover.

    • Using your hands to further pull it apart.

  3. SyZCODehqyF5iebQ
    SyZCODehqyF5iebQ
    tIZhYFyjdZILewZH
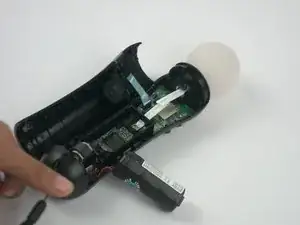
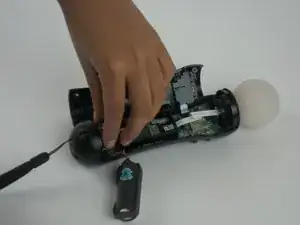
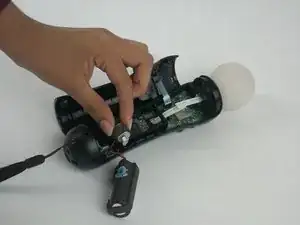
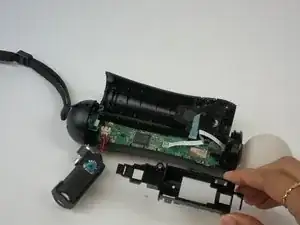
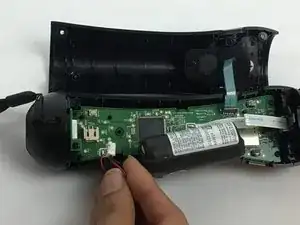
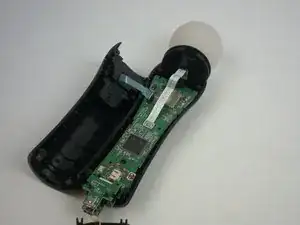
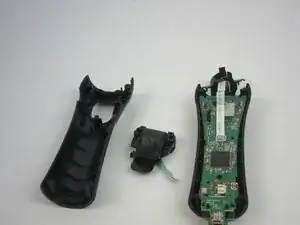
    • Once the device is opened, lift the battery out of the black plastic holder.

    • Carefully pull the battery out and ensure that it's wires are still connected to the inside.

    You can disconnect the back/trigger assembly ribbon cable at this point by proceeding to Steps 13/14 (without the other steps for disassembly as they are unnecessary for replacing just the trigger).

    Peter Miller -

  4. IfJIIG4VGkqH3ADE
    IfJIIG4VGkqH3ADE
    iQgCsDn5qStqf35b
    thBGcqSvJY5Xa3qD
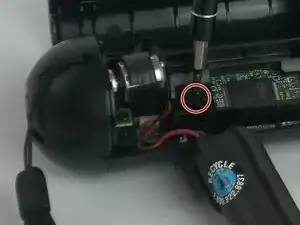
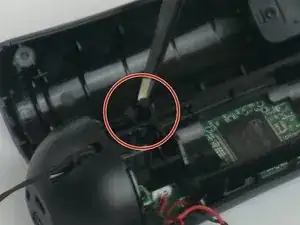
    • Using a Phillips head screwdriver, remove the 9mm screw located to the right of the battery, which is connected to the inner plastic frame.

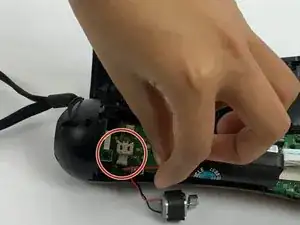
    • Using the plastic opening tool carefully take out the grey cylindrical piece (vibrator) that is also attached to a wire.

  5. E4wWrtn2MMfBhllW
    E4wWrtn2MMfBhllW
    1MBHEQSM1H1xMNnL
    • Gently pull out the small grey cylindrical piece (vibrator).

    • Removing this piece makes it easier to access the wire connection of the battery and remove it.

  6. jmiUQgiUlVWtB2JI
    jmiUQgiUlVWtB2JI
    MixXKaa1w6TpFjAs
    • Using tweezers, remove the small piece with a cylindrical top that is located to the left of the inner plastic frame.

  7. aR4kn4hRviClN1LX
    aR4kn4hRviClN1LX
    L5iR1pAwpYvpn1mY
    SpuoDCasnoxhQHBf
    • Using one hand to hold the device, and the other hand to squeeze the inner plastic frame.

    • Remove by squeezing the inner plastic frame, lift and pull it towards you.

    • While removing the frame, be extremely careful because it could damage the frame or the motherboard.

  8. EFKkpX63fjXgYTGY
    EFKkpX63fjXgYTGY
    hUnYsRF4LKQHWlXc
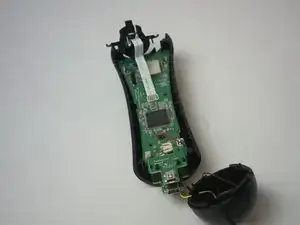
    • Gently pull on the white piece connecting the battery and the connector.

  9. RSiNCAsI2hqGSqKl
    RSiNCAsI2hqGSqKl
    GyZ3F1UJAQFokSWH
    kyWsWI3gZ6DCdADV
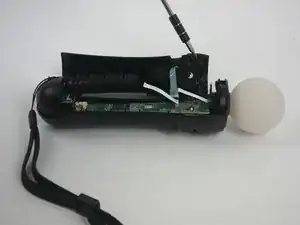
    • Remove the five 1.2 mm screws from upper portion of the controller.

    • If you are replacing the trigger button, continue to step 13.

  10. J2wUhc5seffXSiNK
    J2wUhc5seffXSiNK
    YgrbdOSN1kCUaQq1
    • Remove the two 1.2mm Phillips #1 screws.

  11. hujYQJJT2KU6MbL3
    hujYQJJT2KU6MbL3
    CVmYmWTNsaNqEcbJ
    1UHb5tBTjIPJA6ZC
    • Cautiously remove the circular white piece at the top without removing the LED inside.

    Accidentally ripped this off as my PS Move is a different model, any chance this could be fixed using like jumper wires or not?

    Alex Flint -

  12. KVZACacQ3gcUVPqL
    KVZACacQ3gcUVPqL
    YFkPWwtYGZOS5cbL
    Lb2pPgkSiPFRCMyc
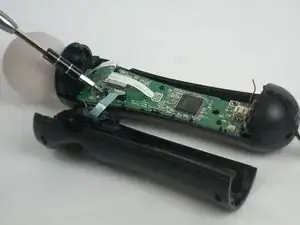
    • Remove the blue strip that is connected to the trigger button from the motherboard.

    • Be careful to gently detach it from the motherboard. The strip may rip if too much strength is applied.

  13. rEPkgugtfoSHauEP
    rEPkgugtfoSHauEP
    ReuLGCCjoGRkKwWv
    • Remove the trigger button from the controller.

  14. 1nT1RUMGXdQI1hyP
    1nT1RUMGXdQI1hyP
    iBuDeuarbe21s25p
    OgrswnyHUBlRA2Ld
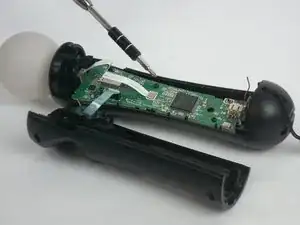
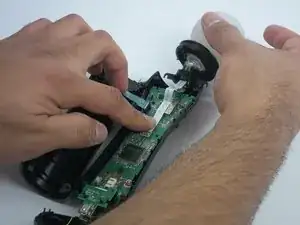
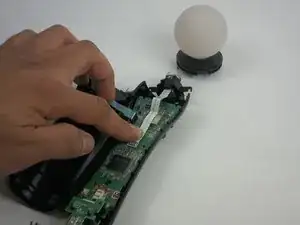
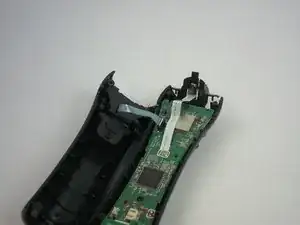
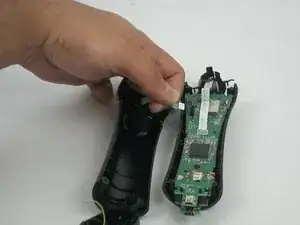
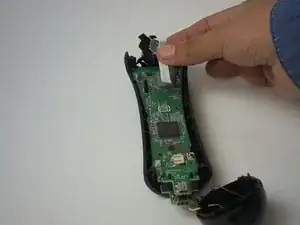
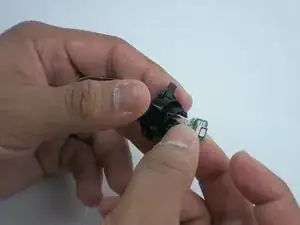
    • Remove the LED light by removing the white strip.

    • If you are replacing the LED light, continue to Step 17.

    This step is destructive and simply breaks the LED solder joints!!!

    Peter Miller -

    WTF, you literally broke the soldered ribbon cable.

    fastasleep -

  15. A2UPlnIKN6eoLeIB
    A2UPlnIKN6eoLeIB
    EIwQly4Ac4ANdsgR
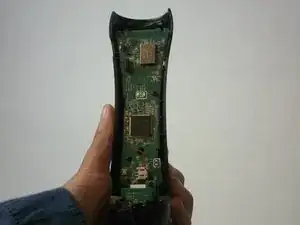
    • Remove the motherboard from the plastic case.

  16. eTiE4pNqeKVet2fI
    eTiE4pNqeKVet2fI
    UKkJLn2sXb3uIQgQ
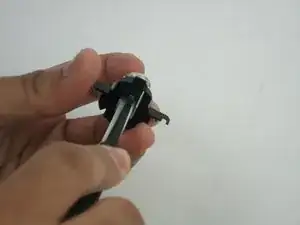
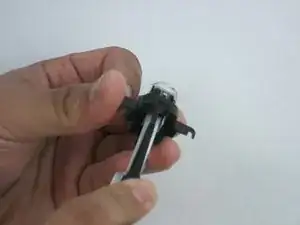
    • Insert tweezers between the LED case and the LED clear plastic cover.

    • Lift the edge of the LED clear cover clip to be able to remove the cover.

    • Repeat the previous step to the other side.

    • Remove the LED cover.

  17. 3FU4by3KOGPsPgUV
    3FU4by3KOGPsPgUV
    b4UXZXlamWTOsK2v
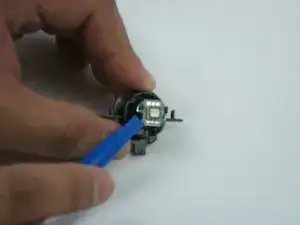
    • Remove the LED board using a blue opening tool to lift the board.

    • After the board is loose, remove the LED board.

Conclusion

To reassemble your device, follow these instructions in reverse order.

Maritza Martinez

Member since: 28/09/16

149 Reputation

5 comments

Okay, going to try this. Do I have to solder the white strip back onto the board?

randallrigdonjr -

did you ever get this done? need to know the same.

[deleted] -

très clair, mais où trouver une led ? et en enlevant le cable de la led, il faut le dessourder, non ?

Pierrot -

This is BEYOND useless without the information as to where to get the LED unit itself. It's not a standard LED board I can find anywhere.

Also, on the PS3 Move controller the cable from the main board to the LED is soldered both ends and doesn't simply lift away from the circuit.

As to the "beyond useless" comment, this isn't meant to be directed towards the kind people who have spent their time to help others with their knowledge and, their LED cable may have simply lifted away from the board if the Move controller was the later PS4 model, I don't know, I haven't pulled a PS4 Move controller apart (yet).

The guide however would be so much better with that one tiny bit of information, where can I find the LED module and the 1039 number on the LED board itself is of no help in my search.

I stripped my controller down before I found the link to this article (qualifications in electronics), my main need is identifying the faulty LED module so I can replace it.

Leo Anon -

Sorry, how do I reconnect the white cable I've just cut away from the circuit board solder joints as you've done?

Butchers!

SERIOUSLY??

No, I'm NOT stupid enough to cut cables and magically think they reconnect using the reverse disassembly instructions as suggested (just poke them in like a magician and they magically connect themselves, if only). Someone needs to rethink their idea of an article to "HELP" people.

Leo Anon -