
Introduction
This will repair your SCPH-5501 without buying a new KSM-440-ADM laser off of ebay.
Tools
-
-
Remove the parallel port cover on the back of the PlayStation.
-
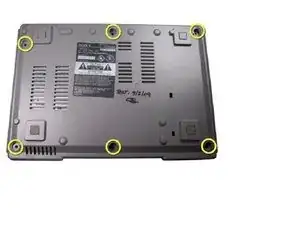
Flip over the PlayStation and remove the six screws from the bottom.
-
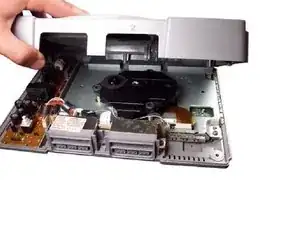
Turn the PlayStation upright. Remove the cover by lifting it up.
-
-
-
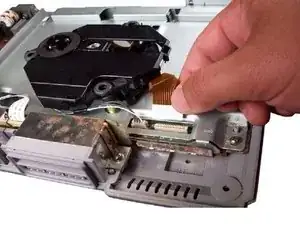
Carefully disconnect the gold-colored ribbon cable from it's connector. To avoid damaging the cable, pull it by the white, reinforced tab.
-
-
-
Disconnect the second cable by pulling up on the plastic connector at the end.
-
Remove the 2 screws and take the black bottom piece of the old Optical drive.
-
Take the new Optical drive from either a SCPH-7501 or an SCPH-9001.
-
Gently pull on the orange ribbon, but not too much or you could rip it.
-
-
-
Take the bottom piece you took out and place it on the new Optical drive and screw it on the new drive.
-
-
-
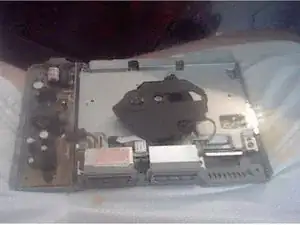
Here is what your work should look like.
-
Put it back together, plug it in, turn it on and test it to see if it works.
-


To reassemble your device, follow these instructions in reverse order.